
To proof dough in a cold kitchen, find a warm spot, like a turned-off oven with the light on, or use a heating pad on low. You can also place a bowl of hot water next to your dough to create humidity. If your kitchen’s chilly, be patient and allow for longer proofing times; this can enhance flavor. Keep an eye on your dough to verify it doubles in size—there are more tips to help you master this process!
Key Takeaways
- Place the dough in a warm spot, like an oven with the light on or a turned-off microwave, to create a cozy environment.
- Use a heating pad set on low under the dough bowl for gentle warmth, ensuring it remains cozy, not hot.
- Extend proofing time in cold conditions, allowing for longer rises that enhance flavor and texture.
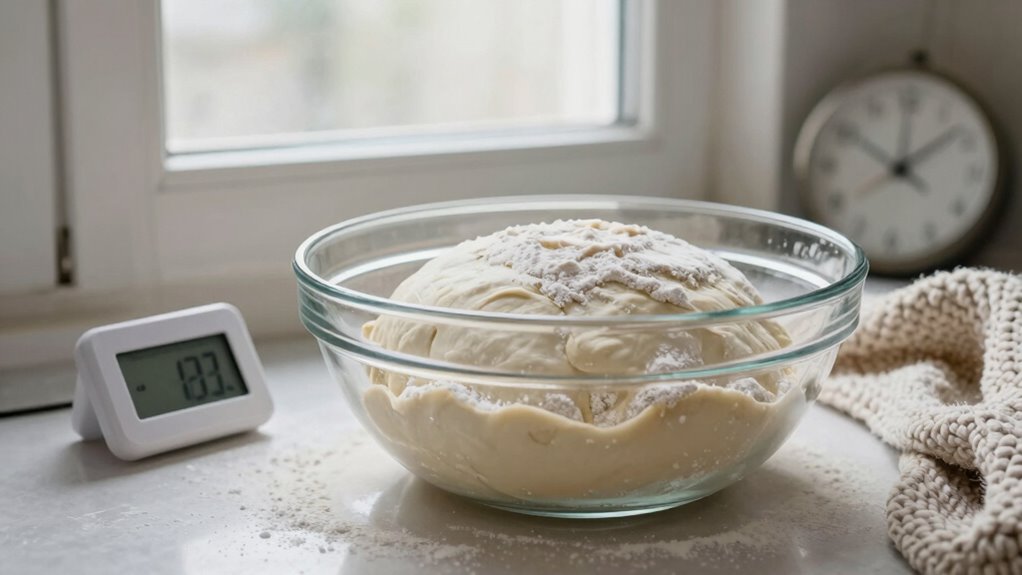
- Monitor the dough’s size regularly to confirm it has doubled, indicating proper proofing progress.
- Consider using instant or active dry yeast, which can handle slower rises effectively in cooler environments.
Proofing dough in a cold kitchen can be a challenge, especially if you’re keen to bake fresh bread or pastries. Cold temperature effects can slow down yeast activity, making it take longer for your dough to rise. If you find yourself in a chilly environment, don’t worry. You can still achieve that perfect rise by following some simple dough rising tips.
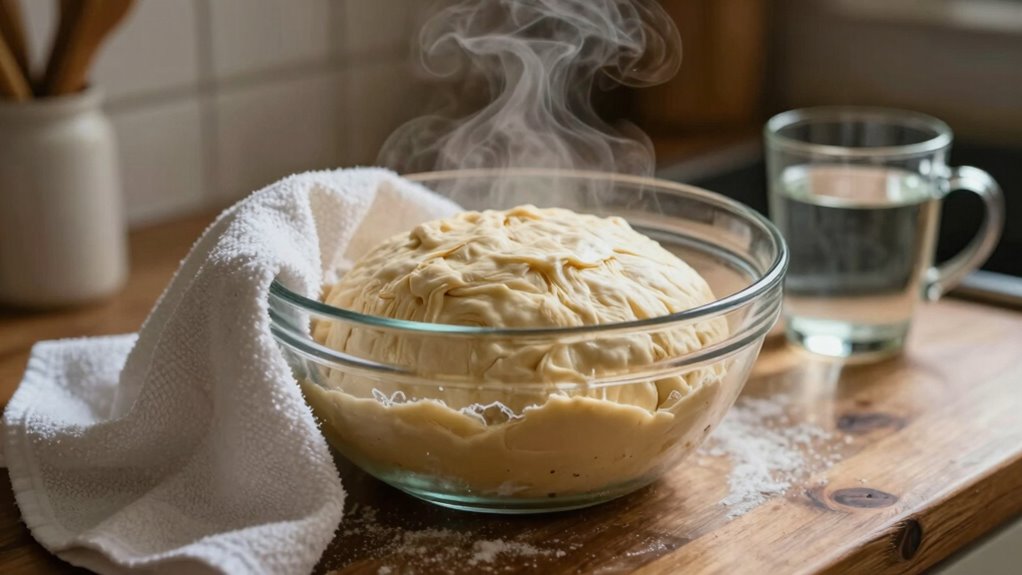
First, consider the placement of your dough. Instead of leaving it out on the counter, find a warmer spot in your kitchen. An oven with the light on or even a microwave (turned off, of course) can provide a cozy environment. Just be careful not to overheat the dough; temperatures above 120°F can kill the yeast. If your kitchen is particularly cold, you might even place a bowl of hot water next to your dough to create a warm, humid atmosphere. The steam will help keep the dough comfy, encouraging it to rise.
Consider placing your dough in a warm spot, like an oven with the light on, to encourage a perfect rise.
Another useful trick is to use a heating pad. Set it on low and place your bowl of dough on top. This gentle warmth can provide just the right amount of heat for your yeast to get to work. If you’re using a heating pad, keep an eye on the dough to guarantee it doesn’t get too warm. You want it to be cozy, not hot. Additionally, understanding how temperature affects yeast activity can help you better control the proofing environment. Being aware of the optimal proofing temperature ensures your dough rises efficiently without risking the yeast’s health. Recognizing the resilience of different yeast types can also help you select the best yeast for colder conditions, making your proofing process more reliable. Employing a proofing box or warm environment can further streamline the process, especially in consistently cold settings.
If you’ve got the time, you can also extend the proofing period. Cold temperatures may slow things down, but patience is a baker’s best friend. Allowing your dough to proof longer can lead to more complex flavors and a better texture in your final product. Just remember to check on it periodically; you’ll want to catch it at the right moment when it’s doubled in size.
Lastly, consider using a different type of yeast. Instant yeast or active dry yeast can be more forgiving in colder conditions. They tend to be more resilient and can handle the slow rise better than other varieties. Just be sure to adjust your recipe slightly if you’re switching yeast types.
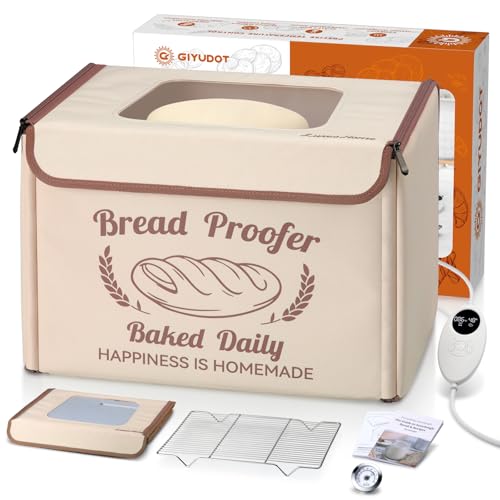
GIYUDOT Folding Bread Proofing Box with 50-113℉ Temp Control & 48H Timer, Dough Proofer with Metal Rack, Humidor, Recipes, Ideal for Sourdough, Bread Baking, Pizza, Yogurt, Kombucha, Precise Control
RESISTS COLD ENVIRONMENTS: Achieve perfect dough every time with our bread proofing box, featuring 3 heating zones (front,…
As an affiliate, we earn on qualifying purchases.
As an affiliate, we earn on qualifying purchases.
Frequently Asked Questions
Can I Use My Oven for Proofing Dough?
Yes, you can use your oven for proofing dough! Set your oven to the lowest temperature, typically around 100°F (38°C), and turn it off once it reaches that heat. Place your dough inside, ensuring it’s covered to retain moisture, which helps with dough hydration. If your oven has a light, keep it on to maintain warmth. This method creates a cozy environment for your dough to rise perfectly.
What Is the Ideal Temperature for Dough Proofing?
The ideal temperature for dough proofing is around 75°F to 80°F. At this magical range, yeast activity skyrockets, making your dough rise like a superhero! If you’re too cold, yeast slows down, leaving you with a sad, deflated dough. So, keep an eye on that dough temperature, and you’ll achieve the fluffy, airy bread of your dreams. Your patience will pay off, transforming simple ingredients into culinary masterpieces!
How Long Should I Let Dough Proof?
You should let your dough proof for about 1 to 2 hours, depending on its size and the temperature. Keep an eye on the dough texture; it should double in size and feel light and airy. If you notice bubbles forming, that’s a sign of good yeast activity. In a cold kitchen, it might take longer, so be patient and check periodically to guarantee it’s on the right track.
Can I Speed up the Proofing Process?
You can definitely speed up the proofing process! In fact, dough can rise up to 30% faster at 80°F compared to cooler temperatures. Try using proofing techniques like placing your dough in a warm oven (turned off) or near a heating source. You can also cover it with a damp cloth to retain heat and moisture. Just remember, maintaining the right dough temperature is key for that perfect rise!
What Happens if I Over-Proof My Dough?
If you over-proof your dough, you’ll notice some negative effects. The dough texture becomes too airy and weak, leading to a collapse during baking. It may not rise properly, resulting in a dense, gummy loaf instead of a light, fluffy one. You might also experience off-flavors due to fermentation. To avoid these issues, keep a close eye on your dough and trust your instincts during the proofing process.

Sourdough Starter Warmer Mat, 1°F Precise Temp 65–110°F, 24H Timer & Memory, Heating Pad for Dough Proofing, Beer & Wine Brewing, Fits 24–40oz Jars(Wood Grain)
【Important Note】 Fermentation Containers (Jars/Bowls) Are Not Included. Please Prepare Your Own Suitable Containers For Use
As an affiliate, we earn on qualifying purchases.
As an affiliate, we earn on qualifying purchases.
Conclusion
Proofing dough in a chilly kitchen doesn’t have to be a guessing game. Just find a cozy spot, like the warmth of a sunbeam peeking through your window, and let your dough rise. You can also use a warm oven or a bowl of hot water to create the perfect environment. With these tips, you’ll have beautifully risen dough ready for baking, turning your kitchen into a bustling bakery, even when it’s cold outside.
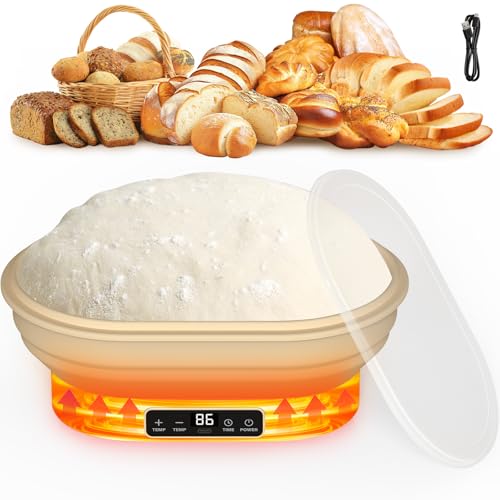
Heating Sourdough Bread Proofing Basket, 2L Electric Thermostatic Silicone Oval Banneton Proofing Bowl with 6 Timer & Temp Settings for Dough Rising, Dishwasher Safe, Foldable Sourdough Starter Bowl
Fast Fermentation: This electric sourdough proofing basket is thermostatic with a clear LCD screen, 6 adjustable temperature settings…
As an affiliate, we earn on qualifying purchases.
As an affiliate, we earn on qualifying purchases.

Cozy Bread® Sourdough Bread Proofing Mat for Home Bakers | USA Brand | Thermostat Controlled Bread Proofer (10" x 21") | Dough Riser Heating Mat
Consistent Dough Proofing – Create a warm, controlled surface for sourdough bread, pizza dough, rolls, and enriched doughs…
As an affiliate, we earn on qualifying purchases.
As an affiliate, we earn on qualifying purchases.