
When using a bread machine, understanding the dough, bake, and whole wheat cycles is key to great results. The dough cycle focuses on perfecting the mix and kneading for yeast activation. The bake cycle switches to cooking, ensuring that your bread has a golden crust and light texture. The whole wheat cycle adjusts for denser, nutritious loaves that require different kneading and rising times. Keep exploring to uncover more tips for mastering your bread machine!
Key Takeaways
- The Dough Cycle focuses on kneading and activating yeast for optimal dough consistency, crucial for texture development in bread.
- The Bake Cycle transitions to baking, ensuring the bread achieves a golden crust and light texture at the correct temperature and time.
- The Whole Wheat Cycle adjusts kneading and rising times for whole grain flours, resulting in denser, more nutritious loaves.
- Yeast Activation Techniques emphasize proper mixing and monitoring water absorption to enhance flavor and texture in all bread types.
- Understanding each bread machine cycle enables better ingredient choices and consistent baking results across various bread styles.
When you plunge into the world of bread machines, understanding the various cycles can transform your baking experience. Each cycle is designed to achieve ideal results, and knowing how they work will help you master the art of bread-making. Let’s explore the dough, bake, and whole wheat cycles to enhance your skills.
The dough cycle is a game changer for you if you love experimenting with different recipes. This cycle’s primary focus is on developing the right dough consistency. During this cycle, the machine kneads the ingredients thoroughly, guaranteeing that the flour, water, and yeast combine perfectly. This is vital because proper mixing and kneading help activate the yeast, which is key to your bread rising effectively. After kneading, the dough rests, allowing it to rise. You can then shape it into rolls or loaves, giving you flexibility in how you want to enjoy your bread. Additionally, understanding the importance of gluten development can improve the texture of your baked bread. Knowing how to control the dough fermentation process can further enhance the flavor and texture of your bread. Being aware of yeast activation techniques can also help optimize your baking results. Incorporating proper kneading techniques can make a noticeable difference in the final product.
The dough cycle transforms your baking by ensuring perfect consistency, allowing for creative shaping of rolls and loaves.
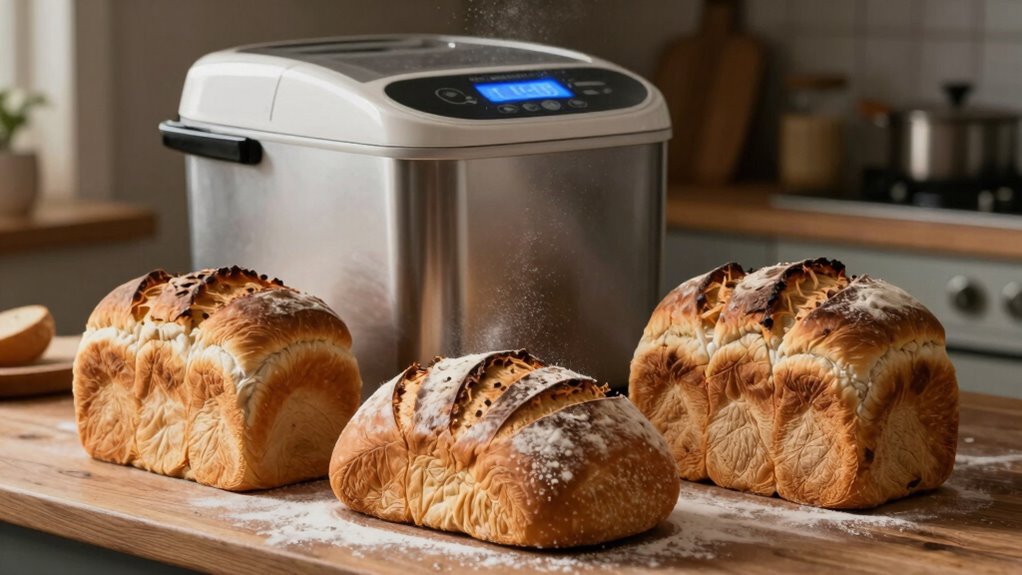
Next up is the bake cycle. If you’ve already prepared your dough using the dough cycle, switching to the bake cycle is straightforward. This cycle focuses on baking the bread at the right temperature for the perfect amount of time. You’ll notice that the crust develops beautifully, and the internal texture becomes light and airy. Monitoring the baking time closely is fundamental, as every machine is slightly different. If you’re aiming for a golden crust, you can also adjust the settings based on your preference.
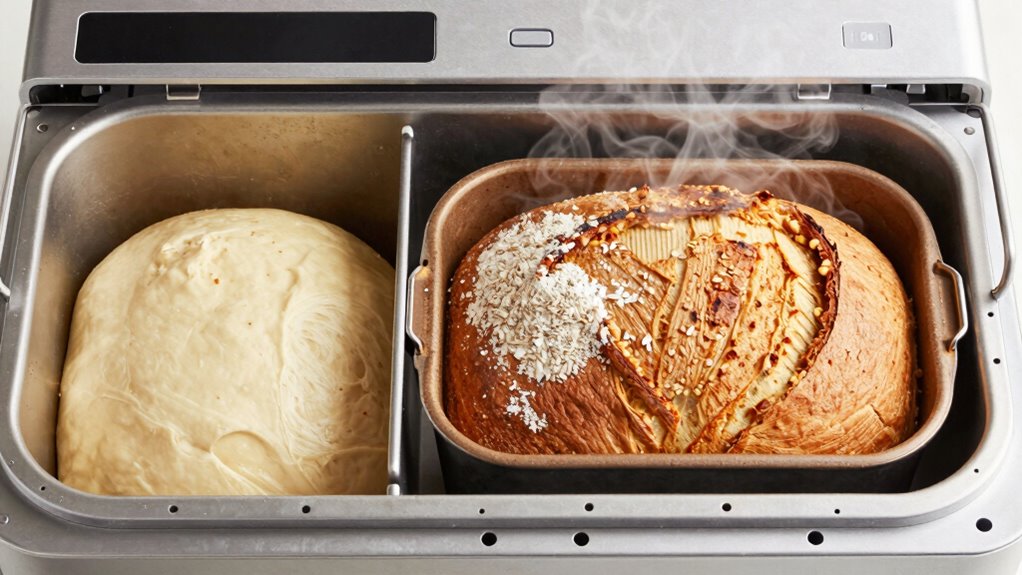
Finally, we have the whole wheat cycle, specially designed for breads made with whole grain flours. Whole wheat requires a little more attention because it absorbs more water, affecting the dough consistency. The machine adjusts its kneading time and rising periods to make sure the whole grains get the attention they need for proper yeast activation. Additionally, understanding the different flour types can help you select the right cycle for your ingredients. The result is a denser, more nutritious loaf that packs a punch in flavor. Recognizing these differences allows you to customize your baking process for optimal results.
Understanding these cycles helps you make informed decisions about your ingredients and techniques. By knowing when to use each cycle, you can achieve the perfect loaf every time. Whether you’re crafting a classic white bread, experimenting with whole wheat, or even trying out specialty doughs, your bread machine can be your best friend. Embrace the cycles, and you’ll find yourself creating delicious bread that delights your family and friends. Happy baking!

Cuisinart Bread Maker Machine, Stainless Steel Automatic Bread Machine with 12 Menu Options, 3 Loaf Sizes up to 2 Lb., 3 Crust Colors, Removable Nonstick Baking Pan & Kneading Paddle, CBK-110NAS
12 MENU FEATURES: The compact, automatic Cuisinart Bread Maker Machine offers a wide range of options with its…
As an affiliate, we earn on qualifying purchases.
As an affiliate, we earn on qualifying purchases.
Frequently Asked Questions
Can I Use Regular Flour Instead of Bread Flour?
Yes, you can use regular flour instead of bread flour, but it might affect your bread’s texture. Bread flour has a higher protein content, which helps create a chewier texture. If you’re using all-purpose flour, consider adding a bit of essential wheat gluten to boost its protein. For best results, keep experimenting with flour types to find what works for you. Remember, baking tips can make a big difference in your results!
How Do I Clean My Bread Machine Properly?
Cleaning your bread machine is like giving it a revitalizing shower. Start by unplugging it and letting it cool. Remove the baking pan and kneading blade, then wash them with warm, soapy water. Wipe the interior with a damp cloth, avoiding harsh chemicals. For a maintenance schedule, clean it after every use to prevent buildup. Stick to these cleaning tips, and your bread machine will stay in top shape, ready for delicious loaves!
What Should I Do if My Dough Is Too Sticky?
If your dough’s too sticky, you can adjust the hydration. Start by adding small amounts of flour, like all-purpose or bread flour, until it reaches the right consistency. Remember, different flour types absorb moisture differently, so pay attention to how the dough feels. Knead it briefly after each addition to check its texture. Don’t rush; achieving the perfect dough takes a bit of trial and error, but you’ll get there!
Can I Add Ingredients During the Kneading Cycle?
Absolutely, you can add ingredients during the kneading cycle! Imagine the delightful aroma of fresh bread wafting through your home as you experiment with flavors. Just keep your ingredient timing in mind—wait until the dough’s formed to prevent disrupting your kneading techniques. Toss in herbs, seeds, or spices, and watch your creation transform. Each addition brings you closer to the perfect loaf, making your baking journey even more rewarding. Enjoy the process!
How Can I Store Leftover Bread From the Machine?
To store leftover bread from your machine, let it cool completely before slicing. Once it’s cool, you can wrap the whole loaf or individual slices tightly in plastic wrap or aluminum foil. If you won’t eat it within a few days, consider freezing bread for longer storage. Just place the wrapped slices in a freezer bag. When you’re ready, thaw slices at room temperature or pop them in the toaster for a quick warm-up!
Cuisinart Bread Maker Machine, Stainless Steel Automatic Bread Machine with 12 Menu Options, 3 Loaf Sizes up to 2 Lb., 3 Crust Colors, Removable Nonstick Baking Pan & Kneading Paddle, CBK-110NAS
12 MENU FEATURES: The compact, automatic Cuisinart Bread Maker Machine offers a wide range of options with its…
As an affiliate, we earn on qualifying purchases.
As an affiliate, we earn on qualifying purchases.
Conclusion
In the world of bread machines, each cycle dances to its own rhythm, transforming simple ingredients into golden loaves. Whether you’re crafting dough, baking a crusty masterpiece, or embracing the hearty goodness of whole wheat, understanding these cycles is your key to success. So, don your apron and let the machine work its magic; soon enough, you’ll savor the warm aroma of fresh bread wafting through your kitchen, turning your home into a cozy bakery.

365 by Whole Foods Market, Organic 100% Whole Wheat Flour, 80 Ounce
80 oz organic whole wheat flour
As an affiliate, we earn on qualifying purchases.
As an affiliate, we earn on qualifying purchases.