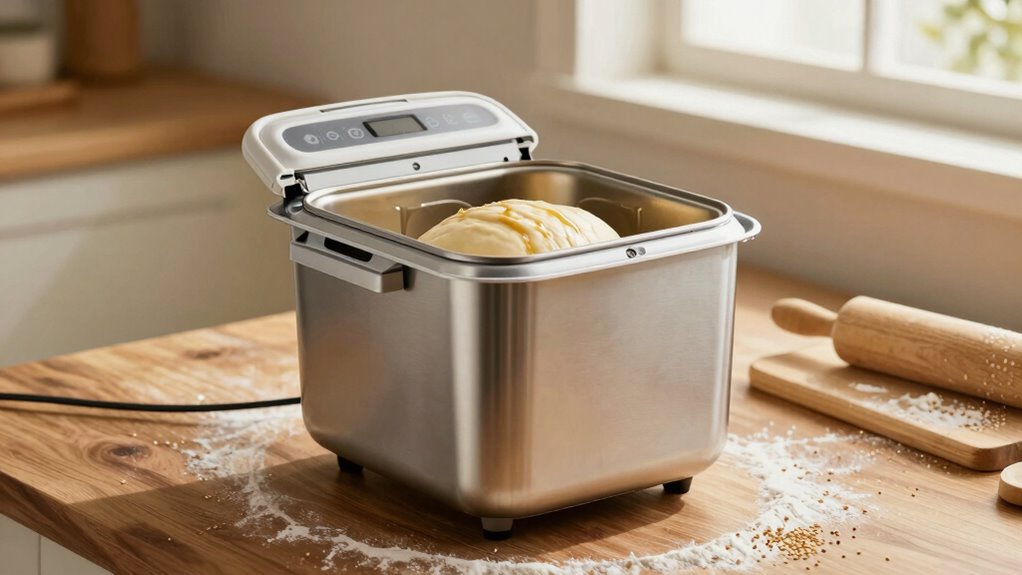

You should use a bread machine for dough only when you want to simplify the mixing and kneading process. It guarantees a consistent texture and saves you time compared to traditional methods. Plus, you can control the final baking process to suit your preferences. If you’re looking to experiment with different ingredients or flavors, a bread machine makes that easier without the mess. Keep exploring to discover more tips for perfect bread every time!
Key Takeaways
- Use a bread machine for dough only when you want to simplify the mixing and kneading process without sacrificing quality.
- It’s ideal for maintaining precise ingredient ratios, ensuring consistent dough texture and quality.
- Opt for dough-only settings when you prefer to control the final baking process yourself.
- Choose this method when managing rising time is essential for enhancing flavor and crumb structure.
- Experiment with various ingredients and add-ins while leveraging the machine’s efficiency for optimal results.
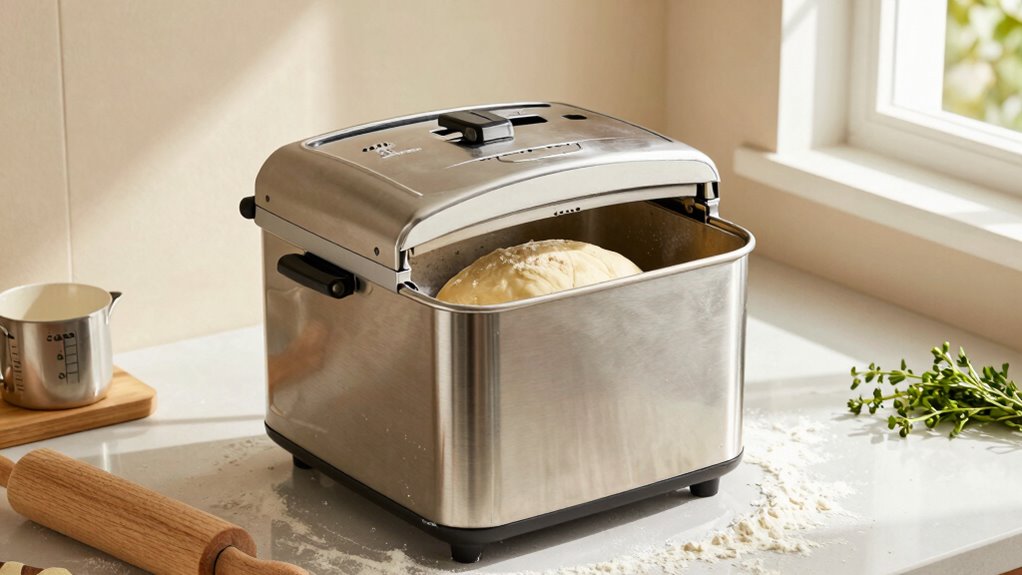
When you’re craving fresh, homemade bread but don’t want to spend hours kneading and watching the dough rise, a bread machine can be your best friend. Using it for dough only is a fantastic way to enjoy the benefits of freshly baked bread without the hassle. With just a few simple steps, you’ll have perfect dough ready for baking in your oven, allowing you to control the final product while still enjoying the convenience factors of a bread machine.
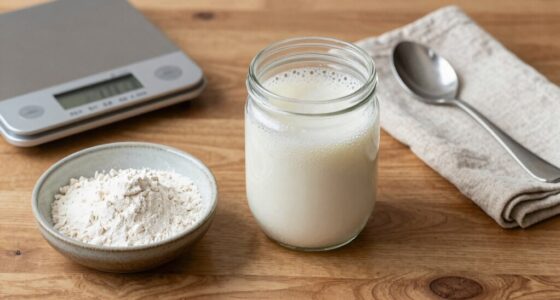
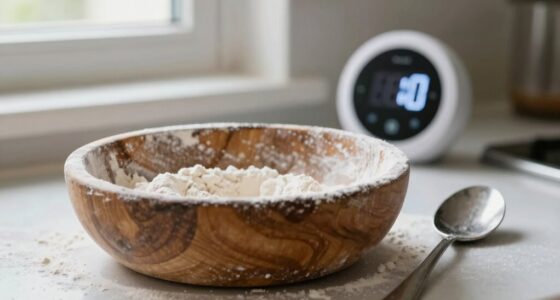
First off, you’ll appreciate how the machine takes care of the mixing and kneading for you. By selecting the right machine settings, you can guarantee that your dough texture comes out just right. This is vital because the texture affects how your final bread will turn out. The machine will mix your ingredients according to the ingredient ratios in your recipe, which you should always double-check. A slight imbalance can lead to disappointing results, so stick to the guidelines for best outcomes.
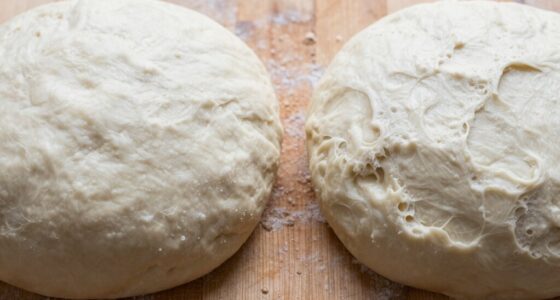
Once you’ve got the dough mixed and kneaded, it’s time to evaluate the rising time. Your bread machine will typically handle this, but if you’re using it for dough only, you might want to tweak that a bit. Depending on the recipe variations you choose, you can let the dough rise longer in the machine or even take it out to rise in a warm spot of your kitchen. This added time can enhance flavor development, creating a richer taste in your bread. Additionally, understanding the appropriate rising time can help you achieve the perfect loaf with ideal volume and texture. Properly managing proofing is crucial to develop the bread’s flavor and crumb structure. Factors such as temperature control and environmental factors can influence how well the dough ferments and rises, so paying attention to these details can improve your results. Incorporating ambient temperature considerations can make a significant difference in how quickly or slowly your dough rises, depending on your kitchen conditions.
Using a bread machine for dough also opens up a world of recipe variations. You can experiment with different flours, grains, or add-ins like nuts and seeds to create unique flavors. The machine simplifies the process, allowing you to focus on creativity rather than laborious prep work. Just remember, when playing around with ingredients, keep an eye on the ratios to maintain that perfect dough texture.

Cuisinart Bread Maker Machine, Stainless Steel, 12 Programs, Up to 2 lbs
12 MENU FEATURES: The compact, automatic Cuisinart Bread Maker Machine offers a wide range of options with its…
As an affiliate, we earn on qualifying purchases.
As an affiliate, we earn on qualifying purchases.
Frequently Asked Questions
Can I Use Whole Wheat Flour in the Bread Machine for Dough?
Yes, you can use whole wheat flour in your bread machine for dough. Whole wheat offers numerous benefits, like added fiber and nutrients, but it does require more hydration than white flour. To get the best results, consider increasing the liquid in your recipe by about 10-15%. This adjustment helps guarantee your dough rises well and achieves the right consistency. Enjoy the wholesome flavor and texture that whole wheat brings to your bread!
How Long Does the Dough Cycle Typically Take?
The dough cycle typically takes about 1.5 to 2 hours, depending on your machine. During this time, you’ll notice the dough texture changing as it mixes and rises. The rising time allows the yeast to work its magic, creating a fluffy and well-aerated dough. Keep an eye on it; once it’s doubled in size, you’re ready to shape and bake. Enjoy the process—your homemade bread adventure’s just beginning!
Is It Safe to Leave Dough in the Machine Overnight?
It’s not safe to leave dough in the machine overnight. While overnight proofing can enhance flavor, the dough texture may suffer if left too long in a warm environment. Over-proofing can lead to a collapse, resulting in a dense loaf. If you need to delay baking, consider refrigerating the dough instead. This way, you’ll maintain its quality and achieve that perfect rise when you’re ready to bake.
Can I Add Ingredients Like Nuts During the Dough Cycle?
Absolutely, you can add ingredients like nuts during the dough cycle! Imagine you’re making a hearty whole wheat bread and decide to toss in some walnuts for extra flavor. Just keep timing considerations in mind; add the nuts when the machine signals for mix-ins, usually around the last few minutes of the kneading phase. This guarantees they’re evenly distributed without being over-processed, giving your bread that perfect nutty crunch.
What Should I Do if My Dough Is Too Sticky?
If your dough’s too sticky, you can adjust the texture by adding a bit more flour. Start with a tablespoon of all-purpose flour, mixing it in until the dough feels right. If you’re using whole wheat or gluten-free flours, you might need to tweak the amounts a bit more. Remember, dough should be slightly tacky but manageable, so don’t overdo it. Keep kneading until you achieve the perfect consistency!
Cuisinart Bread Maker Machine, Stainless Steel, 12 Programs, Up to 2 lbs
12 MENU FEATURES: The compact, automatic Cuisinart Bread Maker Machine offers a wide range of options with its…
As an affiliate, we earn on qualifying purchases.
As an affiliate, we earn on qualifying purchases.
Conclusion
So, when should you use a bread machine for dough only? If you’re short on time but craving fresh bread, it’s perfect. Imagine this: you toss in the ingredients, and while the machine kneads away, you get to binge your favorite show. Before you know it, you’ve got dough ready to rise! It’s a delightful coincidence that you can enjoy both relaxation and the aroma of fresh-baked bread—all with minimal effort. Go ahead, let your machine do the work!
Cuisinart Bread Maker Machine, Stainless Steel, 12 Programs, Up to 2 lbs
12 MENU FEATURES: The compact, automatic Cuisinart Bread Maker Machine offers a wide range of options with its…
As an affiliate, we earn on qualifying purchases.
As an affiliate, we earn on qualifying purchases.

LCKSMAL 2.5LB Bread Maker with Built-in Electronic Scale, 25-in-1 Bread Machine, Beginner-Friendly with Adjustable Baking & Fermentation, Non-Stick Easy-Clean Pan, Quiet, 15H Delay, Recipes, White
【25-IN-1 SMART PROGRAMS WITH ADJUSTABLE BAKING & FERMENTATION】This bread maker features 25 built-in programs, including gluten-free, sourdough, yogurt,…
As an affiliate, we earn on qualifying purchases.
As an affiliate, we earn on qualifying purchases.