
To keep your sourdough starter simple and effective, use equal weights of flour and water, which makes managing it easy and consistent. Adjust hydration based on your flour type and desired fermentation speed—more water for quicker fermentation and less for a stiffer starter. Monitoring how your starter reacts helps you learn what works best in your environment. Stick to these basics, and you’ll soon master a reliable, flavorful starter—if you explore further, you’ll discover even more ways to perfect it.
Key Takeaways
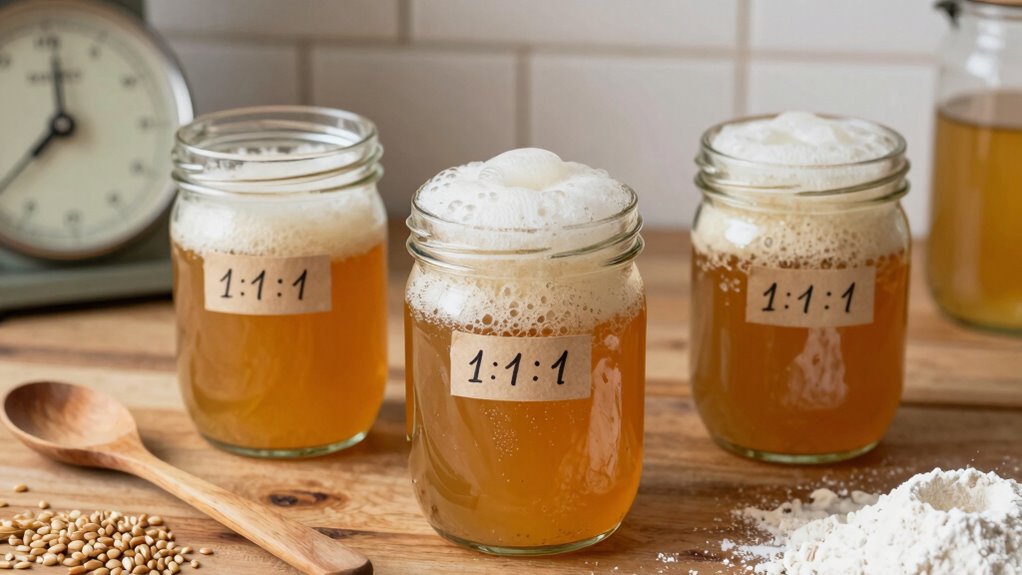
- Using equal weights of flour and water (100% hydration) creates a lively, predictable starter.
- Adjust hydration levels to control fermentation speed: higher for faster, lower for slower fermentation.
- Consistent ratios help maintain stability and make troubleshooting easier.
- Whole wheat and rye flours absorb more water, requiring hydration adjustments.
- Monitoring starter behavior guides optimal ratio adjustments for desired flavor and activity.
Starting a sourdough starter might seem complicated, but understanding the right ratios makes the process much simpler. When you get the ratios right, you control how quickly your starter ferments and how it develops flavor. One of the most important factors to be mindful of is hydration levels, which refers to the amount of water relative to flour. Typically, a common hydration level is 100%, meaning equal parts water and flour by weight. This consistency creates a lively, bubbly starter that ferments predictably. If you prefer a thicker, dough-like starter, lowering the hydration to around 75% makes it stiffer, which can slow fermentation slightly but offers a different texture and flavor profile. Conversely, increasing hydration above 100% results in a more liquid starter, which ferments faster but can be trickier to handle.
Understanding hydration levels helps control fermentation speed and flavor development in your sourdough starter.
The fermentation timeline is closely tied to your starter’s hydration levels. A higher hydration starter tends to ferment more quickly because the additional water creates a more active environment for wild yeast and bacteria to thrive. This means you might see bubbles and rise within 4 to 6 hours at room temperature. With lower hydration levels, fermentation takes a bit longer—sometimes 8 to 12 hours—giving you a slower, more controlled process. Adjusting ratios allows you to fine-tune this timeline based on your schedule and desired flavor development. Monitoring fermentation helps you understand how your starter responds to different ratios and environments, enabling better control over your baking process. Additionally, maintaining consistent feeding ratios supports a stable and predictable fermentation process over time.
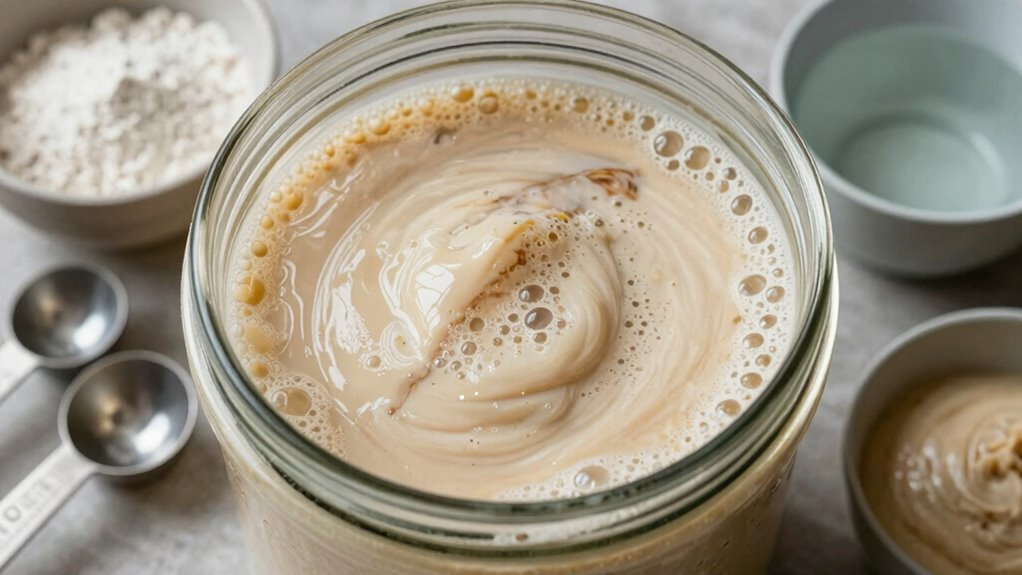
When maintaining your starter, consistency in ratios is key. Using equal weights of flour and water is the simplest approach for most home bakers. This ratio provides a good balance of activity and manageability. Some bakers prefer to keep a stiffer starter for specific recipes, which means decreasing water slightly, or a more liquid starter for faster fermentation, which involves adding more water. Whatever your choice, sticking to precise weights ensures your fermentation timeline remains predictable. Paying attention to hydration levels and how your starter reacts over time helps you learn what works best for your environment and baking goals. You also want to take into account the type of flour you use, as it affects hydration and fermentation. Whole wheat and rye flours absorb more water and ferment faster due to their higher nutrient content. If you switch flours, you might need to tweak your hydration levels slightly. Keeping track of your ratios and how your starter reacts over time helps you learn what works best for your environment and baking goals.

Etekcity Food Kitchen Scale, Digital Grams and Ounces, 11lb
𝗘𝗳𝗳𝗼𝗿𝘁𝗹𝗲𝘀𝘀 𝗪𝗲𝗶𝗴𝗵𝗶𝗻𝗴: Supports 5 units (oz/lb:oz/fl'oz/g/mL), tare function, and includes 2 AAA batteries for hassle-free operation
As an affiliate, we earn on qualifying purchases.
As an affiliate, we earn on qualifying purchases.
Frequently Asked Questions
Can I Use Different Types of Flour for My Starter?
Yes, you can use different types of flour for your starter. Alternative flour options like whole wheat, rye, or spelt can work well and introduce unique flavors. Keep in mind, these flours may cause nutritional variations, affecting fermentation speed and activity. You might need to adjust feeding schedules or hydration levels. Experimenting with different flours helps you customize your starter’s flavor and performance for your baking preferences.
How Long Does It Take to Adjust Starter Ratios?
Adjusting your starter ratios typically takes about a week, depending on your starter’s hydration level and feeding frequency. When you change the hydration—how much water you add—you may see shifts in activity within a few feedings. Keep an eye on how lively and bubbly it gets with each feeding, and give it consistent feedings. Patience guarantees your starter stabilizes to your new ratios.
What if My Starter Develops Mold?
If your starter develops mold, you should discard it immediately to prevent contamination. Mold indicates fermentation issues or contamination, so start fresh. To prevent mold, guarantee proper fermentation speed by maintaining consistent feeding schedules and using clean utensils. Keep your starter in a warm, but not hot, environment, and regularly discard a portion before feeding. These steps help with mold prevention and keep your starter healthy for baking.
Is It Necessary to Feed Starter Daily?
You might wonder if daily feedings are necessary, and the answer depends on your fermentation speed and flavor goals. Feeding your starter daily keeps it lively and fosters rapid fermentation, perfect for quick bread. But if you prefer a more complex flavor, you can stretch feedings or refrigerate it, slowing fermentation. Stay attentive to your starter’s activity; its needs and your baking schedule will guide your feeding routine.
How Do Temperature Changes Affect Starter Ratios?
Temperature changes directly impact your starter’s fermentation speed and yeast activity. When it’s warmer, yeast becomes more active, speeding up fermentation and requiring you to adjust ratios or feedings to prevent over-acidification. Cooler temperatures slow yeast activity, so you might need to feed less frequently or increase the amount of starter. Monitoring temperature helps you maintain consistent ratios and guarantees your starter stays healthy and active.

Complete Sourdough Starter Kit, Sourdough Bread Baking Supplies, Banneton Bread Proofing Basket with Sourdough Starter Jar, 9inch Round Bread Proofing Basket, for Bread Baking
700ml Sourdough Starter Jar:Around 24 oz capacity is enough to make 2-4 sourdough loaves. You can easily add…
As an affiliate, we earn on qualifying purchases.
As an affiliate, we earn on qualifying purchases.
Conclusion
Understanding sourdough starter ratios isn’t just about measurements; it’s about trusting the process and embracing the art of fermentation. Some believe that a perfect balance is essential, but in reality, it’s your intuition and patience that truly shape your bread. Just like life, baking teaches us that flexibility and experimentation often lead to the best results. So, don’t stress over every gram—trust the process, observe, and enjoy the journey of creating your own delicious sourdough.

TempPro TempSwift 1 Sec Digital Food Thermometer for Kitchen Cooking
Fast and Accurate Reading: Kitchen thermometer for cooking features a 1 second readout speed and high accuracy of…
As an affiliate, we earn on qualifying purchases.
As an affiliate, we earn on qualifying purchases.

Sourdough Proofing Basket Gift Set, 9" Round and 10" Oval Banneton Bread Baking Supplies, Sourdough Baskets with Bread Lame, Danish Whish, Bowl Scraper, Sourdough Scraper, and Linen Liner
What You Get: 1 9-inch round banneton bread proofing basket , 1 10-inch oval proofing basket, 2 liners,…
As an affiliate, we earn on qualifying purchases.
As an affiliate, we earn on qualifying purchases.