
Making your own convenience foods lets you prep once and cook quickly later, saving you time and money. Focus on stocking versatile staples like canned beans, rice, and pre-cooked proteins, then batch prepare meals in advance. Use proper storage techniques to keep foods fresh, and learn reheating tips to enjoy your meals anytime. If you want simple strategies for building your pantry and speeding up weeknight dinners, keep exploring these helpful insights.
Key Takeaways
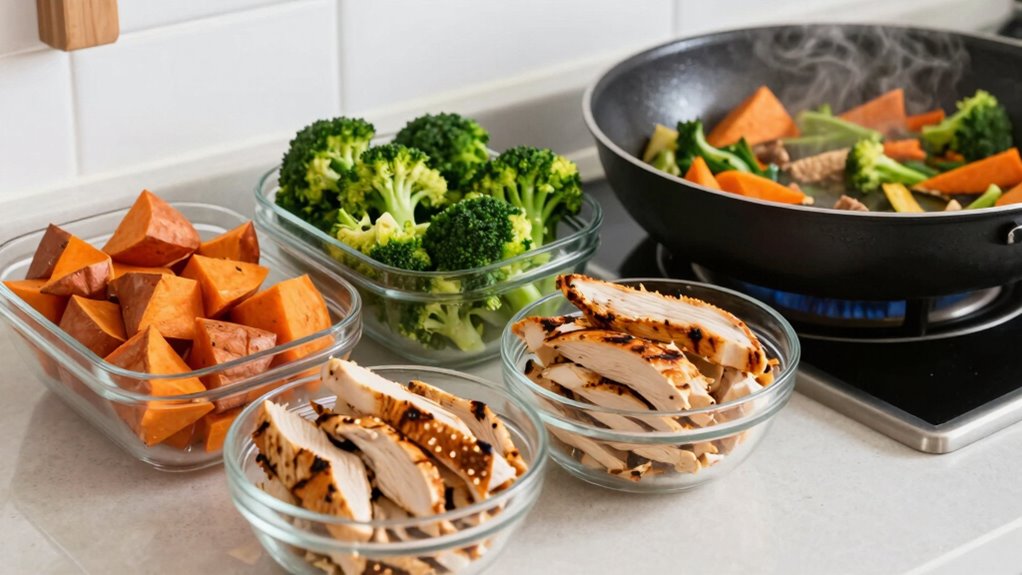
- Batch cook versatile ingredients like grains, proteins, and roasted vegetables for quick meal assembly.
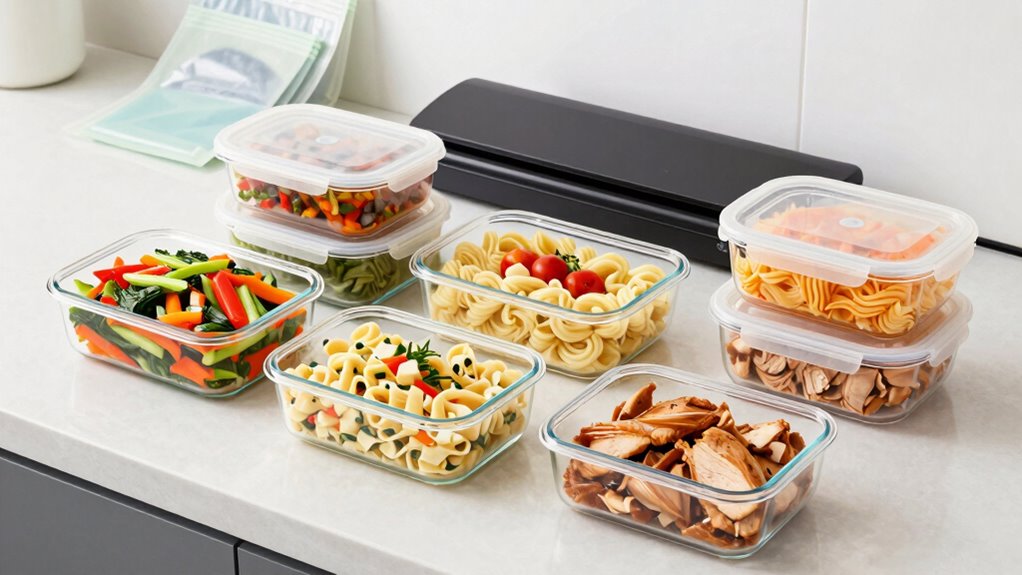
- Use airtight, labeled containers to store prepped foods safely and easily access during busy times.
- Portion foods into single servings to reheat quickly and reduce waste.
- Prepare make-ahead meals such as casseroles or salads, then reheat or assemble in minutes.
- Incorporate flavor boosters like herbs, sauces, and spices to customize quick meals.
Why Making Your Own Convenience Foods Saves You Time and Money
Making your own convenience foods can save you both time and money in the long run. By preparing snacks alternatives ahead of time, you avoid costly store-bought options and reduce impulse buys. Meal prep tips, like batch cooking and portioning, help you streamline busy weeknights, so you spend less time cooking and more time enjoying your meals. When you make your own snacks, you control ingredients, which means healthier choices and fewer additives. Plus, homemade convenience foods tend to be more affordable, especially when you buy in bulk and repurpose leftovers. Over time, these strategies cut expenses and save you hours, making your daily routine more efficient. Taking control of your meal prep guarantees you always have quick, budget-friendly options on hand. Smart kitchen tools can further enhance your prep process, making it easier and more efficient to create your own convenience foods. Additionally, utilizing innovative kitchen appliances can streamline your food preparation, saving even more time and effort. Incorporating eco-friendly materials into your kitchen setup can also support a more sustainable and cost-effective approach to meal prep.
How to Build a Convenience Food Pantry With Essential Staples
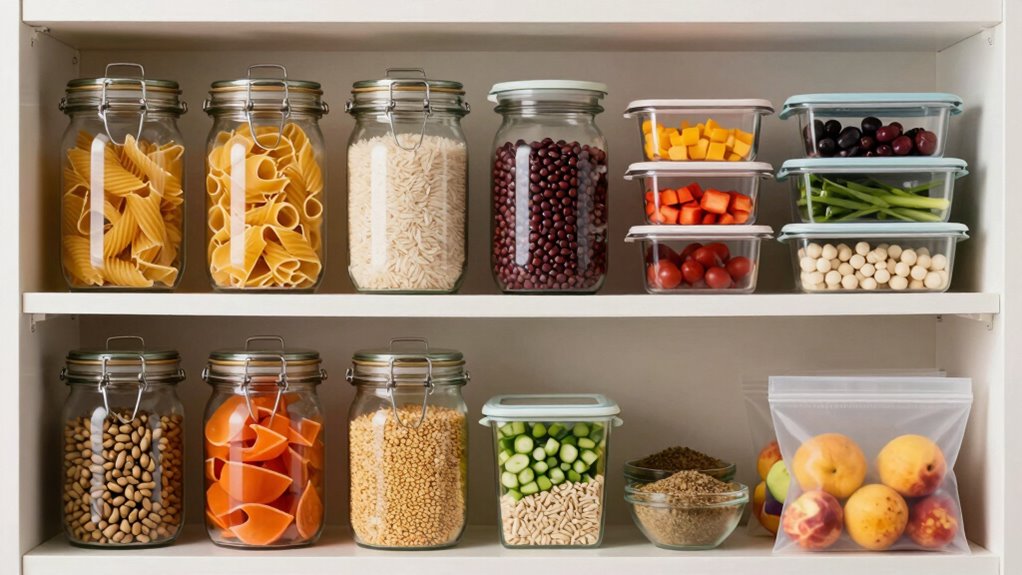
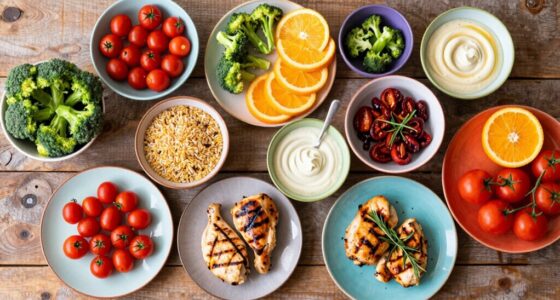
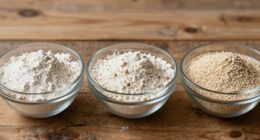
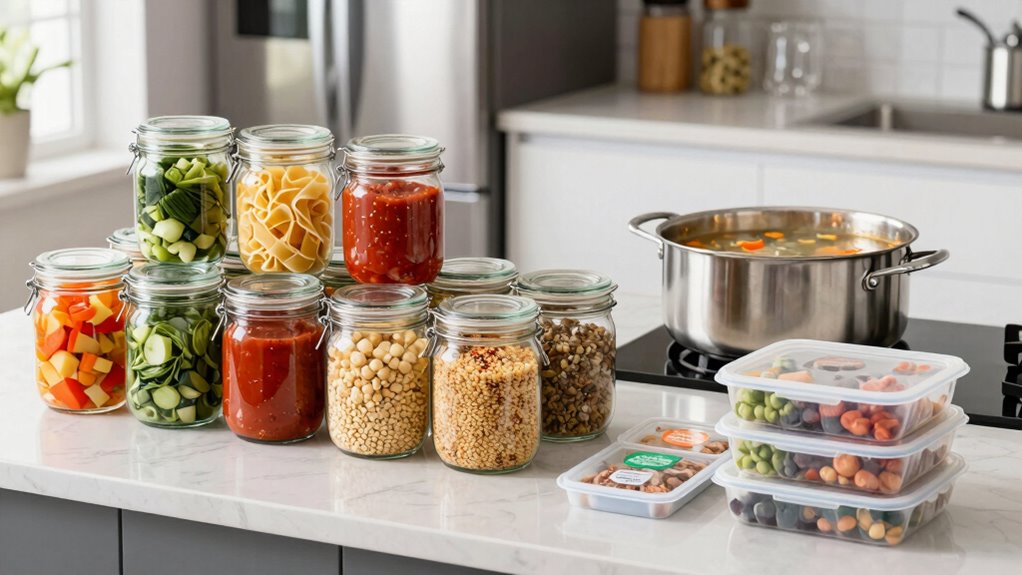
Creating a well-stocked convenience food pantry starts with gathering key staples that can be quickly turned into meals or snacks. Focus on versatile ingredients like canned beans, pasta, rice, and shelf-stable proteins such as tuna or chicken. Include snack ideas like nuts, dried fruit, granola bars, and popcorn for easy options. Keep a variety of spices, sauces, and condiments to enhance flavors effortlessly. With these essentials, meal planning becomes more efficient—you can assemble quick lunches or dinners without last-minute trips to the store. Stocking your pantry thoughtfully minimizes prep time and makes it easier to whip up satisfying meals or snacks on demand. Regularly check expiration dates and rotate supplies to ensure everything stays fresh and ready for your convenience food needs. Additionally, understanding the psychological factors behind food choices can help you select items that encourage healthier or more satisfying snacking habits. Incorporating food storage techniques can also extend the shelf life of your staples and reduce waste, ensuring your pantry remains efficient and well-stocked. Proper food organization with storage containers can help keep ingredients fresh longer and make your food prep even more streamlined.
Batch Prepare and Store Your Homemade Convenience Foods
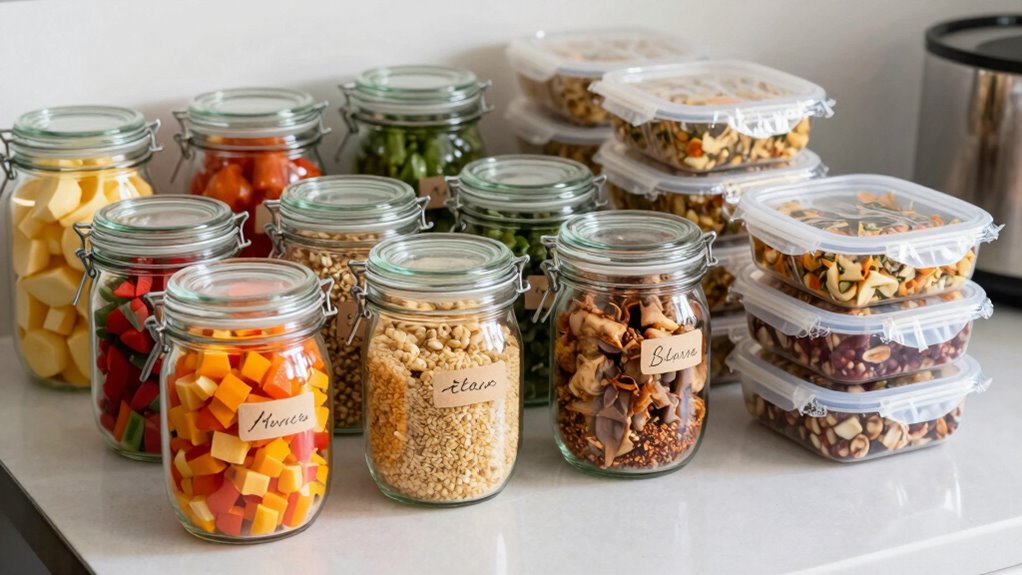
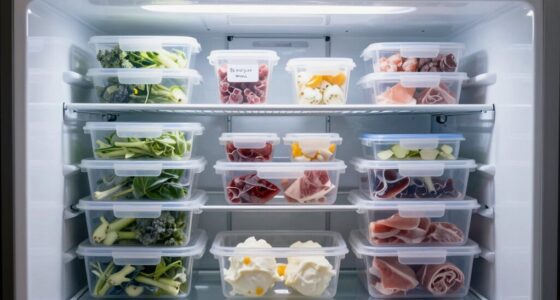
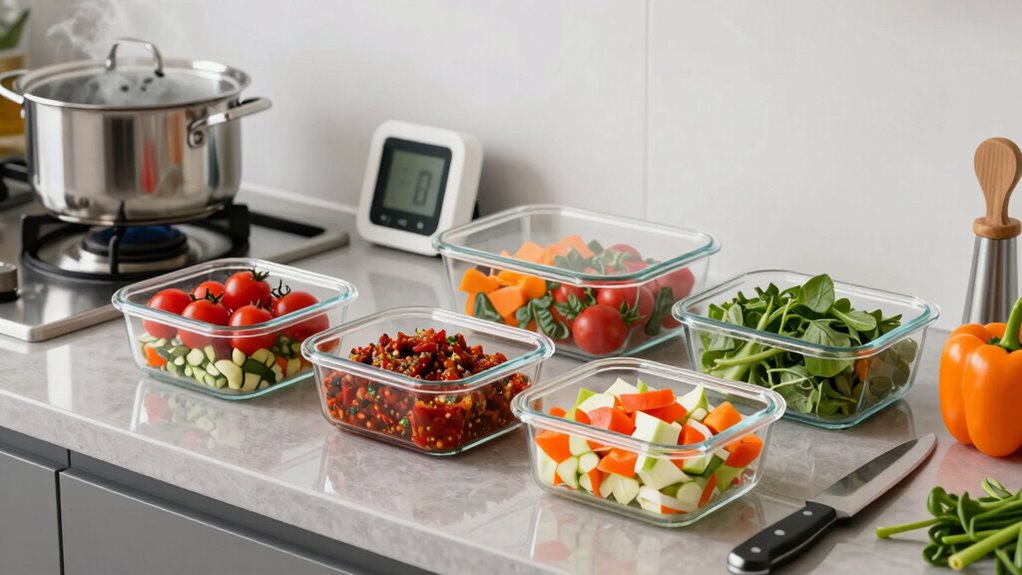
Batch preparing homemade convenience foods allows you to save time and reduce daily cooking effort. Using effective meal prep techniques, you can cook large quantities of meals or ingredients and store them for later use. Invest in quality storage containers that keep foods fresh and are easy to stack in your fridge or freezer. Label containers with dates to track freshness and prevent waste. Portioning foods into individual servings makes reheating quick and convenient, perfect for busy days. Focus on versatile ingredients like cooked grains, roasted vegetables, or pre-cooked proteins. Incorporating proper food storage techniques ensures your meals stay fresh and safe longer. Proper storage techniques involve understanding optimal temperature settings and packaging methods to maintain nutritional quality. Selecting the right temperature control methods helps preserve food safety and flavor. This approach helps you enjoy homemade convenience foods with minimal effort. Additionally, adopting storage best practices can further extend the shelf life of your prepared meals and maintain their nutritional quality. Being aware of global chaos affecting supply chains can help you plan your purchases and storage accordingly to avoid shortages.
Quick Make-Ahead Recipes for Breakfast, Lunch, and Dinner
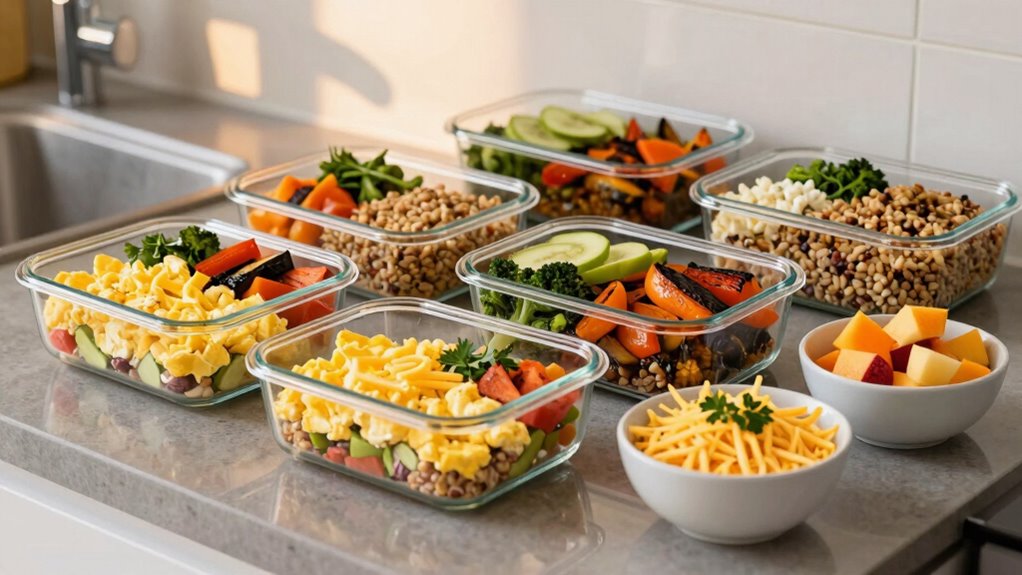
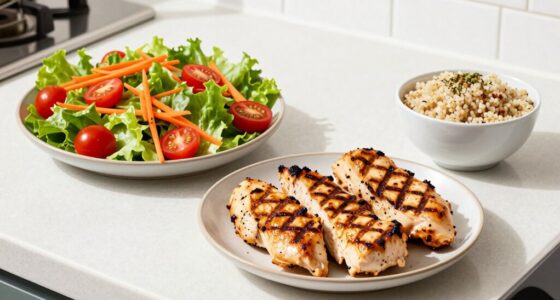
Once you’ve prepared and stored your staple ingredients, assembling quick make-ahead meals becomes a straightforward task. Meal prep tips help you streamline breakfast, lunch, and dinner options. For breakfast, prepare overnight oats or egg muffins that can be stored in the fridge and quickly heated. Lunches like salads with pre-cooked proteins or grain bowls save time. Dinner recipes such as casseroles or stir-fries can be assembled in advance and frozen. Ingredient substitutions, like using quinoa instead of rice or plant-based proteins instead of meat, give flexibility and cater to your preferences. Keep versatile ingredients on hand to mix and match easily. Incorporating food preservation techniques can extend the shelf life of your meals and prevent spoilage. Proper storage conditions are essential to maintain food quality and safety over time. Utilizing net worth knowledge can help you budget effectively for meal prep supplies, making your meal planning more sustainable. Understanding surface finishes and proper storage conditions can also help maintain the quality of your prepared foods over time. Additionally, selecting the right preservation methods can help you prevent freezer burn and preserve flavor. This approach ensures you have nutritious, ready-to-eat meals without sacrificing flavor or variety, making your busy days much more manageable.
How to Reheat and Use Your Prepared Convenience Foods
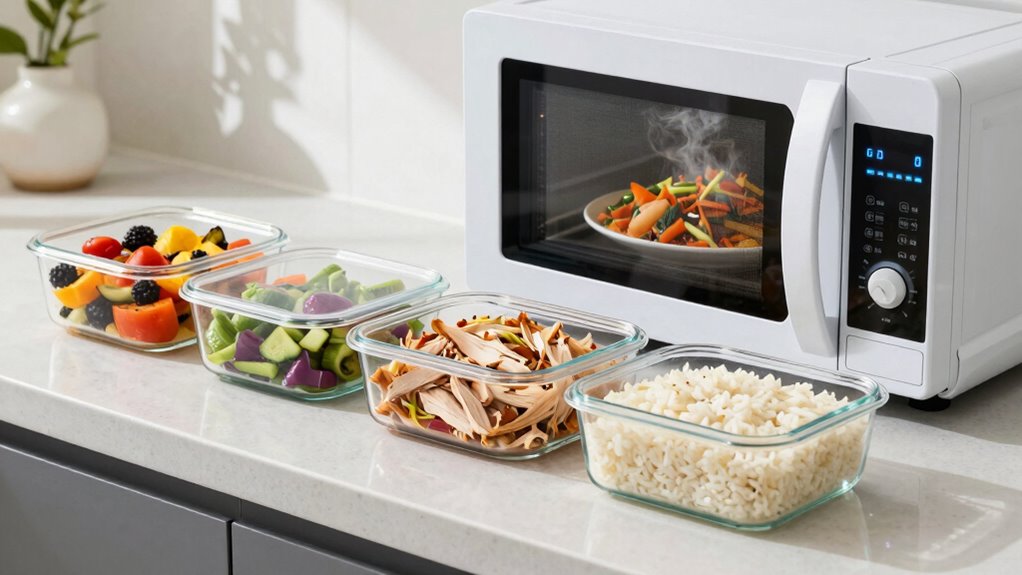
Reheating your prepared convenience foods efficiently guarantees they taste fresh and retain their quality. Use a microwave, stovetop, or oven based on the dish, and keep an eye on timing to prevent overcooking. To boost flavor, consider quick ingredient substitutions like adding fresh herbs or a splash of broth, which can make leftovers taste as good as new. For a more satisfying result, stir in a little cheese or a squeeze of lemon to enhance flavor and freshness. When reheating, cover your dish to retain moisture and heat evenly. Always check that food reaches the proper temperature for safety. Incorporating sound healing science and appropriate travel-friendly kitchen appliances into your reheating process can further ensure consistent results and save time. Additionally, using essential oils like lavender or peppermint during reheating can subtly improve the aroma and overall experience of your meal. Exploring AI-powered kitchen gadgets can also help optimize reheating times and methods for different foods. With these tips, you’ll maximize the use of your prep work, making every meal delicious and convenient.
How to Customize Convenience Foods for Your Dietary Needs
You can easily tailor convenience foods to fit your dietary needs by adjusting ingredients or swapping out common allergens. Adding your favorite spices or herbs helps incorporate personal flavors and makes meals more enjoyable. With a few simple tweaks, you’ll create customized options that suit your preferences perfectly. Incorporating nutrient-dense ingredients can also boost the nutritional value of your meals without sacrificing convenience.
Adjust Ingredients for Needs
Adapting convenience foods to suit your dietary needs starts with understanding their ingredients. To make these foods work for you, consider:
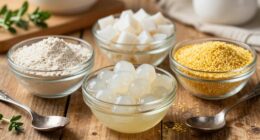
- Using ingredient substitutions like almond milk instead of dairy or gluten-free grains to match your dietary restrictions.
- Adjusting portion sizes to control calorie intake or meet your specific nutritional goals.
- Reading labels carefully to identify hidden allergens or unwanted additives, then swapping in healthier options.
Incorporate Personal Flavors
Personalizing convenience foods with your favorite flavors can make them more enjoyable and tailored to your dietary preferences. Flavor customization allows you to add herbs, spices, or sauces that suit your taste, transforming basic meals into personalized favorites. You can also make ingredient substitutions to meet your dietary needs, such as swapping out dairy for plant-based alternatives or using gluten-free grains. Experiment with different seasonings and condiments to find combinations that excite your palate. By customizing flavors, you guarantee your convenience foods align with your health goals and taste preferences. This approach keeps meals interesting and satisfying, making it easier to stick to your dietary plan while enjoying meals that feel uniquely yours.
Common Mistakes to Avoid When Making Convenience Foods

One common mistake is overloading your freezer, which can lead to poor air circulation and spoilage. You also might overlook food safety, risking contamination or improper storage. To keep your convenience foods fresh and safe, avoid these pitfalls and follow best practices.
Overloading Freezer Space
Overloading your freezer can quickly turn into a common mistake that hampers your convenience food efforts. When you cram too much in, it becomes difficult to find what you need and hampers proper freezer organization. Here are some pitfalls to avoid:
- Using mismatched storage containers that don’t stack well, wasting space.
- Filling every inch without leaving room for airflow, which can affect food quality.
- Not labeling items clearly, leading to confusion and possible waste.
To keep things efficient, invest in uniform storage containers that stack neatly. Leave some space between items for air circulation, and label everything with dates. This way, you maximize freezer space without sacrificing accessibility or food safety.
Ignoring Food Safety
Have you ever overlooked proper food safety practices when preparing convenience foods? Ignoring food safety can lead to contamination, putting your health at risk. Always wash your hands thoroughly before handling ingredients, and keep raw foods separate from cooked ones to prevent cross-contamination. Use clean utensils and surfaces, and cook foods to the proper internal temperatures to kill harmful bacteria. When freezing or storing prepared foods, ensure they are cooled quickly and stored in airtight containers. Don’t leave perishable items out too long, especially in warm environments. Skipping these steps compromises contamination prevention and can cause foodborne illnesses. Paying attention to food safety is essential to enjoy your convenience foods safely and avoid unnecessary health problems down the line.
How to Keep Your Convenience Foods Fresh and Extend Shelf Life
Keeping your convenience foods fresh starts with proper storage techniques. To extend shelf life, consider these methods:
- Use vacuum sealing to remove air, slowing spoilage and freezer burn.
- Store foods in airtight containers or resealable bags to prevent moisture and contamination.
- Keep perishables in the coldest part of your refrigerator or freezer, ideally at consistent temperatures.
Vacuum sealing is especially effective for prepped ingredients, as it preserves flavor and texture longer. Proper storage minimizes exposure to oxygen, light, and humidity, which accelerate spoilage. Label your containers with dates to track freshness. Regularly check stored foods and discard anything past its prime. By following these steps, you guarantee your convenience foods stay fresh, safe, and ready for quick meals whenever you need them.
Frequently Asked Questions
How Long Can Homemade Convenience Foods Typically Be Stored Safely?
You can usually store homemade convenience foods safely for 3 to 4 days in the refrigerator. Always check for spoilage signs like sour smell, slimy texture, or mold. If you want to keep them longer, freeze your prepared foods, which extends storage duration to about 2 to 3 months. Proper storage in airtight containers helps prevent spoilage and keeps your meals fresh and safe to eat.
What Are the Best Containers for Storing Homemade Convenience Foods?
Perfectly, plastic or glass is prime for your prep. You want airtight containers to keep your creations fresh, preventing spoilage and spills. Look for microwave-safe options, so reheating is quick and safe. Stackable, durable containers maximize space and make grab-and-go meals a breeze. Choose BPA-free plastics or borosilicate glass for added safety. With the right containers, you’ll keep your homemade convenience foods fresh, tasty, and ready when you are.
Can I Freeze All Types of Homemade Convenience Foods?
You can freeze most homemade convenience foods, but be mindful of packaging tips to prevent freezer burn. Use airtight containers or freezer bags, removing excess air. Some ingredient substitutions, like dairy or fresh herbs, might not freeze well and could alter texture or flavor. Always label your packages with date and contents. For best results, freeze foods in small portions, making it easier to reheat and enjoy quickly later.
How Do I Prevent Freezer Burn on Prepared Convenience Foods?
Think of your freezer like a treasure chest; you want to keep your gems (food) safe from the air’s harmful touch. To prevent freezer burn, use airtight packaging and make certain proper sealing—like locking your treasure chest tight. Wrap foods tightly with plastic wrap or foil before placing in sealed containers or bags. This creates a barrier, keeping your convenience foods fresh, flavorful, and free from that icy, unwanted spoilage.
Are There Any Safety Tips for Handling and Prepping Raw Ingredients?
To guarantee food safety and maintain hygiene practices, always wash your hands thoroughly before handling raw ingredients. Use clean utensils and cutting boards to prevent cross-contamination, and keep raw foods separate from cooked or ready-to-eat items. Store raw ingredients at proper temperatures, and cook them to recommended internal temperatures. These steps help you safely prep raw ingredients and avoid foodborne illnesses.
Conclusion
By investing a little effort upfront, you create a treasure trove of quick, delicious meals that save you time and money. With some simple prep and smart storage, you’ll always have tasty options at your fingertips, making mealtime smoother and more enjoyable. Embrace the art of homemade convenience, and you’ll find yourself savoring the satisfaction of meals made easy—without the hassle. Happy prepping, and enjoy your stress-free cooking journey!