Using the lid on your Dutch oven is essential because it traps steam during baking, which creates a moist environment that helps your bread develop a glossy, crackly crust and an open, tender crumb. The lid also keeps the heat evenly distributed, promoting better oven spring and browning. Without it, your bread may not achieve the professional-quality crust or texture you’re aiming for. Keep exploring to discover more tips for perfecting your bread baking technique.

Get kitchen gear delivered free with Prime
- Fast, free delivery on millions of items
- Prime Video, Amazon Music and more included
- Member-only deals all year
Key Takeaways
- The lid traps steam, promoting a glossy, crackly crust and open crumb similar to professional baking environments.
- It maintains moisture inside, preventing the crust from forming too early and allowing better oven spring.
- Covering the dough creates an oven-like environment, essential for even heat distribution and optimal crust development.
- Removing the lid later enhances browning, crispiness, and depth of flavor in the crust.
- The lid’s heat retention ensures consistent baking conditions, resulting in bakery-quality bread at home.
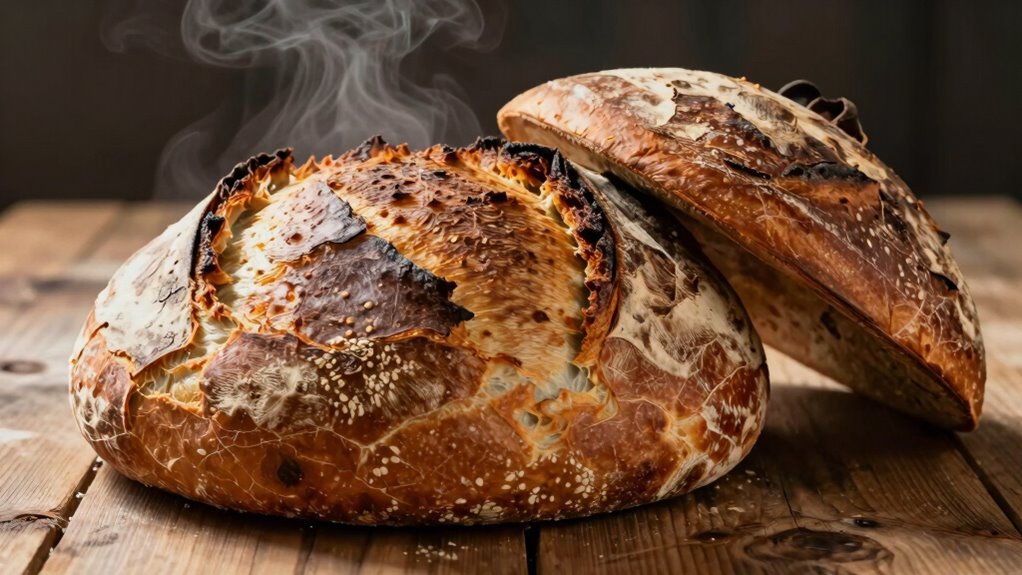
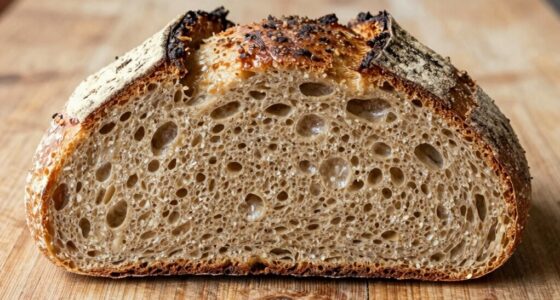
Making perfect Dutch oven bread is easier than you might think, and it yields a crusty, artisan loaf right in your own kitchen. The secret lies in mastering a few key techniques, especially the use of the lid, which elevates your bread-making game. When you utilize artisanal techniques, you’re embracing methods that have been perfected over generations, resulting in a loaf that has a deeply caramelized crust and a tender, open crumb. The lid traps steam inside the Dutch oven during baking, creating an environment similar to professional bread ovens, which is essential for that signature crust.
Mastering the Dutch oven lid creates bakery-quality crust and crumb at home.
Before you even begin mixing your dough, proper oven prep is crucial. Preheating your Dutch oven well in advance ensures that it’s hot enough to give your bread an immediate burst of heat upon baking. A hot oven helps the bread rise quickly, creating a thick crust that’s both crispy and flavorful. You want your Dutch oven to be at least 450°F (232°C) when you place your dough inside. To achieve this, place the empty Dutch oven with its lid in the oven during the preheat stage. This way, the vessel heats evenly, and the lid retains moisture that your bread needs to develop that perfect crust. The importance of temperature control cannot be overstated in achieving bakery-quality results. Proper temperature management is crucial for consistent oven spring and crust development. Maintaining the right oven temperature is also key to controlling bread expansion and ensuring an even bake. Additionally, ensuring the oven is fully preheated minimizes temperature fluctuations that could affect your bread’s rise and texture.
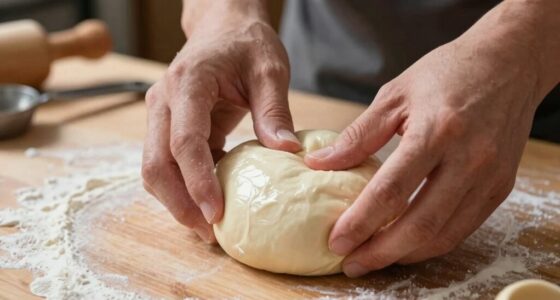
When you shape your dough, keep in mind that the surface tension created during shaping is essential for a beautiful oven spring— the rapid rise that occurs in the first few minutes of baking. Once shaped, transferring the dough into the hot Dutch oven can be tricky but rewarding. Many bakers use parchment paper to lift the dough, which prevents sticking and makes handling easier. When you place the dough into the preheated vessel, quickly cover it with the lid. This is the step where the lid’s role becomes clear: it traps steam, keeping the dough moist and allowing the bread to expand fully before the crust sets.
During baking, the lid ensures that the moisture stays inside, which results in that glossy, crackly crust that artisanal bread is known for. Without the lid, the crust might become too thin or tough too quickly, sacrificing that desirable texture. After the initial bake, removing the lid allows the top to brown further, giving your bread that deep color and crunch. This process highlights how the lid transforms an ordinary loaf into something extraordinary, mimicking professional bakery results with just a simple household item. The combination of proper oven prep and artisanal techniques centered around the lid’s role makes all the difference in your homemade bread. Paying close attention to baking environment and how it influences steam retention is key to mastering this technique.
Products Worth Considering

Le Creuset Enameled Cast Iron Round Dutch Oven, 5.5 Qt, Flame

Le Creuset Signature 6.5-Quart Deep Round Dutch Oven with Light Gold Crucible Knob, Enameled Cast Iron, Bleu Riviera

Ninja Artisan 5-in-1 Portable Electric Pizza Oven, Blue & Gold
As an affiliate, we earn on qualifying purchases.
Frequently Asked Questions
Can I Use Any Type of Dutch Oven for Baking Bread?
You can’t use just any Dutch oven for baking bread, as Dutch oven aesthetics matter for heat retention and durability. Look for one with a tight-fitting lid to trap steam, which creates that perfect crust. Alternative materials like cast iron or enameled options work best, but avoid thin or lightweight pots that won’t hold heat well or might crack. Selecting the right Dutch oven guarantees your bread turns out beautifully every time.
How Does the Lid Affect the Bread’s Crust Formation?
The lid transforms crust texture and moisture retention, trapping steam to create a glossy, crunchy crust. It seals in moisture, keeping the bread moist inside while allowing the exterior to crisp up. Without the lid, steam escapes, resulting in a softer crust and less shine. With the lid, you get a bakery-quality crust with perfect crunch and moisture, making your bread irresistibly golden and beautifully textured.
What Are Common Mistakes When Using the Lid During Baking?
You might overuse or remove the lid too early, disrupting crust formation. Using the lid with improper kneading techniques or dough hydration can trap too much moisture, resulting in a gummy crust. Make sure to follow recommended kneading methods and maintain ideal dough hydration; this helps the lid create a perfect crust. Avoid peeking too often, as this releases steam and affects the bread’s rise and crust development.
Should I Preheat the Dutch Oven Before Adding the Dough?
Yes, you should preheat the Dutch oven before adding the dough. This alternative preheating method creates a hot environment, helping your bread develop a crispy crust. Using lid temperature control is key; keep the lid on during the initial baking to trap steam and improve rise. You can preheat by placing the empty Dutch oven in the oven or heating it on the stovetop, ensuring it’s hot enough before you add your dough.
How Do I Prevent the Bread From Sticking to the Lid?
Did you know that proper flour coating can reduce sticking by up to 70%? To prevent your bread from sticking to the lid, guarantee your dough has the right hydration level—too wet, and it might stick more. Lightly dust the lid with flour or use parchment paper to create a barrier. Regularly check and reapply flour if needed, and avoid adding oil, which can cause sticking.
Conclusion
When you lift that heavy lid, it’s like opening a treasure chest of steam and heat, transforming your dough into crusty, artisan bread. The Dutch oven’s magic trap seals in moisture, giving your bread that perfect rise and crackly crust. With each bake, you’re not just making bread—you’re summoning a warm, golden masterpiece from simple ingredients. Embrace the lid’s secret, and watch your baking journey turn into a delicious adventure worth savoring.