
To fix soggy pie bottoms, you should build a strong moisture barrier by blind baking your crust with parchment paper and pie weights, which prevents liquids from soaking in. Brush the crust with egg wash beforehand for added protection, drain excess liquids from fillings, and bake at a high temperature for a crispy crust. Combining techniques like these can make a big difference—discover more tips to keep your crust crisp and delicious.
Key Takeaways
- Blind bake the crust with parchment paper and pie weights to create a moisture-resistant barrier.
- Brush the crust with egg wash or melted butter before baking to enhance its moisture resistance.
- Drain excess liquid from fillings and incorporate thickening agents like cornstarch for reduced seepage.
- Bake the pie on a preheated surface or baking stone for even heat and crisp bottom crust.
- Use crushed cookies or breadcrumbs on the crust surface to absorb excess moisture during baking.
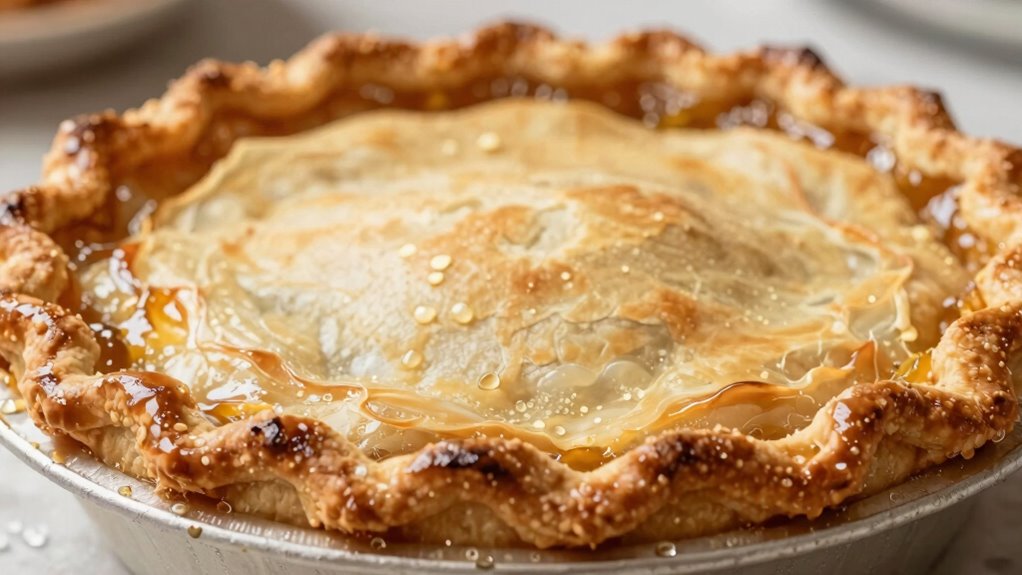
If you’ve ever bitten into a pie only to find a soggy bottom ruining the first bite, you’re not alone. Soggy pie bottoms are a common frustration, especially when you’re eager to enjoy a perfectly baked dessert. The key to avoiding this disappointment lies in understanding how pastry texture and moisture absorption interact during baking. When a pie’s bottom becomes soggy, it’s usually because the filling releases moisture that seeps into the crust, compromising its crispness and creating a damp, unappetizing texture. To prevent this, you need to create a moisture barrier that keeps the crust dry and flaky, ensuring a satisfying crunch with every bite.
One effective way to improve pastry texture and reduce moisture absorption is to pre-bake the crust, also known as blind baking. By partially baking the bottom crust before adding the filling, you set a firm, dry surface that resists sogginess. This step is especially important for fillings that release a lot of liquid, such as fruit pies or custards. To do this properly, line your crust with parchment paper or aluminum foil, then fill it with pie weights or dried beans. Bake until the crust turns a light golden color. This process firms up the pastry and acts as a barrier, preventing excess moisture from soaking in once the filling is added. Incorporating thickening agents like cornstarch or flour into your filling can further help control moisture levels and keep the crust crisp. Using moisture control techniques can make a significant difference in achieving a crispy crust. Additionally, applying a thin layer of egg wash or melted butter** before blind baking creates an extra moisture-resistant barrier, further enhancing the crust’s ability to stay crisp. Using a baking stone or pizza steel** can also help distribute heat evenly and promote a sturdier crust.
Pre-bake your crust with pie weights to create a dry, firm barrier against sogginess.
Another trick is to brush the crust with a layer of egg wash or a thin coating of melted butter before blind baking. This creates a physical barrier that enhances pastry texture and reduces moisture absorption. Additionally, using ingredients like crushed cookies or breadcrumbs on the crust’s surface before filling can help absorb excess moisture and keep the bottom crisp. For fruit fillings, consider draining excess liquid or tossing the fruit with a little cornstarch or flour, which thickens the juices and prevents them from seeping into the crust.
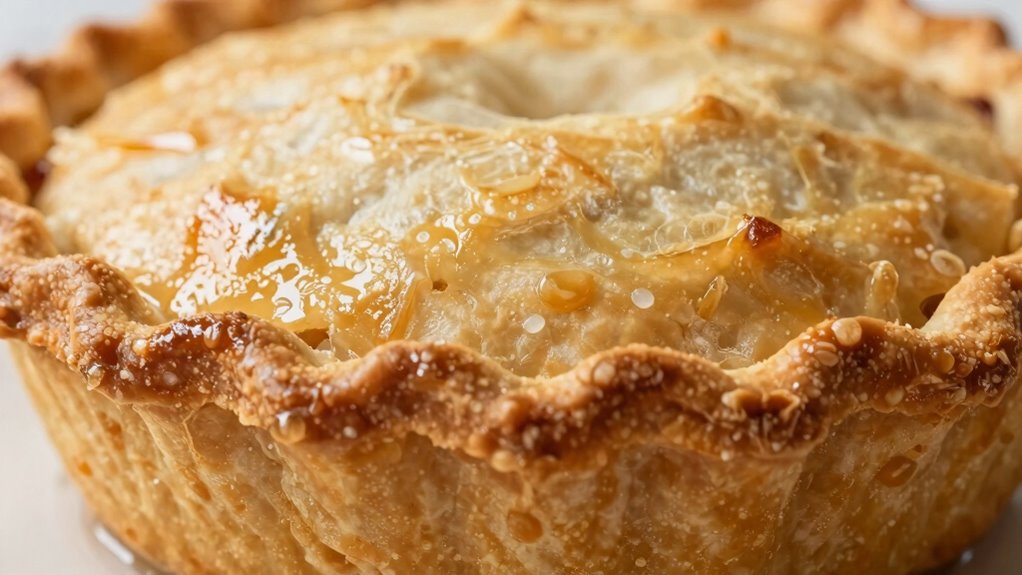
Finally, controlling oven temperature and baking time plays a vital role. Baking at a sufficiently high temperature ensures the crust bakes quickly and develops a sturdy, flaky texture. If you notice the bottom still feels soggy after baking, you can try placing the pie on a lower rack or even baking it on a preheated baking stone, which helps conduct heat directly to the bottom and promotes even, thorough baking. With these methods, you’ll create a moisture-resistant barrier that preserves the pastry texture and keeps your pie bottom crisp, making every slice a delight rather than a soggy disappointment.
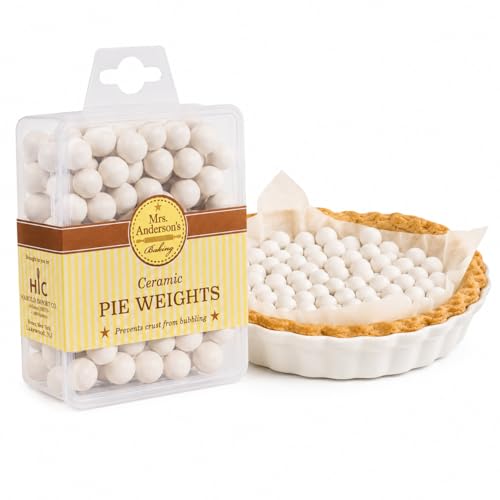
Mrs. Anderson's Baking Ceramic Pie Crust Weights, 135 Count, Natural Stoneware, For Blind Baking Pie Crusts And Tart Shells With Even Baking Results
Mrs. Anderson's Baking Ceramic Pie Crust Weights: reusable blind baking pie crust tool for empty pie and tart…
As an affiliate, we earn on qualifying purchases.
As an affiliate, we earn on qualifying purchases.
Frequently Asked Questions
Can Certain Types of Pie Fillings Prevent Soggy Bottoms?
Certain types of pie fillings can help prevent soggy bottoms, especially if you choose fillings with a thicker consistency. Fruit moisture varies, so using less juicy fruits or pre-cooking them to reduce moisture helps. You can also thicken fillings with cornstarch or flour, creating a firmer filling that doesn’t seep into the crust. This approach maintains the filling’s flavor while keeping the crust crisp and delicious.
How Does Oven Temperature Affect Pie Crust Moisture?
Your oven temperature directly impacts the crust texture by controlling moisture evaporation. Baking at a higher temperature quickly sets the crust, forming a barrier that prevents excess moisture from seeping in and making it soggy. Conversely, a lower temperature may leave the crust undercooked and damp. Maintaining the right baking temperature guarantees your pie crust remains crisp and flaky, with ideal moisture levels for that perfect texture.
Are There Specific Types of Cookware That Help Avoid Sogginess?
Your pie can’t survive the sogginess apocalypse without the right cookware! Non-stick cookware is excellent at preventing moisture buildup, keeping your crust crispy. Glass pans are also a game-changer—they allow you to see when the bottom gets golden and help distribute heat evenly. Using these options, you’ll avoid sogginess and enjoy perfectly crisp crusts every time, turning your baking into an epic success story.
How Long Should a Pie Cool Before Serving to Prevent Soggy Bottoms?
You should let your pie cool for at least two hours before serving. This cooling time allows the pie crust to firm up and the filling to set, which helps prevent soggy bottoms. During this period, the moisture from the filling can evaporate slightly, maintaining the right filling consistency and keeping the crust crisp. Rushing this step often results in a soggy bottom, so patience pays off for a perfect pie.
Can Pre-Baking the Crust Fully Eliminate Moisture Issues?
Pre-baking your crust acts like a fortress, standing strong against moisture’s invasion. This pre-baking strategy fully dries out the crust, creating a barrier that keeps filling’s juices from seeping in. As a result, you’ll achieve a crisp, tender crust with a delightful texture. Without it, moisture can sneak in, turning your pie into a soggy mess. So, yes—pre-baking can effectively eliminate those pesky moisture issues, giving you that perfect crust every time.
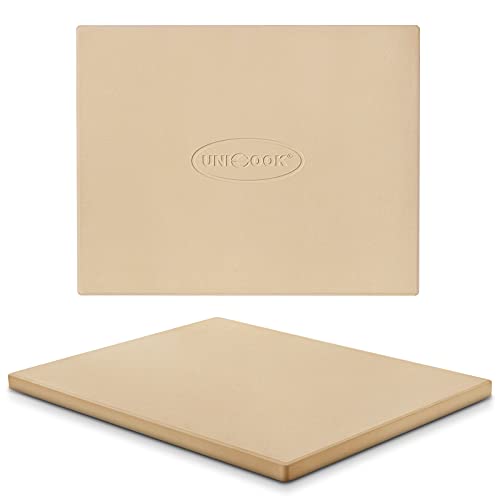
Unicook Pizza Stone, Heavy Duty Cordierite Pizza Pan for Oven and Grill, Thermal Shock Resistant Baking Stone for Bread, 15 X 12 Inch Rectangular, 6.8 lbs
Rectangular Baking Stone: This baking stone measures 15" L x 12" W with 0.6" thickness and weighs about…
As an affiliate, we earn on qualifying purchases.
As an affiliate, we earn on qualifying purchases.
Conclusion
To keep your pie bottoms from turning soggy, think of the moisture barrier as a trusty shield that keeps excess juices at bay. When you pre-bake your crust or add a layer of chocolate or breadcrumbs, you’re fundamentally giving it armor against the sogginess monster. With these simple tricks, your pie will stand tall and proud, not drooping under the weight of moisture. Now, bake with confidence and enjoy that perfectly crisp crust every time!

Manna Pro Egg Cleanser Natural Enzyme Wash for Fresh Eggs, 16 oz
REVEALS EGGS’ NATURAL BEAUTY: Helps restore clean, attractive shells by gently removing dirt, grime, and surface contaminants
As an affiliate, we earn on qualifying purchases.
As an affiliate, we earn on qualifying purchases.

csyls Easily Adjustable Silicone Pie Crust Protector, Fits8-11.5" Pie Crust
[NO More Burnt Edges]Ensure a perfect golden-brown finish every time! Our adjustable silicone pie crust shield protects your…
As an affiliate, we earn on qualifying purchases.
As an affiliate, we earn on qualifying purchases.