
To achieve flat cake layers and prevent domes, start by preheating your oven to 325°F and checking the temperature with a thermometer. Mix your batter gently to avoid adding too much air, and then tap the pans on the counter to release any trapped bubbles. Grease and line your pans, using baking strips for even baking. Level your layers after cooling for a smooth finish. Master these techniques, and you’ll discover even more tips for perfect cakes.
Key Takeaways
- Preheat the oven to 325°F and use an oven thermometer for consistent baking temperature, preventing domed layers.
- Use baking strips around cake pans to ensure even heat distribution and promote flat cake layers.
- Fill cake pans evenly and gently tap them on the counter to release air bubbles before baking.
- Allow batter to rest briefly after mixing to reduce air incorporation, contributing to flat layers.
- Trim any domed tops with a serrated knife after cooling for a level surface, enhancing frosting application.
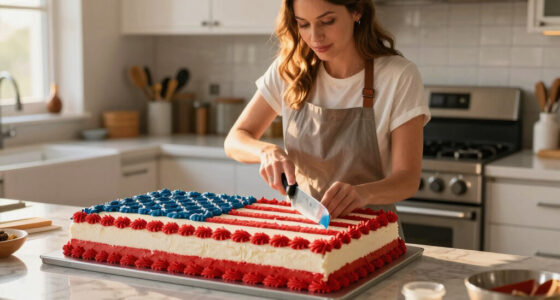
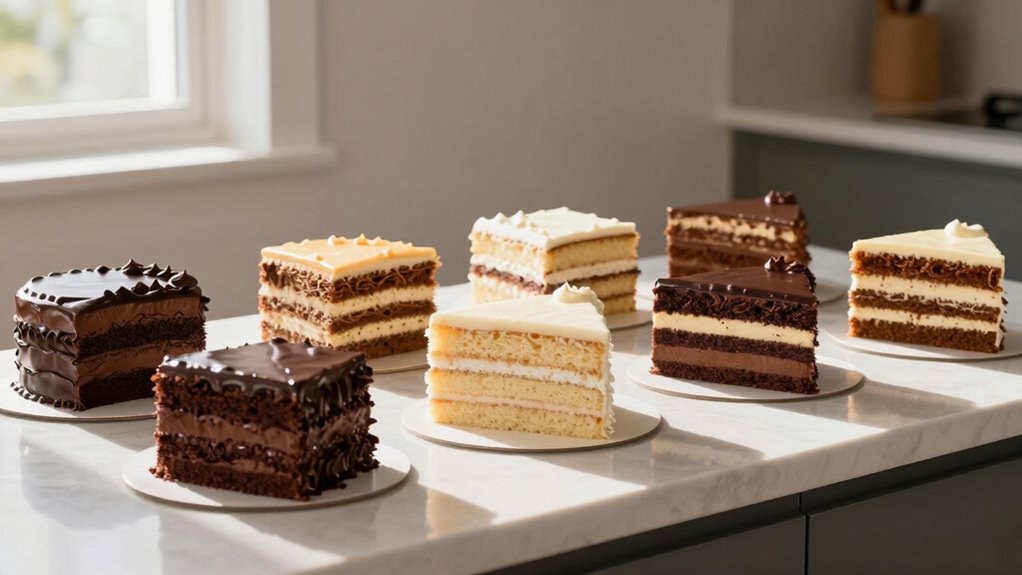
When it comes to baking the perfect cake, flat layers are essential for a professional finish. You want those layers to stack neatly, allowing your frosting strategies to shine without any awkward domes ruining the aesthetic. Achieving flat cake layers isn’t just luck; it involves some key baking techniques and careful layer preparation.
First, let’s talk about oven temperature. Preheating your oven to the right temperature is critical. If your oven runs hot, your cake will rise too quickly and create that dreaded dome. A consistent temperature around 325°F is ideal for most cakes. It allows for even baking, giving you a nice flat surface. Consider using an oven thermometer to verify that your temperature is accurate. It can make all the difference! Oven temperature control is vital for consistent results. Additionally, maintaining a stable oven temperature throughout baking helps prevent uneven rising and promotes flat layers. Regularly checking your oven’s calibration can ensure it’s operating correctly and prevent unexpected doming.
Next, think about your batter. Make certain you’re mixing it properly. Overmixing can incorporate too much air, leading to uneven rising. Use a gentle hand and mix just until the ingredients are combined. Also, let your batter rest for a few minutes before pouring it into the pans. This can help reduce bubbles and promote a more uniform texture. Proper batter mixing is crucial for achieving consistent cake layers. Additionally, employing gentle folding techniques helps prevent excess air from being incorporated. Incorporating proper mixing techniques can also help in controlling the rise and preventing domes.
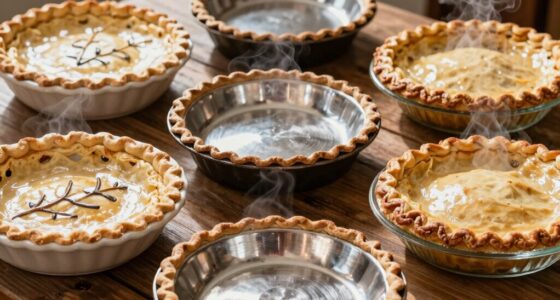
Now, let’s focus on layer preparation. Properly greasing and lining your cake pans is essential. Use parchment paper on the bottom and grease the sides to prevent sticking. You might even want to use a baking strip around the pans. These strips help insulate the sides, allowing the cakes to bake evenly and reducing the chances of doming. For best results, ensure the pans are filled evenly to avoid lopsided layers. Using baking strips can also promote more even rising and help prevent doming from the start. Ensuring the batter is spread evenly with a spatula before baking can also improve layer flatness.
Once you pour your batter into the pans, it’s time to level it off. You can gently tap the pans on the counter to release any air bubbles, which helps in achieving that flat surface. If you notice that your layers are still doming after baking, don’t fret. You can trim the tops with a serrated knife for that perfect flatness. Using a baking strip can also promote more even rising and help prevent doming from the start. Cooling the layers completely before trimming is essential to prevent cracking or uneven cuts.
After your layers have cooled completely, you can start with your frosting strategies. A flat surface makes it easier to apply frosting evenly, leading to a more polished look. Use a bench scraper to create smooth sides and a level top. With some practice, you’ll find that achieving flat cake layers becomes second nature, enhancing both the appearance and taste of your creations. So, roll up your sleeves and get baking!

AcuRite 00620A2 Stainless Steel Oven Thermometer (150°F to 600°F)
Oven and grill safe for leave-in use while cooking
As an affiliate, we earn on qualifying purchases.
As an affiliate, we earn on qualifying purchases.
Frequently Asked Questions
Can I Use This Method for All Cake Types?
Yes, you can use this method for various cake types. It works well with different baking techniques, ensuring your cakes stay flat, regardless of flavor combinations. Whether you’re making a rich chocolate cake or a light vanilla sponge, adjusting layer heights is key. Just remember to monitor your oven temperature and baking time for the best results. With practice, you’ll achieve perfectly flat layers every time, enhancing your cake’s overall appearance and taste.
What Tools Do I Need for This Setup?
You’ll need a few essential baking tools for this setup. Start with quality cake pans that are the right size for your recipe. Use leveling techniques like a serrated knife or a cake leveler to guarantee even layers. Don’t forget your oven settings; accurate temperature is vital for flat cakes. A kitchen scale can help with precise measurements, too. With these tools, you’re all set for perfectly flat cake layers!
How Do I Store Leftover Cake Layers?
To store leftover cake layers, wrap each layer tightly in plastic wrap to keep them fresh. Place the wrapped layers in an airtight container or a resealable freezer bag for added protection. You can refrigerate them for up to a week or freeze them for longer storage. Just make sure to label the bags with the date. When you’re ready to use them, let them thaw in the fridge before decorating or serving.
Can I Freeze Cake Layers After Baking?
Absolutely, you can freeze cake layers after baking! It’s like preserving a piece of heaven for later. Wrap your cooled layers tightly in plastic wrap, then foil, ensuring no air gets in—this is key to great freezing techniques. When you’re ready to enjoy them, just thaw in the fridge overnight. If you’re in a rush, leave them at room temperature for a couple of hours. Your cake will taste fresh as ever!
What Frosting Works Best With Flat Layers?
For flat cake layers, a buttercream frosting works best because it has a smooth consistency that complements your cake’s texture. You’ll want to aim for a medium consistency, which spreads easily without being too runny. Flavor pairing is essential, so consider a vanilla or chocolate buttercream for classic options, or try cream cheese frosting for a tangy twist. This combination enhances the cake’s taste while ensuring a beautiful finish.

Wilton Bake Even Cake Strips, Prevents Domed Tops & Cracked Edges for Moist, Level Cakes, Fits 8-Inch & 10-Inch Round Cake Pans, 2-Piece Set
Prevent domed tops, cracked surfaces, and crusty edges, ensuring moist, level cakes with no trimming required.
As an affiliate, we earn on qualifying purchases.
As an affiliate, we earn on qualifying purchases.
Conclusion
So, you’ve mastered the art of baking flat cake layers, only to realize your friends are now asking for towering masterpieces. Isn’t it ironic? You finally dodge the dreaded dome, and suddenly everyone expects you to channel your inner pastry chef. But hey, with these tips in hand, you can embrace the challenge. Just remember, the flatter the layer, the taller the expectations. Enjoy the sweet irony of your baking journey—it’s all part of the fun!

WiuCYS XL Adjustable Cake Layer Cutter Leveler Slicer for 6-16 Inch Large Layer Cakes, Stratification Auxiliary Leveling Baking Tool, Bread Slicer, Toast Cutter, Stainless Steel Food Saw
【Large and Foldable】: Full length 20 1/2 inch, for large cakes from 6 to 16 inches; Foldable design…
As an affiliate, we earn on qualifying purchases.
As an affiliate, we earn on qualifying purchases.

Cake Pan Liner, Non-Stick Parchment Paper Strips for Baking & Cooking – Greaseproof Side Liner Roll for Springform & Round Tins, Heat Resistant up to 446℉ – 2.75in x 164ft
Perfect Fit & Extra Long: Customizable Size for Any Pan. Never struggle with mismatched liners again. Our 2.75"…
As an affiliate, we earn on qualifying purchases.
As an affiliate, we earn on qualifying purchases.