
Autolyse is a game-changing step that boosts your dough’s strength. By mixing just flour and water, you allow the ingredients to hydrate and start fermentation. This process enhances gluten formation, making your dough lighter and airier. With proper resting, your mixture becomes easier to shape and less sticky. Plus, the enzymatic activity adds natural sweetness and flavor complexity to your bread. There’s even more to explore about how this technique can elevate your baking!
Key Takeaways
- Autolyse involves mixing flour and water, allowing for enhanced hydration and gluten development in the dough.
- This technique boosts enzymatic activity, converting starches into sugars that feed yeast during fermentation.
- A resting period of 20 to 60 minutes improves dough texture, making it more pliable and easier to shape.
- Stronger, well-hydrated dough retains air bubbles better, resulting in lighter and airier bread with a desirable crust.
- Adding salt and yeast post-autolyse simplifies incorporation, leading to more forgiving dough for experimentation and refinement.
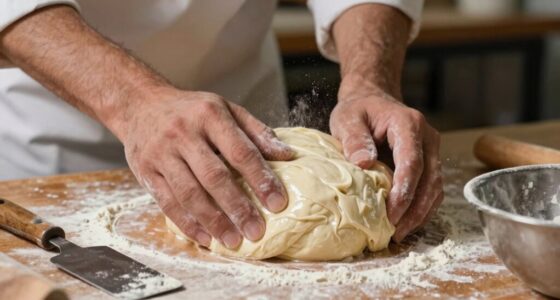
Autolyse is a game-changer in bread-making that can elevate your baking skills. This simple yet effective technique lays the foundation for a stronger, more flavorful loaf. When you apply the autolyse method, you’re fundamentally allowing the flour and water to mingle before adding any additional ingredients like salt or yeast. This step not only enhances the dough’s hydration but also kickstarts the fermentation process, leading to better texture and flavor.
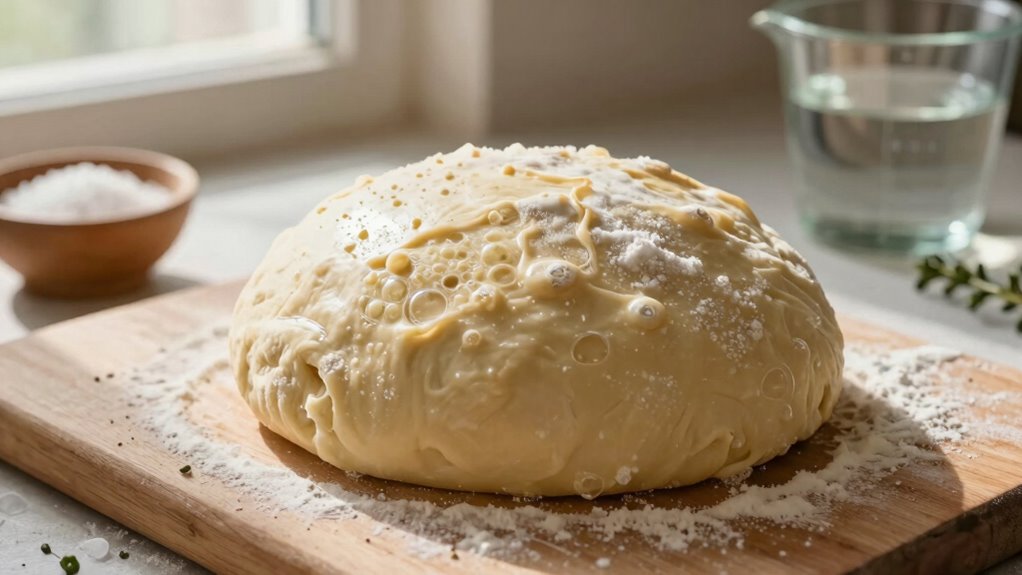
You might be wondering why this initial mixing is so vital. By letting the dough rest after you’ve combined flour and water, you’re giving the flour time to absorb the liquid fully. This increased dough hydration encourages the gluten formation, which is crucial for structure. The more gluten you develop, the stronger your dough becomes, allowing it to hold onto air bubbles during fermentation. This leads to a lighter, airier bread that has that perfect crust you’re aiming for.
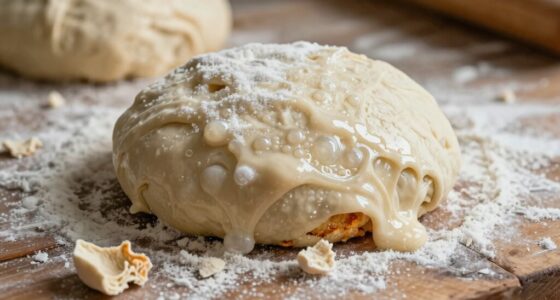
During this resting phase, enzymes in the flour begin breaking down starches into sugars. These sugars not only feed the yeast but also contribute to the overall flavor profile of your bread. As you proceed with the fermentation process, this natural sweetness becomes more pronounced, making your bread taste richer and more complex. It’s fascinating how such a simple step can make such a significant difference, isn’t it?
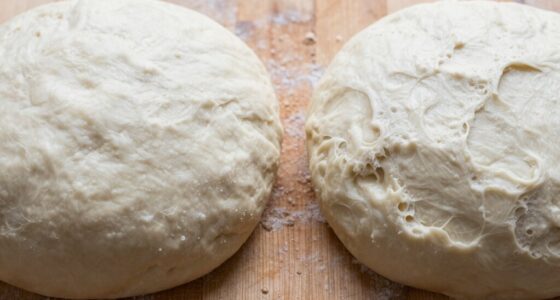
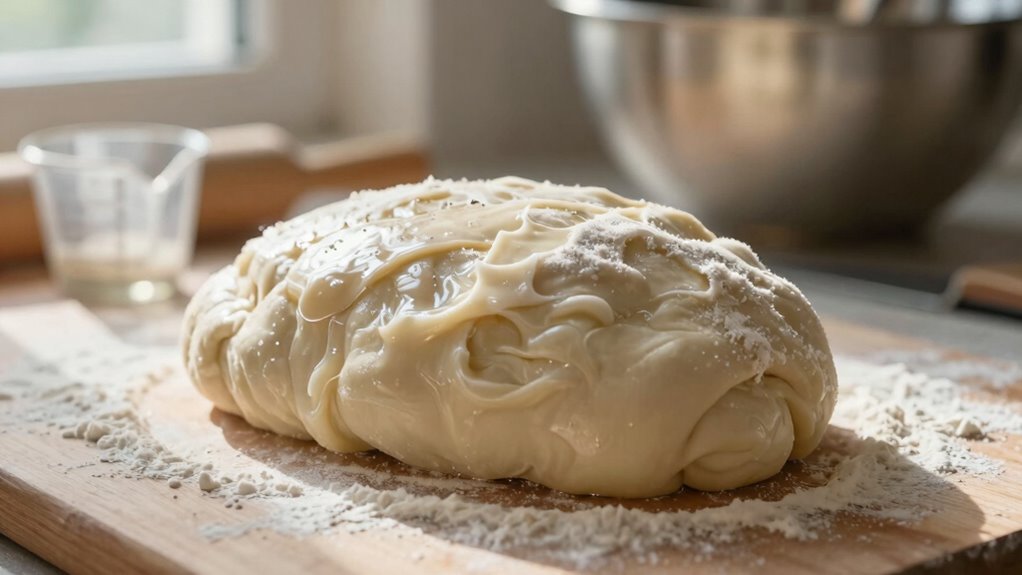
You should aim for a resting time of about 20 to 60 minutes, depending on your recipe and the type of flour you’re using. If you’re working with high-protein flour, a longer autolyse may yield even better results. This time allows the dough to relax, making it easier to shape later on. Plus, you’ll notice that it becomes more pliable and less sticky, which means less frustration when you’re trying to form your loaf.
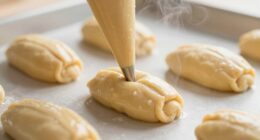
Once you’ve completed the autolyse, you can add in your salt and yeast. You’ll find that incorporating these ingredients into your well-hydrated dough is a breeze compared to skipping the autolyse. The result? A dough that’s not only stronger but also more forgiving, allowing you to experiment and refine your technique. Embracing the autolyse method is one of the best ways to elevate your bread-making game, ensuring that each loaf is a delightful success. So why not give it a try? You’ll be amazed at the difference it makes!

Ajrwiiy Large Glass Bowl for Sourdough Bread Making, 4.7 Quart Glass Mixing Bowl for Sourdough Bread with Lid, Clear Breads Proofing Bowl with Covers, Ideal for Kitchen, Storage
High-Quality Glass: This large glass mixing bowl is made of durable glass, which is heat and freeze-resistant, ensuring…
As an affiliate, we earn on qualifying purchases.
As an affiliate, we earn on qualifying purchases.
Frequently Asked Questions
Can I Autolyse Without Using a Mixer?
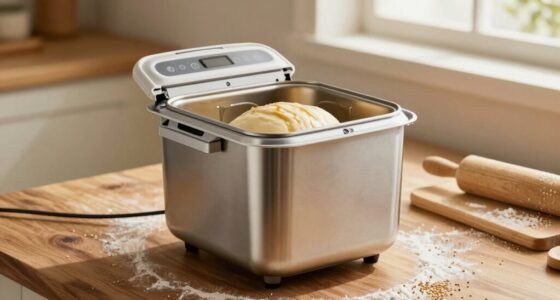
Yes, you can definitely autolyse without a mixer! Just hand mix your flour and water until they’re combined, ensuring good dough hydration. Let it rest for about 20 to 30 minutes. This simple method allows the flour to absorb water and develop gluten without the need for mechanical mixing. You’ll still achieve a great texture and structure in your dough. So, roll up your sleeves and get mixing!
How Long Should the Autolyse Period Last?
The autolyse duration typically lasts between 20 minutes to 2 hours, depending on your dough’s hydration level. If you’re aiming for ideal hydration, a longer autolyse can help improve gluten development. Just mix your flour and water, then let it rest. Keep an eye on the dough; you want it to show signs of elasticity and smoothness before you continue with your recipe. Adjust the time based on your specific needs!
What Types of Flour Are Best for Autolyse?
Choosing flour for autolyse is like picking the perfect paint for a masterpiece. You’ll want high-protein flours, like bread or whole wheat, as they create better gluten structure. These flours also handle higher hydration levels, which enhances dough elasticity. Experimenting with different types can lead to surprising results. Just remember, the right flour makes the process smoother and your final loaf more delightful. Enjoy the journey of discovery!
Does Autolyse Affect the Flavor of the Bread?
Yes, autolyse does affect the flavor of the bread. By allowing the flour and water to mingle, it kickstarts flavor development and enhances the overall taste. This process helps enzymes break down starches and proteins, leading to a richer fermentation impact when you add yeast later. As a result, you’ll notice a more complex flavor profile in your final loaf, making your bread not just better in texture but also in taste.
Can I Autolyse With Added Salt or Yeast?
Imagine you’re a gardener, nurturing a seed in rich soil. You wouldn’t sprinkle salt or fertilizer too early, right? Similarly, during autolyse, it’s best to hold off on adding salt or yeast. Salt can hinder the dough’s hydration and gluten development, while yeast activation needs time. Let your flour and water mingle first, allowing them to bloom beautifully. Once that’s done, introduce salt and yeast for a thriving dough!

SURDOCA Dough Scraper Bench Scraper – 3P 4.7×3.7" Plastic Flexible Bowl Scraper, Sharp Edge & Angles Cake Scraper. Non-Slip Bakeware Decorating Tools Sculpting & Modeling Tools – Green+White+Green
👩🍳👩🍳👩🍳PERFECT WORK WITH VARIOUS KNEADING BOWLS — Instead of traditional rigid PP plastic, These flexible dough scrapers are…
As an affiliate, we earn on qualifying purchases.
As an affiliate, we earn on qualifying purchases.
Conclusion
Incorporating autolyse into your baking routine can truly elevate your bread-making game. Did you know that autolyse can increase dough strength by up to 30%? This simple step not only enhances gluten development but also improves flavor and texture. By allowing your flour and water to mingle before adding yeast and salt, you’re setting your dough up for success. So next time you bake, remember: a little patience can lead to a lot of deliciousness!

Dimpola Banneton Bread Proofing Basket – 9 inch Banneton Basket Set of 2 Sourdough Proofing Basket Round Proofing Bowls Handmade Rattan Baskets and Liners
PERFECT FOR THE BAKER IN YOUR HOME: You will be impressed with our bread proofing baskets' quality and…
As an affiliate, we earn on qualifying purchases.
As an affiliate, we earn on qualifying purchases.
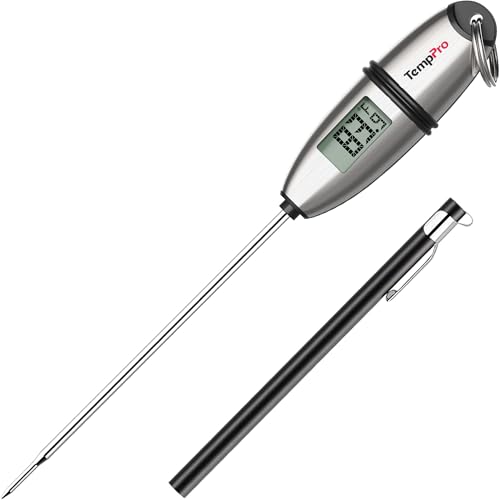
TempPro TP02S Digital Food Thermometer for Cooking Bread Baking Sourdough Liquids, Meat Thermometer Digital with Super Long Probe for Kitchen Candy Making Gift for Dad Husband (Previously ThermoPro)
Fast and Accurate Reading: Kitchen thermometer for cooking features a 1 second readout speed and high accuracy of…
As an affiliate, we earn on qualifying purchases.
As an affiliate, we earn on qualifying purchases.