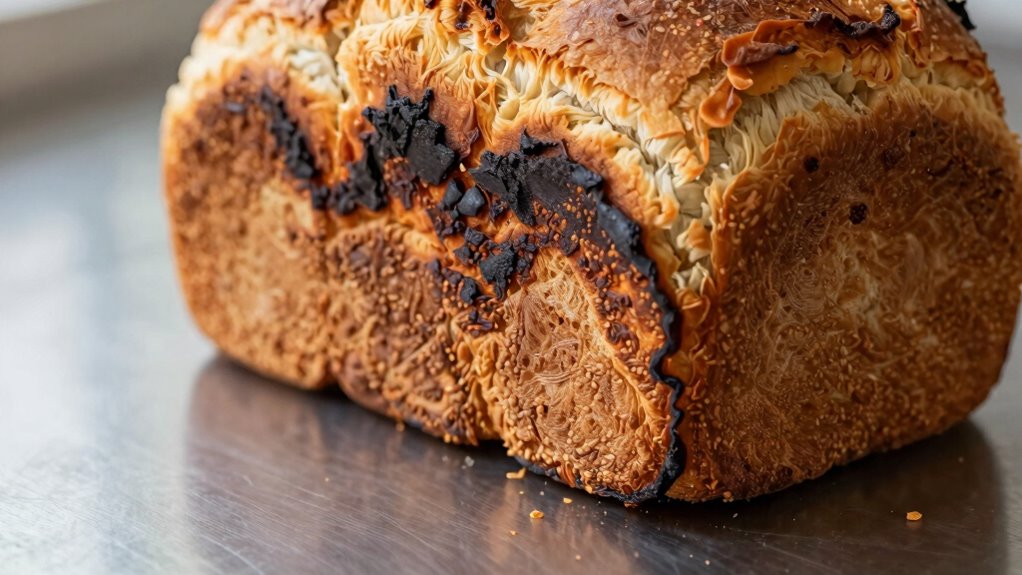
To prevent burnt bread bottoms, try using a simple heat shield like a baking stone, heat diffuser, or even aluminum foil placed on the rack below your dough. These barriers block direct heat and help distribute it more evenly, reducing scorching. You can also tent the loaf with foil if it browns too quickly. Small tweaks can make a big difference—continue exploring these tips for perfect, even baking every time.
Key Takeaways
- Use a heat shield or baking stone to evenly distribute heat and prevent direct contact with the oven floor.
- Place the baking rack in the middle or upper-middle position to avoid bottom heat exposure.
- Lower the oven temperature by 25°F to 50°F to slow browning and prevent burning.
- Monitor the bread during baking; tent with foil if the bottom starts to burn.
- Use parchment paper or silicone mats to buffer direct heat and protect the bread bottom.
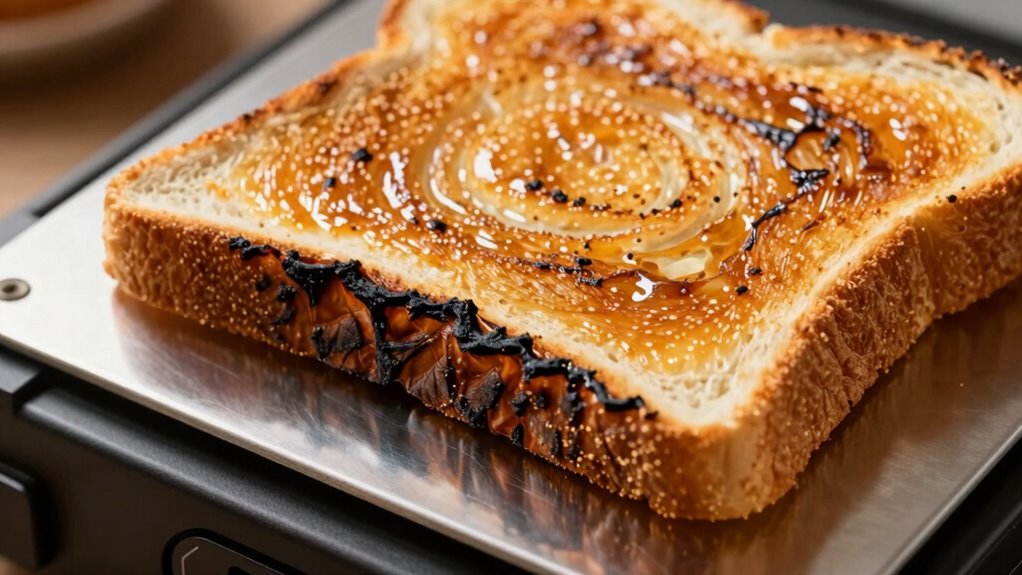
If you’ve ever had a slice of bread with a burnt bottom, you know how frustrating it can be to ruin breakfast. That burnt crust can turn an otherwise perfect slice into a disappointment. The good news is, often, the problem isn’t your bread or your oven but how you’re using it. Adjusting your baking temperature and oven rack placement can make a significant difference in preventing that undesirable char.
First, consider the baking temperature. Many home ovens run hotter than the dial indicates, especially if they haven’t been calibrated recently. If your bread consistently burns at the bottom, try lowering the oven temperature by 25°F to 50°F. This gives the bread more time to bake evenly without scorching the bottom. It might seem like a small change, but it can prevent the heat from being too intense near the baking surface. Remember, high heat isn’t always necessary for bread; a gentler, more consistent temperature produces better results. Additionally, understanding your oven’s heat distribution can help you make more precise adjustments, as oven calibration can vary widely between models. Knowing how your oven heats can help you optimize your baking process and avoid common pitfalls like burnt bottoms.
Next, take a look at your oven rack placement. Placing the bread too close to the heat source, typically at the bottom rack, can cause the bottom to burn before the middle is fully baked. Moving your rack to a higher position, such as the middle or upper-middle, allows for more even heat distribution. This way, the bread bakes more uniformly, and you avoid that overly crisp or burnt bottom. If your oven has uneven heating, experimenting with rack placement becomes even more vital. You can also consider using a baking stone** or an insulated baking sheet for better heat distribution. Incorporating heat shields** can also help reduce direct exposure to intense heat, providing a buffer to prevent burning.
Another simple fix is to use a baking stone or an insulated baking sheet. These tools help distribute heat more evenly across the bottom of the bread. Additionally, placing a piece of parchment paper or a silicone baking mat underneath your loaf can serve as a heat buffer, preventing direct contact with the hot surface and reducing the risk of burning. Such tools are especially helpful if your oven tends to have hot spots or uneven heat zones. Being aware of your oven’s hot spots can help you plan your baking more effectively and prevent uneven browning.
Keeping an eye on your bread during the last few minutes of baking also helps. If you notice the bottom is browning too quickly, you can tent the loaf with foil or turn down the oven temperature slightly. Remember, every oven is different, so some trial and error might be necessary to find the perfect settings for your setup. Monitoring your bread as it bakes is a key part of achieving consistent results and avoiding burnt bottoms.
In essence, adjusting your baking temperature and changing oven rack placement are simple, effective ways to fix a burnt bread bottom. By making these small tweaks, you’ll find that your bread bakes more evenly, giving you a beautifully golden crust without the bitterness of burnt bits. Paying attention to baking techniques and understanding your oven’s quirks can help you achieve bakery-quality results at home.

Unicook 20 x 13.5 Inch Extra Large Pizza Stone for Oven and Grill, 10.6 Lbs
- Large Pizza Stone Size: 20 x 13.5 inches for multiple pizzas
- High-Temperature Resistance: Heat resistant up to 1450℉
- Even Heat Distribution: Ensures consistent baking without hot spots
As an affiliate, we earn on qualifying purchases.
As an affiliate, we earn on qualifying purchases.
Frequently Asked Questions
Can I Use Aluminum Foil as a Temporary Heat Shield?
Yes, you can use aluminum foil as a temporary heat shield. It works by reflecting heat away from the bread crust, preventing it from burning. To do this, gently fold the aluminum foil around the top of your bread or place it loosely over the crust. Keep an eye on your baking, as aluminum foil is a quick fix and might need adjustment to avoid uneven cooking or a soggy crust.
How Long Does the Heat Shield Fix Typically Last?
A simple heat shield fix like aluminum foil usually lasts about one to two baking sessions, but its repair durability depends on oven temperature and usage. Notably, most temporary shields withstand around 15-30 minutes of high heat. For longer-lasting results, consider a proper repair or replacement. Keep in mind, the longevity of a makeshift shield isn’t guaranteed, so monitor your oven’s performance closely to avoid further damage.
Will This Fix Affect the Taste or Texture of Bread?
This fix won’t change the taste or texture of your bread. It’s designed to improve baking consistency by preventing burnt bottoms without affecting bread quality. You might notice a more even crust and better overall results. Since it doesn’t alter ingredients or baking methods, your bread’s flavor remains intact. So, you can enjoy consistently perfect loaves without worrying about flavor or texture changes.
Is This Method Safe for All Types of Bread?
This method is generally safe for most types of bread, but you should consider bread preservation and oven troubleshooting. While it helps prevent burnt bottoms, delicate breads like artisan or gluten-free varieties might need extra care. Always monitor your oven temperature and baking time to avoid uneven heat. If you notice any issues, adjust accordingly, as this guarantees your bread cooks evenly without compromising taste or texture.
Can I Prevent the Burnt Bottom Without Using a Heat Shield?
Think of your oven like a stage spotlight—too close, and the spotlight burns the performer. You can prevent burnt bread bottoms by carefully adjusting oven temperature and baking duration. Lowering the oven temperature slightly and reducing baking time often does the trick without a heat shield. Keep an eye on your bread, and experiment with small adjustments until you find the perfect balance for evenly baked loaves.

Heat Equalizer 9.25" Cast Iron Heat Diffuser/Simmer Plate, Gas & Induction
- Perfect Fit Diameter: 9.25-inch for most cookware
- Versatile Compatibility: Works with gas, electric, glass, ceramic
- Enhanced Cooking Efficiency: Simmering and defrosting made easier
As an affiliate, we earn on qualifying purchases.
As an affiliate, we earn on qualifying purchases.
Conclusion
So, next time you’re battling a burnt bread bottom, remember the simple heat shield trick. Who knew that a little aluminum foil could save your breakfast mood? It’s amusing how such a tiny fix can turn your soggy disaster into a perfectly toasted triumph. Irony at its finest: all it takes is a bit of foil to outsmart your oven’s heat, proving sometimes the simplest solutions are the most satisfying. Happy toasting!

Mrs. Anderson's Baking Pie Crust Protector Shield, Set Of 2, Fits 9.5-Inch And 10-Inch Pie Plates, Prevents Over-Browning And Spills
- Protects Pie Crust Edges: Prevents over-browning and burning
- Durable Aluminum Material: Strong, long-lasting construction
- Fits 9.5 and 10-inch Pies: Set of 2 shields for various sizes
As an affiliate, we earn on qualifying purchases.
As an affiliate, we earn on qualifying purchases.
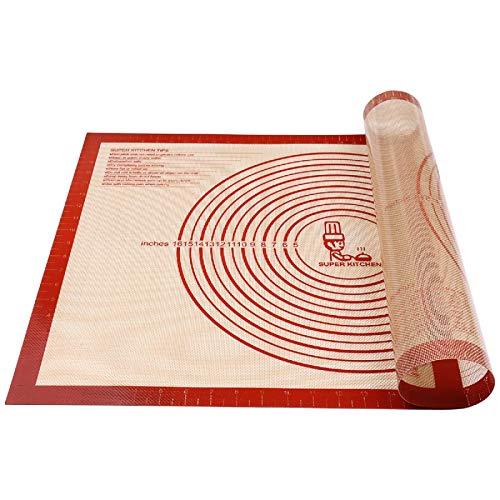
Non-slip Silicone Pastry Mat Extra Large Measurements 28''x 20'' Baking Mat
- Premium Food-Grade Silicone: Safe and healthy material
- Non-Stick Surface: Easy to clean and use
- Enhanced Thickness: 0.7mm for durability and stability
As an affiliate, we earn on qualifying purchases.
As an affiliate, we earn on qualifying purchases.