Keeping your Vitamix 5200 clean is essential for maintaining its performance and extending its lifespan. Regular cleaning prevents residue buildup and ensures your blends stay fresh and safe. This guide provides clear, step-by-step instructions to clean your Vitamix 5200 efficiently and safely.

Get kitchen gear delivered free with Prime
- Fast, free delivery on millions of items
- Prime Video, Amazon Music and more included
- Member-only deals all year
Follow these straightforward steps to keep your blender in top shape, whether after daily use or for deep cleaning sessions.
Key Takeaways
| Self-Cleaning Feature | Use the Vitamix’s self-cleaning mode for quick maintenance. |
| Avoid Harsh Cleaners | Stick to mild detergents to prevent damage. |
| Regular Cleaning | Clean after each use to prevent residue buildup. |
| Component Care | Check and replace blades or seals as needed. |
Gather Your Supplies
- Dish soap or mild detergent
- Warm water
- Soft sponge or cloth
- Vitamix cleaning brush (optional)
Initial Rinse
Fill the container halfway with warm water and add a few drops of dish soap. Place the lid on securely and run the blender on high for 30-60 seconds to loosen residues.
Manual Cleaning
- Turn off and unplug the blender before cleaning.
- Remove the container from the base.
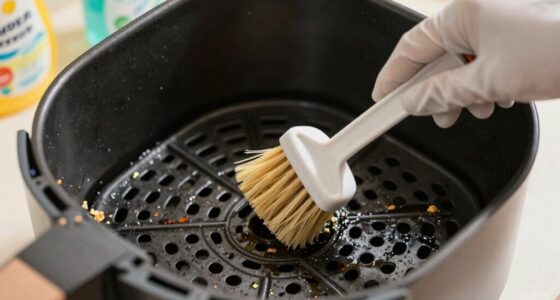
- Use a soft sponge or brush to scrub the inside of the container, especially around the blades and lid area.
- Pay special attention to the blade assembly; avoid using abrasive materials that could scratch the container.
Deep Cleaning and Disinfection
For a thorough clean, fill the container with warm water and a small amount of vinegar or baking soda. Run the blender on high for 30 seconds, then rinse thoroughly with clean water.
Cleaning the Base and Blades
Wipe the motor base with a damp cloth. Never immerse the base in water. For the blades, if they are removable, rinse and gently scrub with a brush. If your model uses the wet blade assembly, consider replacing it periodically for optimal performance.
The Products in This Guide

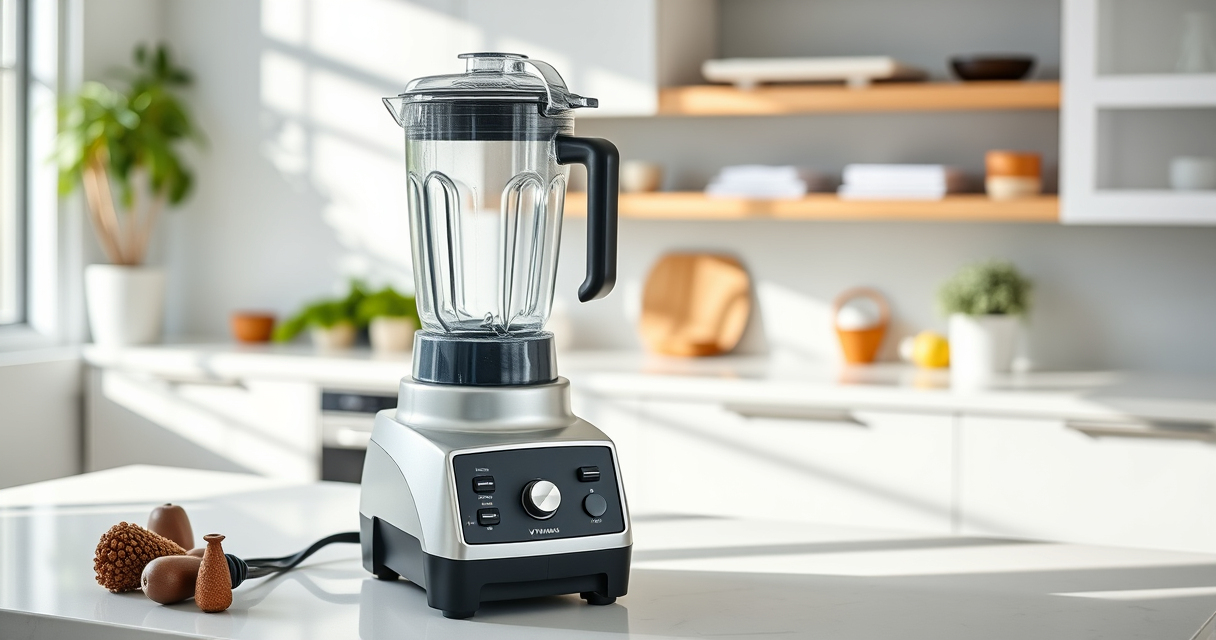
Vitamix 5200 Blender
- ✔ Capacity: 64 oz
- ✔ Weight: 14 pounds
- ✔ Dimensions: 8 x 7 x 20 inches

Vitamix Wet Blade Assembly
- ✔ Blade Diameter: 3.5 inches
- ✔ Material: Stainless steel
- ✔ Compatibility: Older standard containers
Vitamix 5200 Blender
The Vitamix 5200’s self-cleaning feature simplifies maintenance, making it easy to keep the blender spotless with just water and soap. Regular cleaning ensures consistent blending results and extends the longevity of the blades and motor.
Pros:
- Easy to use self-cleaning cycle
- Effective at removing residues
- Saves time on manual cleaning
- Maintains blender hygiene
Cons:
- Requires running the cleaning cycle
- Cannot clean the motor base
- Blades need occasional inspection
Best for: Everyday users who want quick, reliable cleaning
Not ideal for: Deep cleaning of motor parts or replacing blades
Bottom line: The Vitamix 5200 offers a straightforward, effective self-cleaning process perfect for daily maintenance.
Vitamix Wet Blade Assembly
If you need to replace your blade, the Vitamix Wet Blade Assembly is a reliable choice, designed for quick swaps and long-lasting performance, especially for wet ingredients and tough blends.
Pros:
- Hardened stainless-steel blades
- Double set of bearings
- Handles fibrous produce well
- Quiet operation
Cons:
- Compatible only with older containers
- Not for newer models
- Replacement needed over time
Best for: Users with older Vitamix models needing blade replacement
Not ideal for: For newer Vitamix containers or models
Bottom line: A sturdy, long-lasting blade assembly that keeps your older Vitamix running smoothly.
Frequently Asked Questions
Can I put my Vitamix container in the dishwasher?
Yes, the container is dishwasher safe, but it’s best to place it on the top rack and avoid harsh detergents to preserve the material.
How often should I clean my Vitamix?
It’s recommended to clean your Vitamix after each use, especially if you are blending sticky or strong-smelling ingredients.
What should I do if my blender develops a strange odor?
Run the self-cleaning cycle with vinegar or baking soda to eliminate odors. Ensure thorough rinsing afterward.
Can I replace the blades myself?
Yes, if your model uses a removable wet blade assembly, you can replace it following the manufacturer’s instructions for safety.
Keep Your Vitamix 5200 Spotless for Peak Performance
Regular cleaning is a simple but vital part of maintaining your Vitamix 5200. By following these steps, you ensure your blender operates smoothly and produces perfect blends every time. A well-maintained blender not only performs better but also lasts longer, making your investment worthwhile.
Affiliate disclosure: As an Amazon Associate we earn from qualifying purchases. Prices and availability are accurate as of the time of publishing.
Halloween Picks
halloween
As an affiliate, we earn on qualifying purchases.