
Keeping your Keurig K-Mini clean is essential for maintaining optimal performance and ensuring delicious coffee every time. Regular cleaning prevents mineral buildup, flavor transfer, and mechanical issues.
Follow these simple, step-by-step instructions to safely and effectively clean your Keurig K-Mini, whether you’re doing routine maintenance or troubleshooting common issues.
Key Takeaways
| Regular Descaling | Use descaling solutions every 3 months to remove mineral buildup. |
| Daily Maintenance | Rinse the brew head and drip tray regularly to prevent residue. |
| Use Proper Accessories | Opt for a reusable filter like My K-Cup for ground coffee brewing. |
| Avoid Harsh Chemicals | Stick to Keurig-approved cleaning solutions for safe, effective cleaning. |

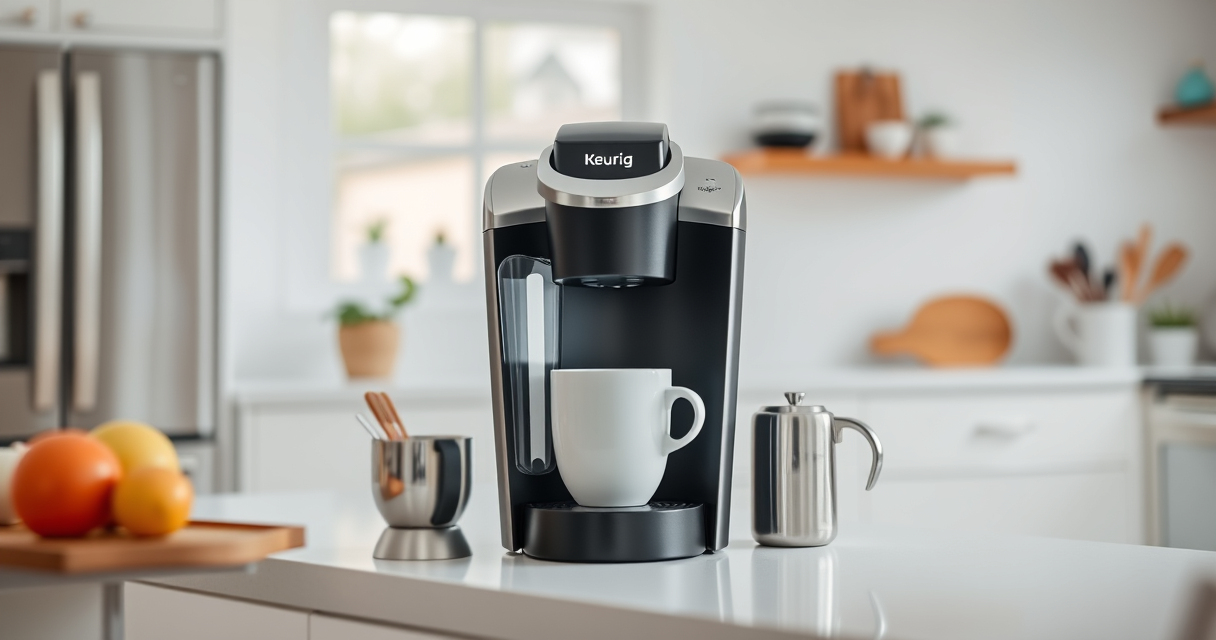
Keurig K-Mini Single Serve K-Cup Pod Coffee Maker, 6 to 12oz Brew size, with Cord Storage, Perfect for Small Spaces, Black
FITS ANYWHERE: Less than 5 inches wide, perfect for small spaces.
As an affiliate, we earn on qualifying purchases.
Gather Your Cleaning Supplies
- Descaling solution (such as the Keurig descaling kit)
- Rinse pods or a clean cloth
- Water
- Optional: My K-Cup reusable filter

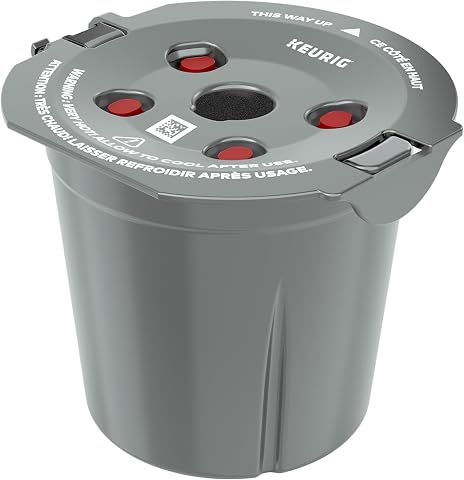
My K-Cup® Reusable Coffee Filter
BREW WITH GROUND COFFEE: Brew a single cup using your own favorite ground coffee
As an affiliate, we earn on qualifying purchases.
Perform a Daily Rinse
- Turn off the machine and unplug it.
- Remove the water reservoir and empty any remaining water.
- Wash the reservoir with warm, soapy water, then rinse thoroughly.
- Refill with fresh water and run a brew cycle without a K-Cup or with a rinse pod to flush the system.
Descale Your Keurig K-Mini
- Pour the descaling solution into the water reservoir according to the product instructions.
- Fill the reservoir with water if needed.
- Place a mug on the drip tray.
- Run a brew cycle without a K-Cup to circulate the descaling solution.
- Repeat until the reservoir is empty.
- Follow with 2-3 rinse cycles using just water to clear any residue.
Clean the Brew Head and Drip Tray
Remove the drip tray and wash it with warm, soapy water. Wipe the brew head gently with a damp cloth to remove any coffee oils or residue. Dry all parts thoroughly before reassembling.
Optional: Use a Reusable Ground Coffee Filter
If you prefer ground coffee, consider using a reusable filter like the My K-Cup. Clean the filter regularly with warm soapy water to prevent buildup and flavor transfer.
The Products in This Guide
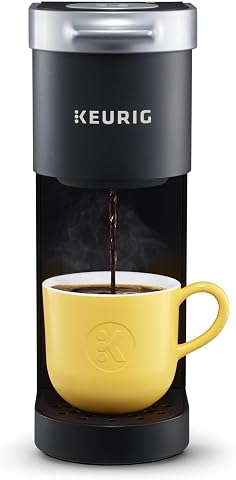
Keurig K-Mini Single Serve K-Cup Pod Coffee Maker
- ✔ Brew Size: 6-12oz
- ✔ Width: Less than 5 inches
- ✔ Auto Off: Yes
My K-Cup® Reusable Coffee Filter
- ✔ Material: Plastic & Silicone
- ✔ Compatibility: Keurig K-Mini
- ✔ Dishwasher Safe: Yes
Keurig K-Mini Single Serve K-Cup Pod Coffee Maker
The Keurig K-Mini is easy to clean and maintain with proper descaling and regular rinsing. Following these steps ensures your machine stays in top condition and brews great coffee every time.
Pros:
- Compact and easy to clean
- Effective descaling with official kit
- Removable drip tray for quick cleanup
- Suitable for small spaces
Cons:
- Requires regular descaling
- Limited brew size options
- Not compatible with certain accessories
Best for: Small-space users who want straightforward maintenance
Not ideal for: Users needing advanced features or larger capacity
Bottom line: Routine cleaning keeps your Keurig K-Mini functioning flawlessly and your coffee tasting fresh.
My K-Cup® Reusable Coffee Filter
The My K-Cup reusable coffee filter is an excellent accessory for brewing your own ground coffee with the Keurig K-Mini, offering convenience and flavor control.
Pros:
- Reusable and eco-friendly
- Brews full-flavored coffee
- Easy to clean
- Compatible with Keurig models
Cons:
- Requires pre-cleaning
- May need occasional replacement
- Slightly more effort than K-Cup pods
Best for: Coffee enthusiasts wanting custom blends
Not ideal for: Those preferring the convenience of K-Cup pods
Bottom line: A versatile accessory that enhances your brewing options and reduces waste.
Frequently Asked Questions
How often should I descale my Keurig K-Mini?
It’s recommended to descale your Keurig K-Mini every 3 months to prevent mineral buildup and ensure optimal performance.
Can I use vinegar instead of descaling solutions?
While some users opt for vinegar, Keurig recommends using their descaling solution for best results and to prevent potential damage.
How do I clean the removable parts?
Remove the drip tray and water reservoir, then wash them with warm, soapy water. Wipe the brew head with a damp cloth and dry thoroughly.
Is cleaning the machine complicated?
No, routine cleaning involves simple steps like rinsing the water reservoir, running a rinse cycle, and descaling every few months.
Keep Your Keurig K-Mini Brewing Fresh
Regular cleaning and descaling are key to maintaining the quality and lifespan of your Keurig K-Mini. With these straightforward steps, you’ll enjoy fresh-tasting coffee and a reliable machine for years to come. Just remember to follow the recommended schedule and use approved cleaning products for best results.
Affiliate disclosure: As an Amazon Associate we earn from qualifying purchases. Prices and availability are accurate as of the time of publishing.