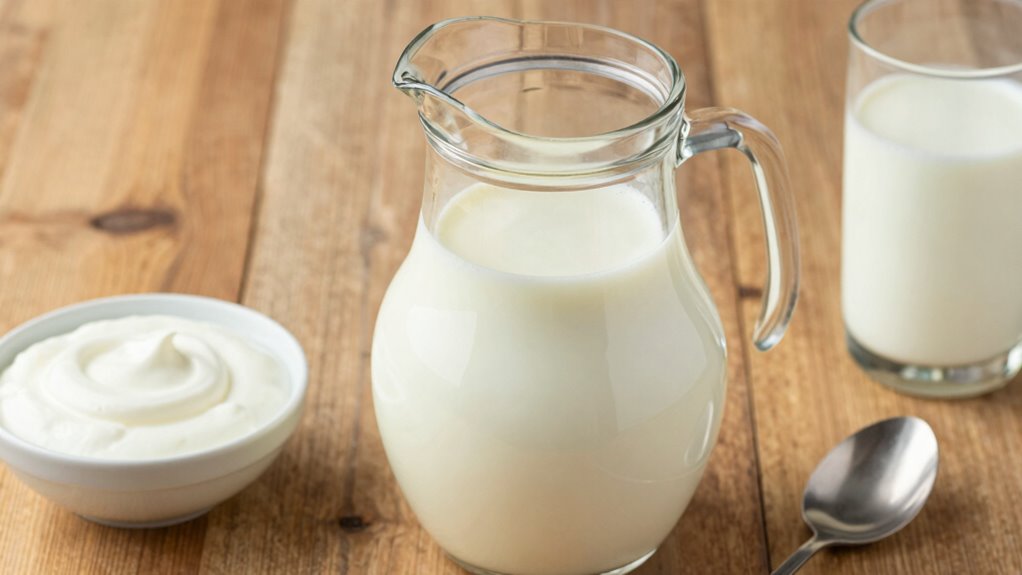

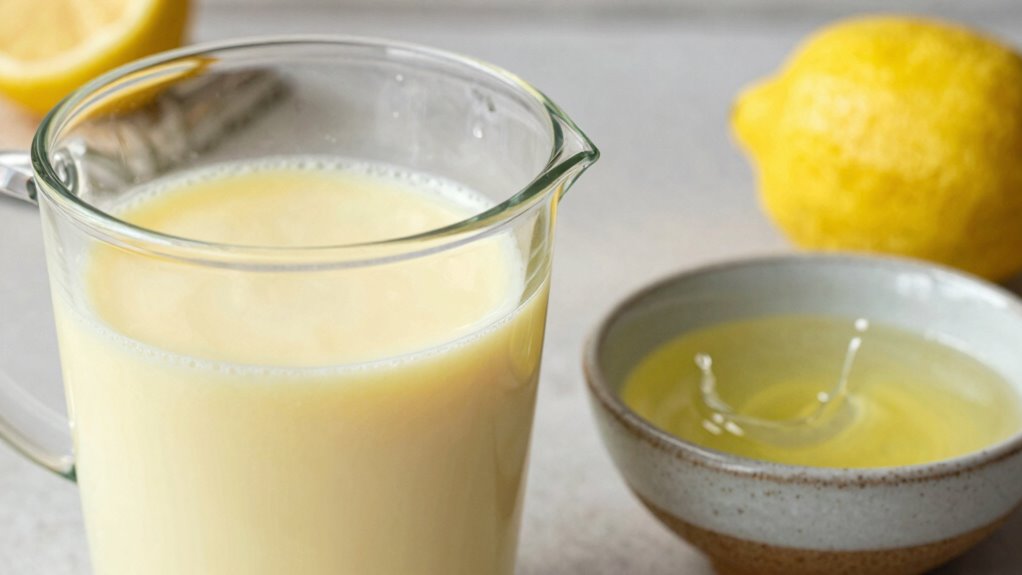
To make buttermilk in under 2 minutes, simply mix 1 cup of milk with 1 tablespoon of lemon juice or vinegar. Let it sit for about 5 minutes so it slightly curdles and develops that tangy flavor. Whisk well until smooth, and you’re ready to use it in recipes. For more tips and variations, keep exploring how to perfect your homemade buttermilk.
Key Takeaways
- Mix 1 cup of milk with 1 tablespoon of lemon juice or vinegar.
- Let sit for 5 minutes to curdle slightly, developing authentic tang.
- Whisk well until smooth and slightly thickened.
- Use immediately in baking or cooking recipes.
- Store in a sealed container and consume within 24 hours.

Butter Maker Cup – 3 Minute Homemade Butter Maker with Strainer and Recipe, Easy DIY Butter Churner Kit for Kids and Family Kitchen.
Simple Butter Making Process: Simple to use, pour thick whipped cream stored at room temperature for six to…
As an affiliate, we earn on qualifying purchases.
As an affiliate, we earn on qualifying purchases.
How to Make Buttermilk at Home in Under 2 Minutes

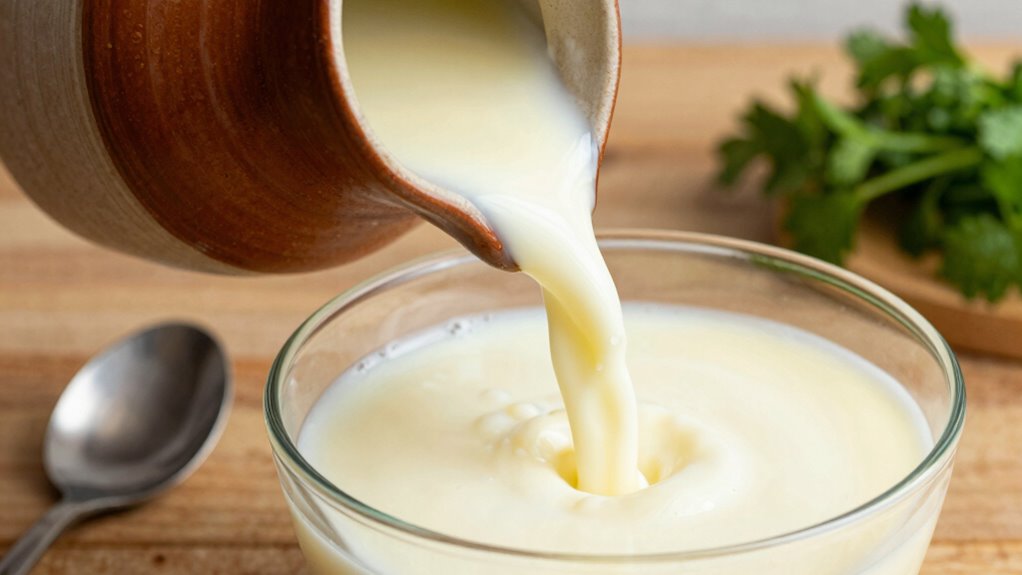
If you need buttermilk quickly, you can make a simple substitute in under two minutes. Start by mixing one cup of milk with one tablespoon of lemon juice or vinegar. Let it sit for about five minutes; this process gives the mixture a slightly tangy, authentic buttermilk flavor. To attain the sweet flavor you desire, add a touch of sugar or honey if needed. For texture adjustment, whisk the mixture well to ensure it’s smooth and slightly thickened, mimicking real buttermilk. This quick fix works perfectly for baking recipes and provides the right acidity to activate leavening agents. Additionally, understanding color accuracy in your ingredients can help you better achieve the desired flavor profile. Keep in mind, while it’s not identical to traditional buttermilk, this method offers a reliable, speedy solution with a pleasing flavor and suitable consistency.

Salt, Lemons, Vinegar, and Baking Soda
As an affiliate, we earn on qualifying purchases.
As an affiliate, we earn on qualifying purchases.
What’s the Easiest Ingredient Swap for Quick Homemade Buttermilk
If you need a quick substitute for buttermilk, using lemon juice or vinegar is your best option. These acidic ingredients react with milk to create the tangy flavor and thinner consistency you want. Just adjust the amount based on your desired acidity and thickness. Additionally, incorporating a small amount of antimicrobial properties from tea tree oil can help preserve the mixture if needed. For added food safety, ensure the mixture is stored properly and used promptly to prevent spoilage. To further enhance kitchen safety, make sure all utensils and containers are thoroughly cleaned before preparing your buttermilk substitute.
Common Ingredient Substitutes
When you need a quick substitute for buttermilk, the easiest option is to use milk combined with an acid like lemon juice or vinegar. This creates a tangy liquid similar to buttermilk, perfect for baking or cooking. For flavor variations, you can experiment with different acids, such as apple cider vinegar or cream of tartar, to adjust the tanginess to your preference. Just remember, this mixture works best when used immediately or stored in an airtight container in the fridge for up to 24 hours. Storage tips include keeping it chilled and giving it a quick stir before using. This simple swap offers flexibility for various recipes, ensuring you get that authentic buttermilk tang without extra trips to the store.
Using Lemon Juice or Vinegar
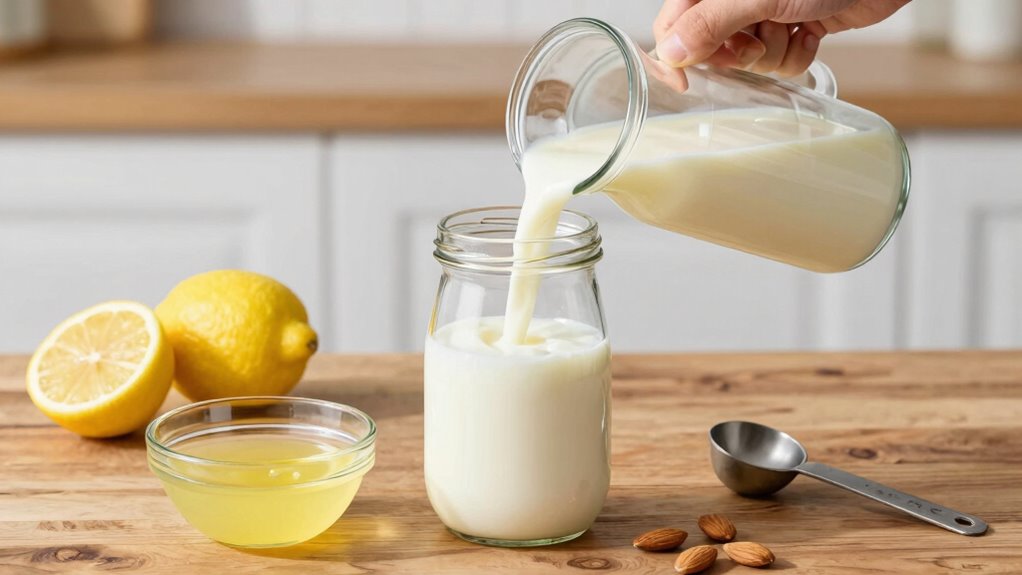
Using lemon juice or vinegar is the simplest way to create a quick homemade buttermilk substitute. The history of dairy products highlights how acid has long been used to curdle milk and develop tangy flavors. When making buttermilk, acids like lemon juice or vinegar act as quick curdling agents. Both are types of acids—lemon juice contains citric acid, while vinegar has acetic acid—that react with milk’s proteins, thickening it and adding tang. This method mimics the acidity of traditional buttermilk, which results from fermentation. Just add one tablespoon of lemon juice or vinegar to a cup of milk, stir, and let it sit for a few minutes. You’ll get a creamy, tangy liquid perfect for baking or cooking without any extra effort.
Adjusting for Acidity and Thickness
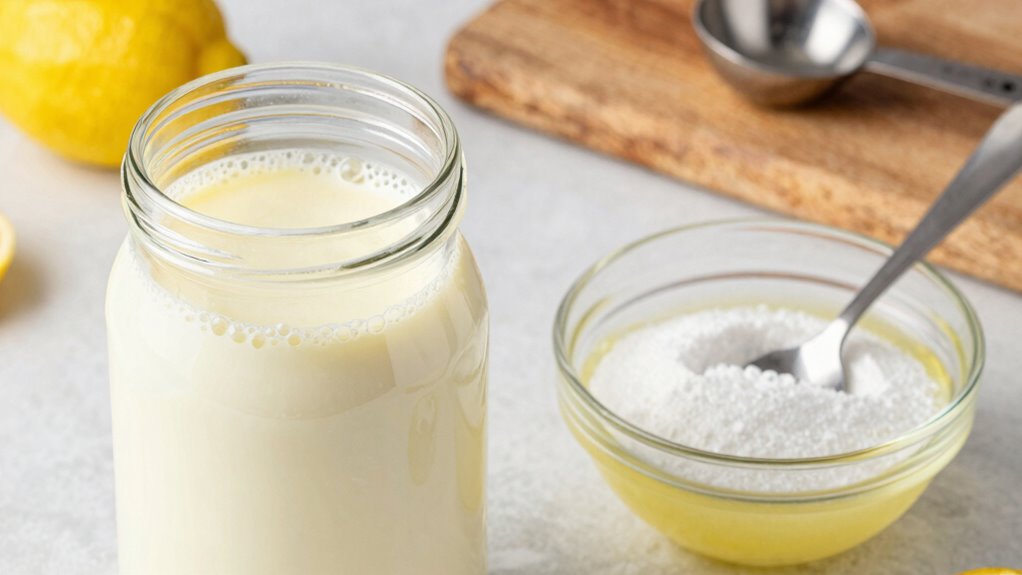
To achieve the right balance of acidity and thickness in your homemade buttermilk, swapping ingredients can make a noticeable difference. If you want a tangier flavor or a creamier texture, try adding a splash of yogurt or kefir instead of milk. These options provide natural acidity and richer consistency, enhancing flavor variations. For thinner buttermilk, dilute with a little water; for thicker, add more yogurt or sour cream. Incorporating clean-home systems like proper storage containers can help maintain freshness and prevent spoilage. Store your homemade buttermilk in an airtight container in the fridge, using it within a few days for best freshness. Incorporating electric bikes into your routine can be an eco-friendly way to get around, especially for short trips or commuting. Here’s a quick comparison:
| Ingredient | Effect | Storage tips |
|---|---|---|
| Yogurt/Kefir | More tangy, creamy texture | Keep refrigerated, use quickly |
| Water | Thinner consistency | Use immediately or store short-term |
A fermentation process can also develop a tangy flavor if you prefer a more traditional homemade buttermilk.
instant buttermilk substitute
As an affiliate, we earn on qualifying purchases.
As an affiliate, we earn on qualifying purchases.
Step-by-Step: Preparing Fresh Buttermilk in Just 2 Minutes
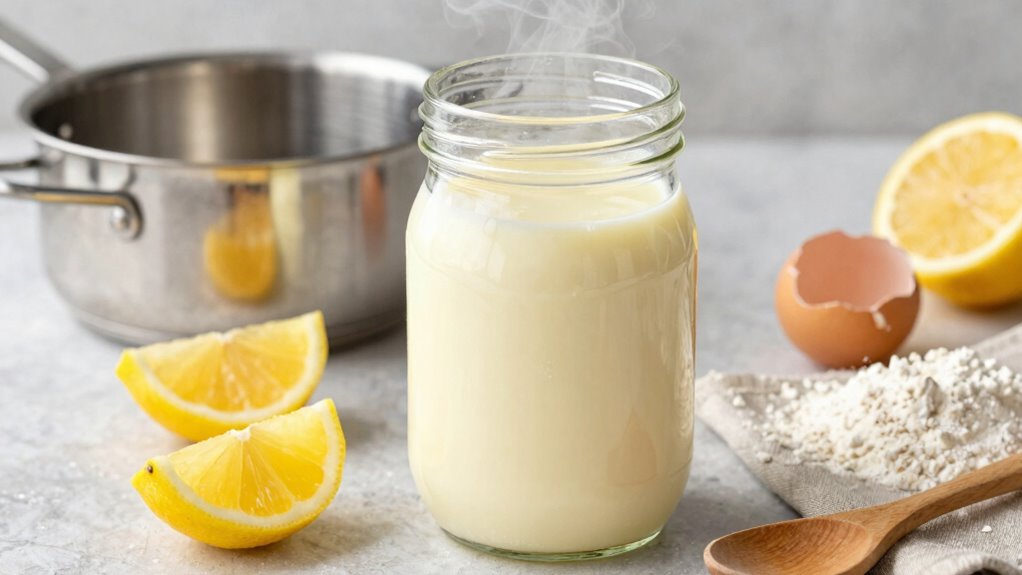
Making fresh buttermilk in just two minutes is quick and easy with a simple trick. Start by combining 1 cup of milk with 1 tablespoon of lemon juice or vinegar. Stir well and let it sit for about a minute until it curdles slightly. This creates that tangy flavor pairing perfect for baking or cooking. Once ready, give it a quick stir and use immediately or store in an airtight container. For storage tips, keep your homemade buttermilk refrigerated and use it within 24 hours for best freshness. This method guarantees you always have fresh buttermilk on hand, saving time and money while enhancing your recipes. Proper storage ensures your homemade buttermilk stays fresh longer and maintains quality. Incorporating kitchen technology, such as modern appliances, can further optimize your culinary results by integrating innovative techniques. Additionally, food safety practices help maintain the freshness and prevent contamination during storage.

SACO Cultured Buttermilk Blend for Cooking and Baking, 16 ounce (Pack of 1) | Certified Kosher, Gluten-Free and Nut-Free
SAME GREAT BUTTERMILK, NEW CONVEINENT PACKAGING: Enjoy the same high-quality buttermilk as our classic canister, now in a…
As an affiliate, we earn on qualifying purchases.
As an affiliate, we earn on qualifying purchases.
Tips to Make Your Homemade Buttermilk Turn Out Perfect

To make your homemade buttermilk turn out perfect, start by using fresh lemon juice for the best tang. Be sure to measure your ingredients carefully to guarantee the right consistency. Finally, let the mixture rest for a few minutes to allow the flavors to develop fully. Incorporating quality ingredients can also significantly enhance the flavor of your homemade buttermilk. Additionally, selecting appropriate kitchen tools can help ensure accurate measurements and easier preparation.
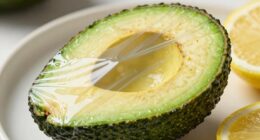
Use Fresh Lemon Juice
Ever wondered why fresh lemon juice is the best choice for making homemade buttermilk? It adds a vibrant citrus flavor that enhances your recipe’s taste. Plus, fresh lemon juice reacts quickly with milk, curdling it perfectly for that authentic buttermilk texture. Using bottled lemon juice may extend shelf life, but it diminishes the citrus flavor and can affect the final outcome. Fresh lemon juice also allows you to control the tartness, ensuring your buttermilk isn’t too sour or bland. pH balance plays a crucial role in achieving the ideal curdling process, making fresh lemon juice the preferred choice. When selecting lemons, opt for those that are ripe and juicy, as they provide the best flavor and acidity for your homemade buttermilk. Additionally, choosing organic lemons can help avoid pesticides and ensure the freshest taste. Incorporating proper acidity levels is essential for consistent results in homemade buttermilk, so using fresh lemon juice helps maintain that balance. For optimal results, be sure to use fresh lemon juice rather than bottled to guarantee the best flavor and acidity for your buttermilk. Here’s a quick comparison:
| Aspect | Fresh Lemon Juice | Bottled Lemon Juice |
|---|---|---|
| Citrus flavor | Bright, vibrant | Dull, less fresh |
| Shelf life | Short, needs immediate use | Longer, more stable |
| Freshness | Always fresh | Preserved, processed |
| Taste | Authentic, lively | Sometimes artificial |
| Convenience | Needs squeezing | Ready to use |
Always prefer fresh lemon juice for the best buttermilk!
Measure Ingredients Carefully
Accurately gauging your ingredients is key to achieving perfect homemade buttermilk. Using correct ingredient ratios ensures the mixture has the right acidity and consistency. Too much lemon juice or vinegar can make it overly tangy, while too little won’t activate the milk properly. Use measuring cups or spoons for precision, and double-check your measurements. Additionally, pay attention to storage tips—store your buttermilk in a clean, airtight container in the refrigerator, and consume it within a few days for freshness. Proper measurement and storage help prevent spoilage and maintain its quality. Food safety practices are also important to ensure your homemade buttermilk remains safe to consume. By carefully measuring each ingredient and following proper storage tips, you’ll ensure your homemade buttermilk turns out smooth, tangy, and perfect every time. It’s also helpful to understand proper storage techniques to extend its freshness and prevent bacterial growth. Being aware of storage duration can further help you keep your buttermilk fresh and safe to enjoy.
Let Mixture Rest
Allow the mixture to rest for about 5 to 10 minutes after combining the milk with lemon juice or vinegar. During this time, fermentation begins, and the acid reacts with the milk, creating the tangy texture of buttermilk. Keep the container uncovered or loosely covered to allow airflow, which helps the fermentation process proceed smoothly. Don’t rush the process; patience guarantees your homemade buttermilk develops the right acidity and consistency. Once the resting period is complete, give it a gentle stir. For storage tips, keep your homemade buttermilk in an airtight container in the fridge. It’s best used within 24 hours for maximum freshness and flavor. Proper fermentation times and storage ensure your buttermilk turns out perfect every time. Fermentation process is key to achieving the desired tanginess and texture in your homemade buttermilk.
How to Use Homemade Buttermilk in Baking and Cooking
Homemade buttermilk is a versatile ingredient that can elevate your baking and cooking. You can use it as a substitute for milk alternatives, adding a tangy depth to recipes. In baking, it reacts with baking soda to create a light, airy texture in pancakes, muffins, and biscuits. Its acidity also helps tenderize meats or marinate vegetables, enhancing flavor. When cooking, incorporate buttermilk into creamy dressings, dips, or sauces for a rich, tangy boost. Use it to replace regular milk in recipes that benefit from its acidity and flavor enhancements. Just remember, its tanginess works best in recipes that complement its profile, so adjust seasonings accordingly. With homemade buttermilk, you can easily add a layer of complexity and richness to your dishes.
Dairy-Free and Dietary Variations of Buttermilk
For those who are lactose intolerant or avoid dairy for health or ethical reasons, there are effective dairy-free alternatives to traditional buttermilk. You can easily create dairy free options that suit your dietary restrictions. Using plant-based milks like almond, soy, or coconut milk works well, especially when combined with an acid such as lemon juice or vinegar to mimic the tangy flavor of buttermilk.
Dairy-free buttermilk alternatives using plant-based milks and acids like lemon or vinegar.
- Unsweetened almond or soy milk with lemon juice
- Coconut milk mixed with vinegar
- Cashew milk with a splash of apple cider vinegar
- Oat milk combined with lemon or vinegar
These options allow you to enjoy recipes requiring buttermilk without compromising your dietary needs, making baking accessible for everyone.
Troubleshooting: What to Do If Your Buttermilk Doesn’t Turn Out Right
If your homemade buttermilk isn’t turning out as expected, the first step is to identify what went wrong. Common mistakes include using the wrong type of milk or not adding enough acid, which can affect the flavor and texture. If it tastes too sour or bland, try adjusting the flavor by adding a small amount of sugar or vanilla extract. If the mixture isn’t thickening, verify you’re using fresh milk and enough acid like lemon juice or vinegar. Sometimes, the temperature can also impact the result—keep your ingredients at room temperature for best results. Remember, small flavor adjustments can fix most issues, so taste as you go and modify accordingly. With a little troubleshooting, your homemade buttermilk will be perfect every time.
Frequently Asked Questions
Can I Store Homemade Buttermilk for Later Use?
Yes, you can store homemade buttermilk for later use. Use airtight containers and keep it refrigerated to maintain freshness. Storage tips include labeling the container with the date to track its shelf life, which is generally 1 to 2 days. Make sure to shake it well before using, as it may separate. Proper storage helps preserve flavor and prevents spoilage, ensuring your homemade buttermilk stays fresh longer.
Is There a Vegan Alternative to Traditional Buttermilk?
Yes, you can use vegan milk alternatives like soy, almond, or coconut milk as a vegan buttermilk substitute. To mimic traditional buttermilk, add a tablespoon of lemon juice or vinegar to one cup of your plant-based milk and let it sit for 5-10 minutes. This process supports plant-based fermentation, creating a tangy, dairy-free alternative perfect for baking or cooking.
How Long Does Homemade Buttermilk Last in the Refrigerator?
Did you know homemade buttermilk typically lasts 1 to 2 weeks in your refrigerator? To maximize its shelf life, store it in an airtight container and keep it at or below 40°F. Always check for signs of spoilage like an off smell or mold before using. Proper storage tips guarantee your homemade buttermilk stays fresh longer, helping you avoid waste and enjoy its tangy flavor in your recipes.
Can I Use This Method to Make Cultured Buttermilk?
Yes, you can use this method to make cultured buttermilk. By adding a small amount of existing cultured buttermilk or a probiotic starter, you initiate the fermentation process. Keep the mixture warm and let it sit for 12-24 hours. This allows beneficial bacteria to develop, creating authentic cultured buttermilk. Just guarantee you’re using fresh milk and a starter to achieve the desired tangy flavor and texture.
Does the Type of Milk Affect the Taste of Homemade Buttermilk?
Yes, the type of milk does affect the taste of homemade buttermilk. Different milk options, like cow’s, goat’s, or plant-based milks, bring flavor differences that influence the final taste. You might notice a richer, creamier flavor with whole milk or a lighter, nuttier taste with alternatives. So, choose your milk based on your flavor preferences and dietary needs to enjoy a personalized, delicious buttermilk.
Conclusion
Making buttermilk at home is as quick and easy as whipping up a breeze. With just a simple ingredient swap or a quick step, you can have fresh buttermilk ready in under two minutes—like catching a moment of sunshine on a cloudy day. So, don’t let a recipe stall you; now you’re armed with the know-how to turn everyday ingredients into creamy, tangy buttermilk whenever you need it.