
Sugar burns quickly because it has a low smoke point and heats unevenly, making it easy to scorch if not monitored carefully. Using high heat or dark pans can speed up burning, so keep temperatures low and stir constantly. Choosing the right cookware and paying close attention to color, smell, and bubbles can help prevent burning. Want to find out how to master perfect caramelization and avoid these pitfalls? Keep exploring.
Key Takeaways
- Use low, steady heat and avoid high temperatures to prevent rapid sugar burning.
- Stir continuously to distribute heat evenly and prevent hot spots that cause scorching.
- Choose heavy-bottomed or non-stick cookware to minimize uneven heat and hot spots.
- Monitor temperature closely with a thermometer, aiming to stay below 350°F (177°C).
- Act quickly at signs of burning, such as darkening or acrid smell, by reducing heat or adding water.
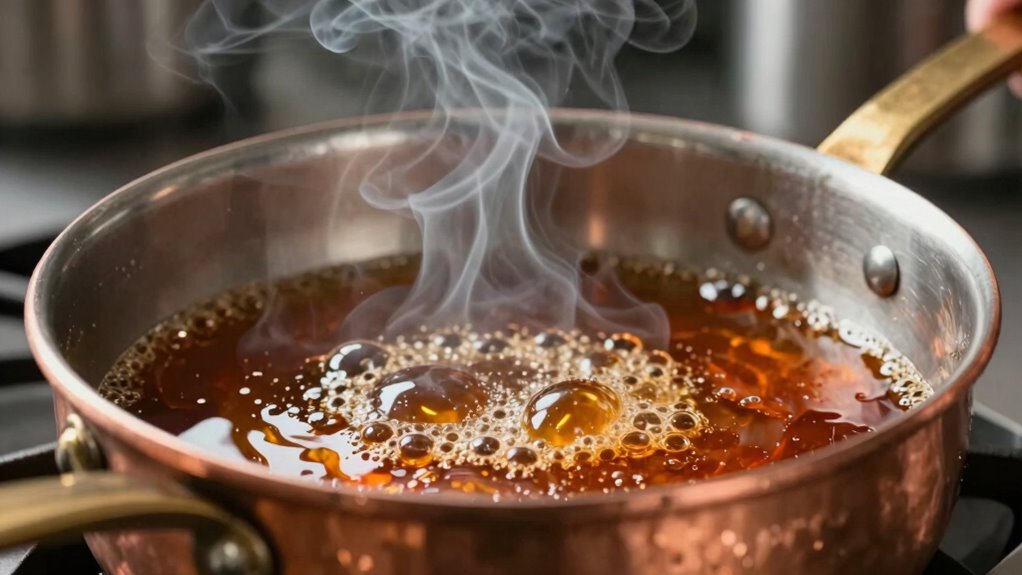
Why Does Sugar Burn So Fast During Cooking?
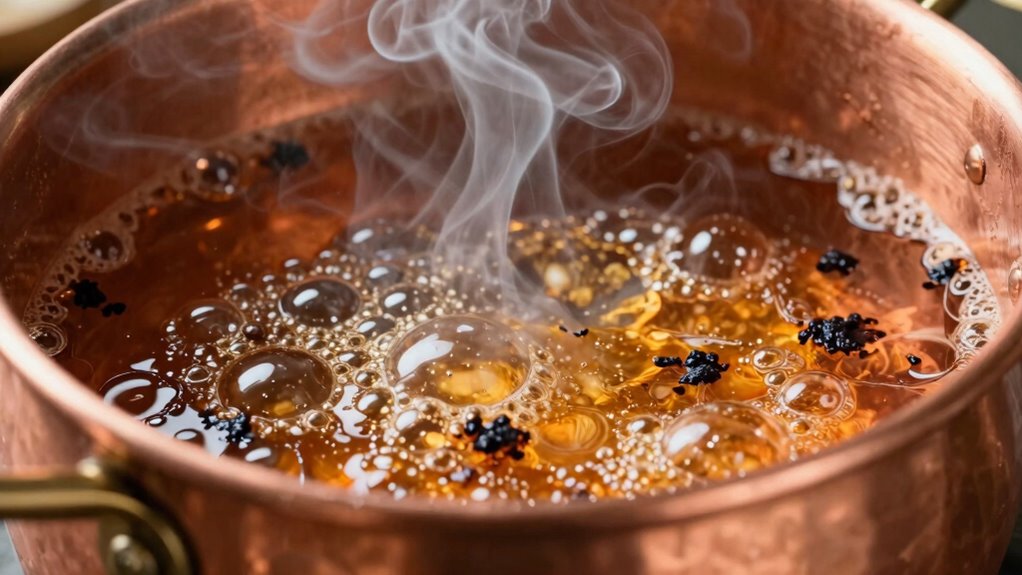
Sugar burns quickly during cooking because it reaches its smoke point at relatively low temperatures compared to other ingredients. When heated, sugar tends to undergo crystallization, which can cause uneven melting and hot spots that burn easily. This rapid crystallization also disrupts the formation of a smooth caramel flavor, making the sugar prone to scorching before you achieve the desired consistency. As sugar approaches its smoke point, it releases volatile compounds that contribute to burnt aromas and bitter tastes. To prevent this, you need to control the heat carefully, stirring constantly, and avoiding high temperatures that accelerate burning. Understanding the delicate balance between melting and burning helps you create perfect glazes, sauces, and caramel without risking unwanted burnt flavors.
How Does Caramelization Work? The Science Behind Sugar Turning Brown
When heat is applied to sugar, it undergoes a complex chemical process called caramelization, which transforms its color, flavor, and aroma. This process, rooted in caramel chemistry, involves the breakdown of sucrose into simpler compounds. As temperature rises, sugar molecules begin to break down, releasing water and forming new molecules that give caramel its characteristic golden-brown hue. This transformation is a series of reactions where sugar molecules polymerize and create complex flavor compounds. The key to successful caramelization is understanding how heat influences sugar transformation, allowing you to control the browning process. Properly managing these reactions helps prevent burning and ensures your sauces and glazes develop rich flavor without turning bitter or burnt. Additionally, European cloud innovation can support food industry businesses by providing reliable data storage and management solutions to optimize production processes. Being attentive to temperature control is essential, as even slight variations can lead to burnt sugar and undesirable flavors. Mastering the temperature management techniques is crucial for preventing overcooking and achieving the perfect glaze. In addition, maintaining consistent heat levels can help minimize caramelization errors, ensuring a more predictable and controlled cooking process.
What Temperature Causes Sugar to Burn? Understanding the Critical Heat Levels
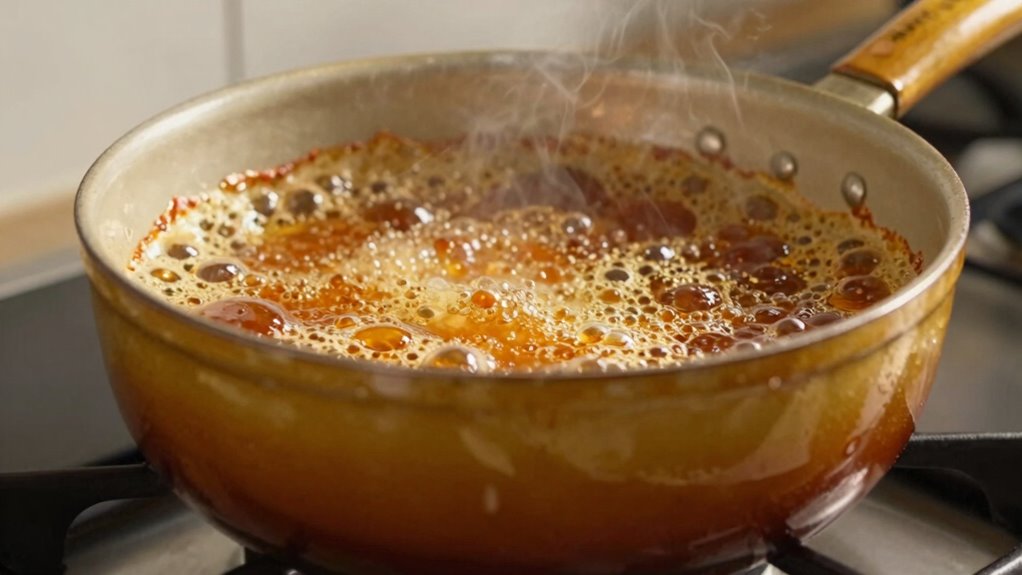
Understanding the precise temperature at which sugar burns is essential for achieving perfect caramelization without ruining your dessert. Sugar typically starts to burn around 350°F (177°C), producing sugar smoke and a bitter flavor. Once you hit the critical heat level, the sugar’s caramel color darkens rapidly, risking burnt taste and texture. To avoid this, keep a close eye on your heat. Remember:
Sugar begins to burn at 350°F, turning bitter and risking over-darkening your caramel.
- Sugar begins to caramelize at around 320°F (160°C)
- Sugar smoke appears near 350°F (177°C), signaling potential burning
- Beyond 355°F (179°C), sugar risks burning quickly
- Burnt sugar develops a bitter, acrid flavor, ruining your dish
- Monitoring temperature closely can help prevent sugar from burning, ensuring your glaze or sauce achieves the perfect consistency without turning bitter.
Kitchen Factors That Make Sugar Burn Faster
The type of pan you use can speed up how quickly sugar burns, with thinner or darker pans conducting heat more intensely. Heat conduction plays a significant role in how rapidly heat is transferred to the sugar, affecting its likelihood of burning. Choosing cookware with good heat distribution can help you manage temperature more evenly and prevent hotspots that cause burning. Essential oils like eucalyptus or peppermint are sometimes used in aromatherapy to promote relaxation during cooking, but their effects are unrelated to heat conduction. Keeping the heat level under control is vital, as high heat increases the risk of burning. By choosing the right cookware and managing your heat, you can prevent sugar from burning too fast.
Pan Material Impact
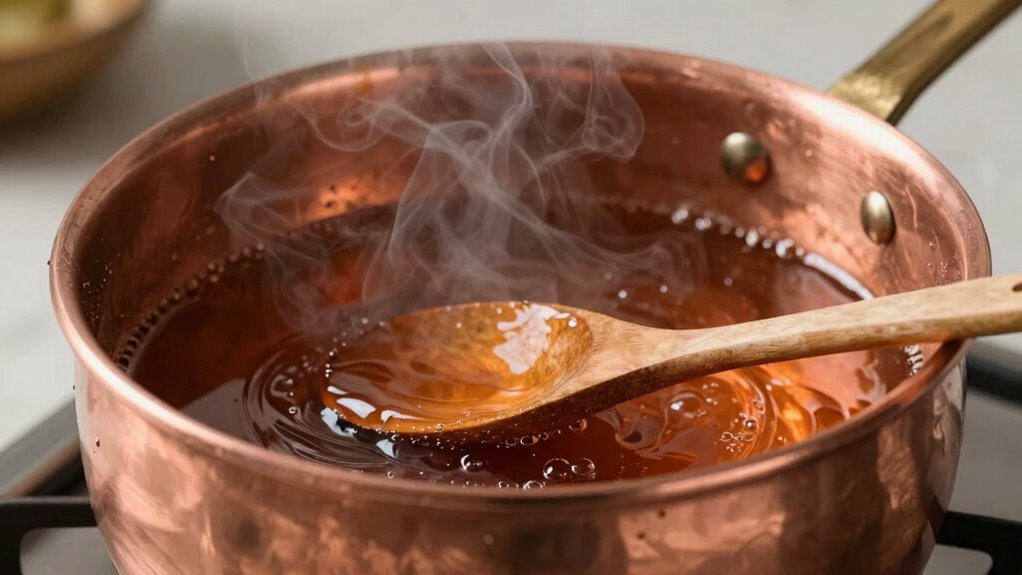
Different pan materials can considerably influence how quickly sugar burns during cooking. The type of pan you choose affects heat distribution and retention, which directly impacts sugar’s burning point. Metal pans like aluminum and copper heat up rapidly and evenly, increasing the risk of burning if not monitored carefully. Cast iron pans retain heat longer but can cause hotspots if not seasoned properly. Non-stick pans tend to distribute heat more evenly, reducing the chance of burning. Keep in mind that:
- Thin pans heat unevenly, raising burn risk
- Highly conductive materials transfer heat faster
- Cast iron can hold hot spots
- Always prioritize cookware safety to prevent accidents
Choosing the right pan material helps you control the cooking process, preventing burnt sugar and ensuring safer, more effective results. Additionally, vetted living options like perfect fit living environments can provide safer and more controlled kitchen setups to help prevent accidental burns. Being aware of heat transfer principles can further enhance your ability to select the best cookware for sugar work, as understanding thermal conductivity can help you predict how a pan will perform during sugar caramelization. Recognizing how pan thickness influences heat capacity can also help in selecting cookware that minimizes the risk of quick temperature spikes leading to burning. In addition, understanding pans’ heat response can assist you in adjusting your cooking technique to prevent overheating.
Heat Level Control
Controlling the heat level is essential because high temperatures can cause sugar to burn almost instantly. In candy making, precise heat management guarantees your sugar reaches the desired stage without scorching. Too high a heat causes rapid caramelization and burnt flavors, ruining your project. Use medium or low heat to give yourself better control, especially when melting or simmering sugar. Always monitor your temperature with a reliable thermometer, avoiding guesswork. Stir gently and consistently to distribute heat evenly, preventing hot spots that can quickly burn sugar. If you notice the sugar starting to darken too fast, lower the heat immediately. Mastering heat level control helps you create smooth glazes and perfect candies without risking burnt, bitter results. Proper heat management is key to successful sugar work.
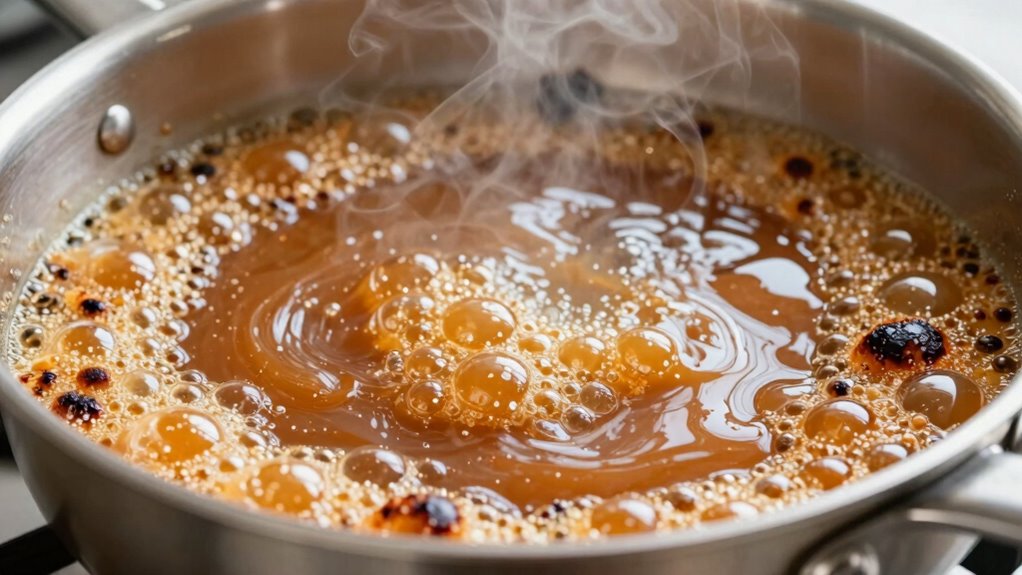
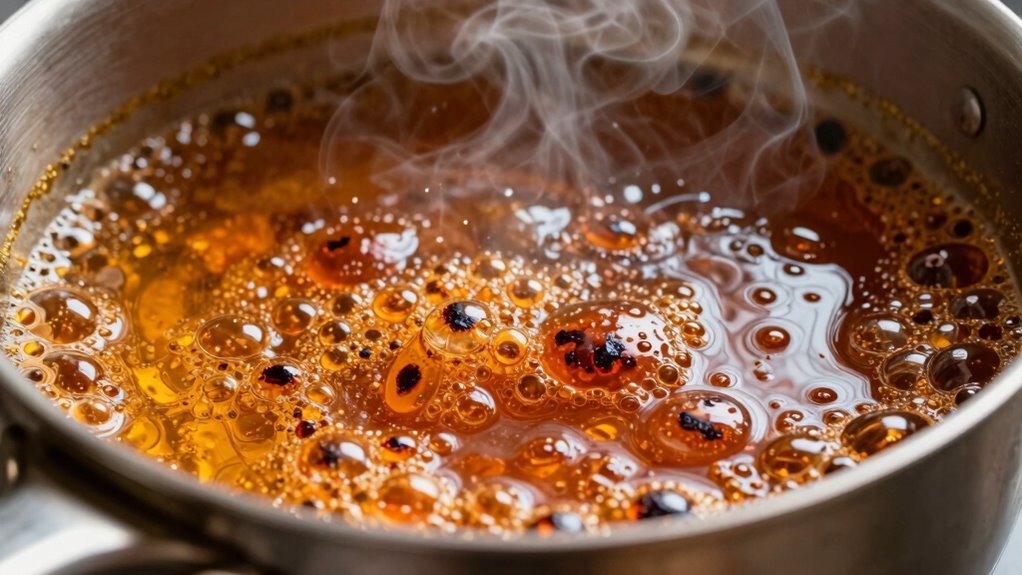
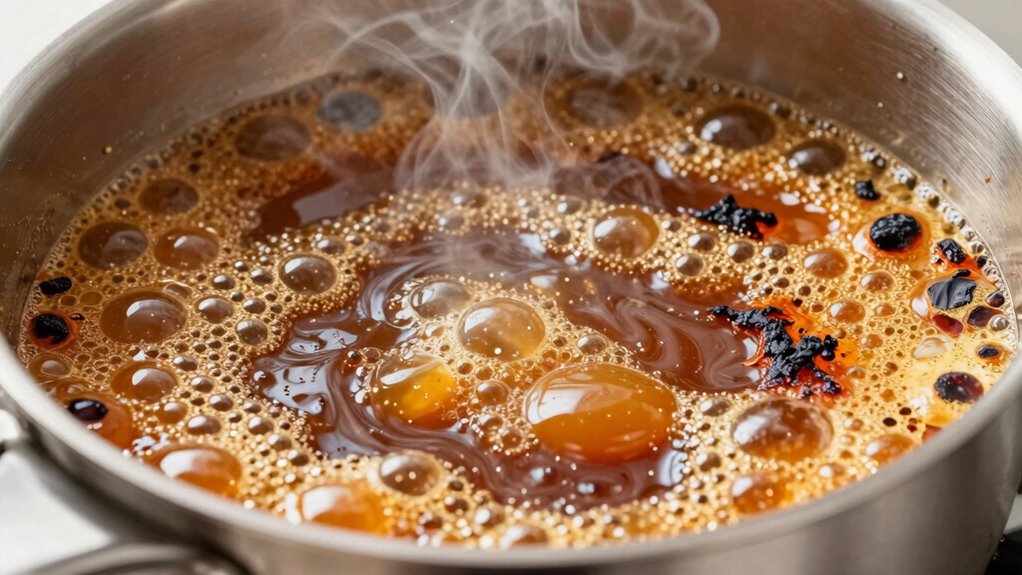
How Can You Tell When Sugar Is Burning? Recognizing the Signs in Real Time
Stay alert for these signs:
Keep an eye out for darkening, acrid smell, bubbling, or smoke to prevent burnt sugar.
- Rapid darkening of the sugar’s color
- A strong, acrid smell
- Foam formation or bubbling intensifies
- Slight smoke or haze rising from the pan
- The formation of foam or bubbles signals the sugar is nearing its burning point.
Monitoring the temperature helps prevent overcooking and burning the sugar. Recognizing these cues in real time helps you remove the sugar before it turns bitter and ruins your dish. Pay attention to changes in visual cues, as they can be critical indicators of the sugar reaching its limit. Regularly checking the jewelry measurements and materials of your cooking utensils can help ensure safe and precise handling, minimizing risks of accidents. For optimal air purifier performance, ensure proper airflow and regular maintenance, which can also serve as a reminder to stay attentive to your cooking process. Trust your senses—they’re your best warning system.
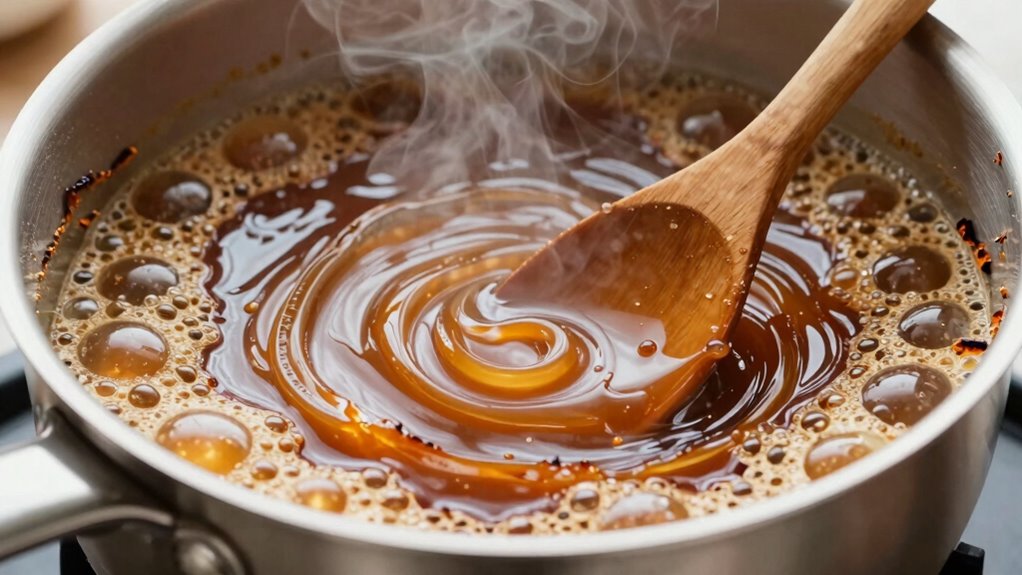
Tips to Prevent Sugar From Burning When Making Glazes and Sauces
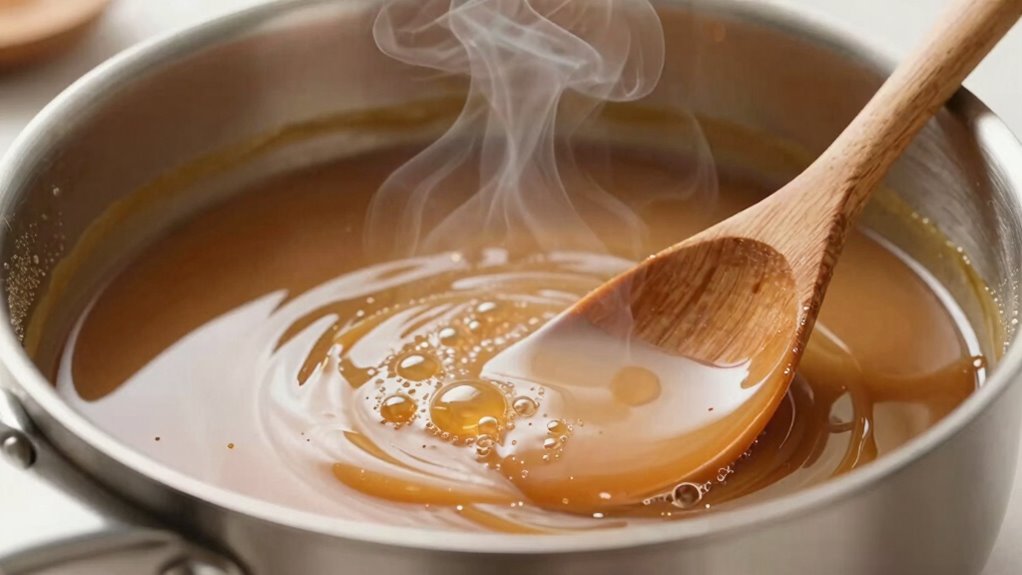
To prevent sugar from burning when making glazes and sauces, start by using low heat to give yourself more control. Keep stirring constantly to guarantee the sugar melts evenly and doesn’t stick to the bottom of the pan. Using proper tools such as heat-resistant spatulas can also help manage the process better. These simple steps can make a big difference in achieving a smooth, perfect glaze without burning. Additionally, understanding cooking techniques like temperature regulation can further help prevent overcooking your sugar mixtures.
Use Low Heat
Ever wonder why your glaze or sauce burns so quickly? Using low heat is key to preventing sugar from burning. When you cook sugar at a steady, gentle temperature, you reduce the risk of sugar crystallization, which can cause uneven textures and burnt flavors. Low heat allows the sugar to melt slowly, promoting better flavor development without scorching. Keep these tips in mind:
- Use a heavy-bottomed pan for even heat distribution.
- Start on low heat and gradually increase if needed.
- Don’t rush the process; patience prevents burning.
- Monitor constantly to catch the right stage of caramelization.
- Consistent temperature plays a crucial role in preventing sugar from burning and ensuring smooth, flavorful results.
- Selecting the right kitchen tools can also help maintain steady heat and improve your cooking process.
- Using thermometers can help maintain precise temperatures, further reducing the risk of burning sugar.
- Incorporating professional-grade equipment can optimize temperature control and enhance your culinary results.
Stir Constantly
Constant stirring is essential when making glazes and sauces because it helps distribute heat evenly and prevents hot spots that can cause burning. This steady movement keeps the mixture from sticking to the bottom of the pan, where burning typically begins. As you stir, pay attention to the heat level, adjusting it if necessary to prevent the mixture from getting too hot too quickly. Consistent stirring also helps dissolve sugar evenly, reducing the risk of clumping and scorching. Remember, patience and vigilance are key—stir constantly to keep the heat balanced and your glaze or sauce smooth, flavorful, and free of burnt bits. Understanding heat transfer is crucial for mastering control over your cooking process. Proper stirring technique helps maintain even heat distribution and prevents uneven cooking that can lead to burning.
Easy Techniques for Gentle Sugar Heating
Gentle sugar heating requires patience and attention, but mastering simple techniques can make the process easier. To prevent sugar crystallization and maintain proper temperature control, start with a low heat. Use a heavy-bottomed pan to distribute heat evenly, reducing hot spots that cause uneven cooking. Avoid stirring once the sugar begins to melt, as agitation can trigger crystallization. Instead, gently swirl the pan to distribute heat uniformly. Keep a close eye on the temperature with a reliable thermometer, aiming for steady, gentle increases.
Patience and gentle heat are key to preventing crystallization when melting sugar.
- Use a clean, damp brush to wash down sugar crystals on the sides of the pan
- Cover the pan initially to trap steam and promote even melting
- Add a small amount of water before heating to control temperature
- Maintain low heat throughout the process to prevent burning
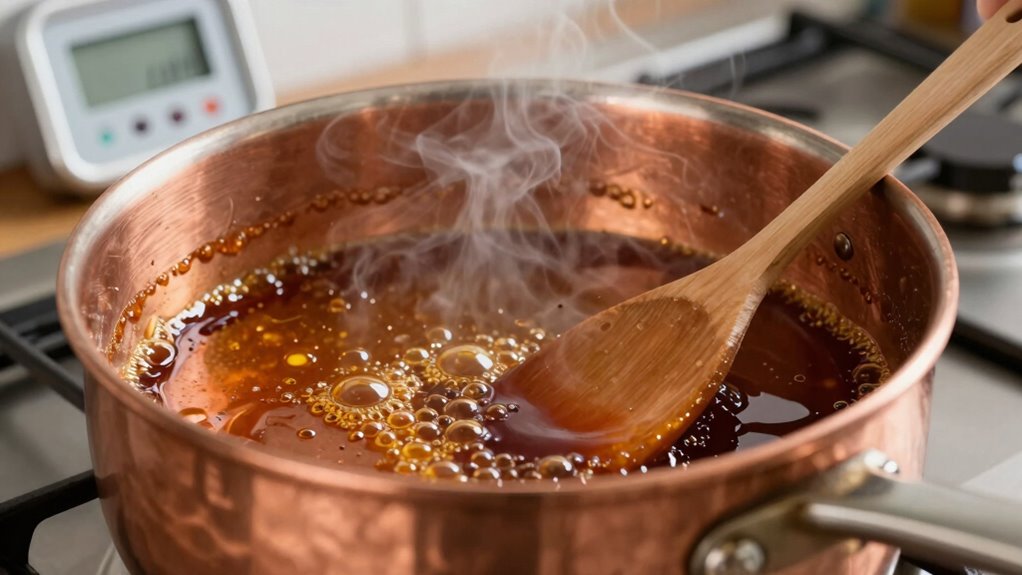
Best Cookware to Reduce the Risk of Burning Sugar
Choosing the right cookware can make a big difference in preventing sugar from burning. Nonstick coatings help you stir and scrape easily, reducing hotspots. A heavy-bottomed pan with even heat distribution guarantees your sugar cooks smoothly and safely.
Nonstick Coating Benefits
Using cookware with a nonstick coating can markedly reduce the risk of burning sugar, as it prevents the sticky, sugary mixture from sticking and burning to the pan’s surface. This makes it easier to monitor and control the cooking process without constantly scraping or worrying about uneven heat contact. The benefits include:
- Reduced sticking, minimizing burnt spots and uneven caramelization
- Easy cleanup, saving you time and effort after cooking
- Better heat distribution, helping prevent hot spots that cause burning
- Less need for oil or butter, keeping recipes cleaner and healthier
A nonstick coating guarantees your sugar heats evenly, reducing the chances of it burning quickly. Plus, it simplifies the cleanup process, making your cooking experience more enjoyable and less stressful.
Heavy Bottom Design
A heavy bottom design in cookware plays a key role in preventing sugar from burning during cooking. The thick base ensures better heat distribution across the surface, reducing hot spots that can cause uneven cooking. When you use cookware with a heavy bottom, heat is spread more evenly, allowing your sugar to melt and cook at a controlled, consistent temperature. This steady heat minimizes the risk of localized overheating, which is often the culprit behind burnt sugar. By choosing pots and pans with a heavy bottom, you gain greater control over your cooking process. It helps you monitor your glaze or sauce more effectively, preventing scorching and ensuring a smooth, glossy finish. Overall, a heavy bottom enhances heat transfer, making it an essential feature for sugar work.
Even Heat Distribution
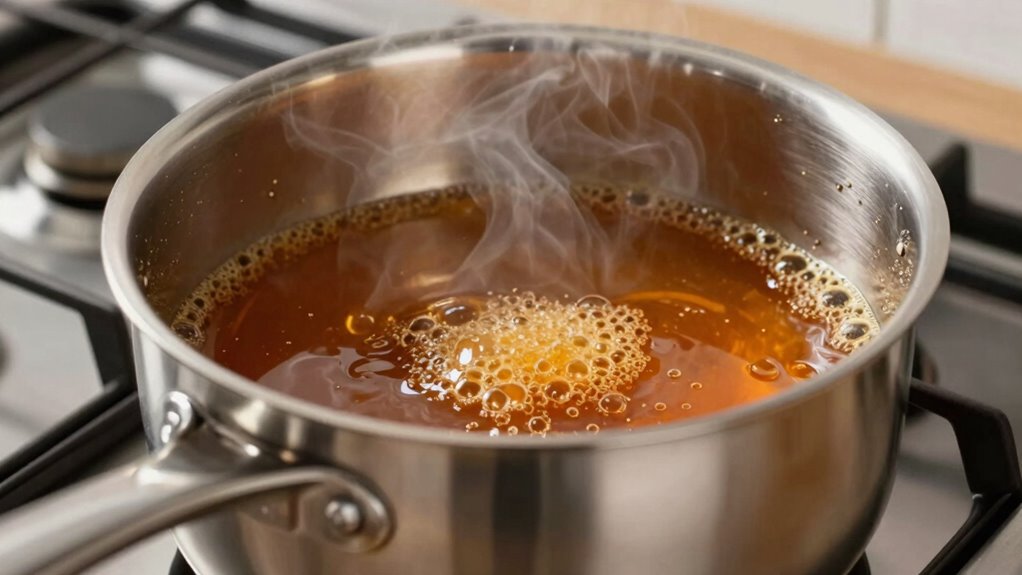
To prevent sugar from burning, selecting cookware that provides even heat distribution is essential. A pan with good heat distribution ensures your sugar heats uniformly, reducing hotspots that cause burning. The pan material plays a key role in this. For example, copper and aluminum conduct heat better than stainless steel or cast iron, offering more consistent results. When choosing cookware, consider these points:
- Use a pan with a thin, conductive base for quick heat response
- Avoid thick-bottomed pans that can create uneven heating
- Opt for materials with high thermal conductivity like copper or aluminum
- Ensure the pan has a flat, smooth surface to promote uniform contact with heat
This way, you control heat more effectively, preventing scorching and burnt sugar.
Troubleshooting: Fixing Burnt Sugar Flavors in Your Recipes
Burnt sugar flavors can quickly ruin your recipe, but there are ways to salvage it if you act quickly. Start by removing the pan from heat immediately to prevent further burning. If the flavor is slightly off, consider sugar substitutions like honey or maple syrup to mellow the bitterness. You can also try flavor adjustments such as adding a splash of vanilla or citrus to mask burnt notes. Sometimes, diluting the sauce with a bit of water or cream helps reduce the intensity. Use the table below to identify common burnt sugar issues and their fixes:
| Issue | Cause | Solution |
|---|---|---|
| Bitter aftertaste | Overcooked sugar | Add sweeteners or acidity |
| Dark color, burnt smell | High heat during cooking | Cool quickly, adjust heat |
| Thick, burnt residue | Residue stuck to pan | Scrape and dilute |
| Unpleasant aftertaste | Excess caramelization | Incorporate flavor adjustments |
| Flavor imbalance | Inadequate sugar substitutions | Use complementary flavors |
What to Do When Sugar Starts to Burn: Quick Fixes and Adjustments
When you notice sugar starting to burn while cooking, acting quickly can save your recipe from disaster. The key is to make immediate quick fixes and temperature adjustments. First, reduce the heat to low or remove the pan from the burner to stop the burning process. If possible, transfer the mixture to a new, clean pan to prevent further caramelization of the burnt bits. You can also add a splash of water, lemon juice, or vinegar to dilute the sugar and halt burning.
Remember these quick fixes:
- Lower the heat immediately
- Transfer to a new pan
- Add acid or water to cool the mixture
- Stir continuously to distribute heat evenly
Being prompt and adjusting temperature helps prevent further damage and salvages your sauce or glaze.
Frequently Asked Questions
Can Using Different Types of Sugar Affect Burning Risk?
Yes, different sugar types affect your risk of burning. For example, white granulated sugar has a higher caramelization temperature, making it easier to control, while brown sugar contains molasses, which burns faster at lower temperatures. Knowing the caramelization temperature of each sugar type helps you prevent burning—use lower heat for sugars with lower caramelization points, and stir constantly to avoid hotspots.
How Does Humidity Influence Sugar Caramelization and Burning?
Humidity effects markedly influence the caramelization process. When humidity is high, moisture in the air slows down sugar’s ability to reach the necessary temperature for caramelization, making it harder to achieve that rich, golden color. Conversely, low humidity speeds up caramelization, increasing the risk of burning. To prevent burnt sauces and glazes, keep an eye on humidity levels and adjust your cooking time and temperature accordingly.
Is It Safer to Cook Sugar on Stovetop or in the Oven?
Cooking sugar is like walking a tightrope—you need balance and focus. It’s safer to cook sugar on the stovetop because you can better control heat and stir constantly, reducing the risk of burning. Always follow safety precautions, like using a heavy-bottomed pan and keeping a close eye on your sugar. Equipment choices matter, so choose a reliable thermometer and avoid high heat to prevent accidents and achieve perfect results.
What Are Alternative Methods to Prevent Sugar From Burning?
To prevent sugar from burning, you can use sugar substitutes that melt at lower temperatures, reducing risk. Also, practice temperature control by cooking over low heat and stirring constantly. Using a double boiler creates a gentle, even heat that minimizes burning. These methods help you manage heat effectively, giving you more control and preventing burnt sauces or glazes. Always monitor closely and adjust heat as needed.
How Does Stirring Frequency Impact Sugar Burning During Cooking?
Stirring frequency acts like the heartbeat of your sauce, keeping heat distribution even and preventing hot spots that cause burning. If you stir too slowly, the sugar can stick and scorch; too fast, and you might introduce unnecessary air or agitation. Find a steady, consistent stirring speed that matches your heat level, ensuring gentle movement that promotes uniform cooking and keeps your glaze or sauce from burning.
Conclusion
Now that you know why sugar burns so fast, you’re equipped to prevent kitchen disasters before they happen. Keep an eye on temperatures, use the right cookware, and stay attentive while heating. With these tips, you’ll tame the fiery nature of sugar and create perfect glazes and sauces every time. Don’t let burnt sugar ruin your culinary masterpiece—think of it as the villain in your baking story, and you’re the hero who keeps it in check!