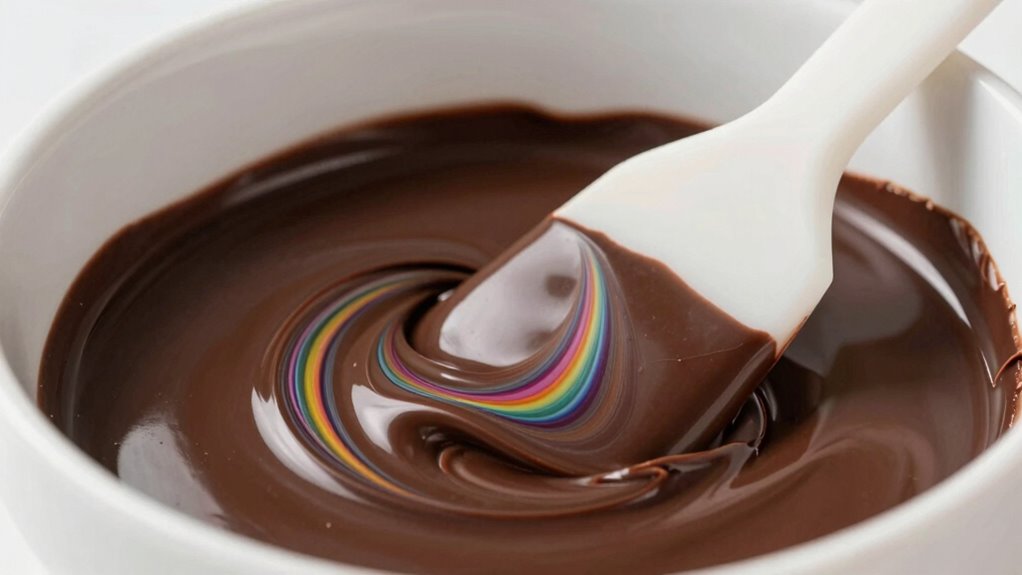

To color chocolate properly without ruining it, start by ensuring your chocolate is perfectly tempered for a glossy finish and smooth texture. Use oil-based or powder food coloring, adding it gradually after the chocolate is cooled and at the right temperature. Mix gently to avoid streaks or air bubbles, and build color gradually for vibrancy. For detailed techniques and tips on achieving flawless results, keep exploring these essential steps to master your colored chocolates.

Get kitchen gear delivered free — and shop member deals
- Fast, free delivery on millions of items
- Access to Prime Big Deal Days deals on October 6–7
- Prime Video, Amazon Music and more included
Key Takeaways
- Use oil-based or powder food coloring, avoiding water-based dyes to prevent streaking and clumping.
- Add color gradually after fully tempering and cooling the chocolate, mixing gently to maintain smoothness.
- Incorporate coloring at the correct temperature to prevent seizing or losing gloss.
- Mix thoroughly with a small spatula or toothpick to ensure even color distribution without introducing air bubbles.
- Build up color intensity gradually for vibrant results, layering and blending carefully to avoid bleeding.
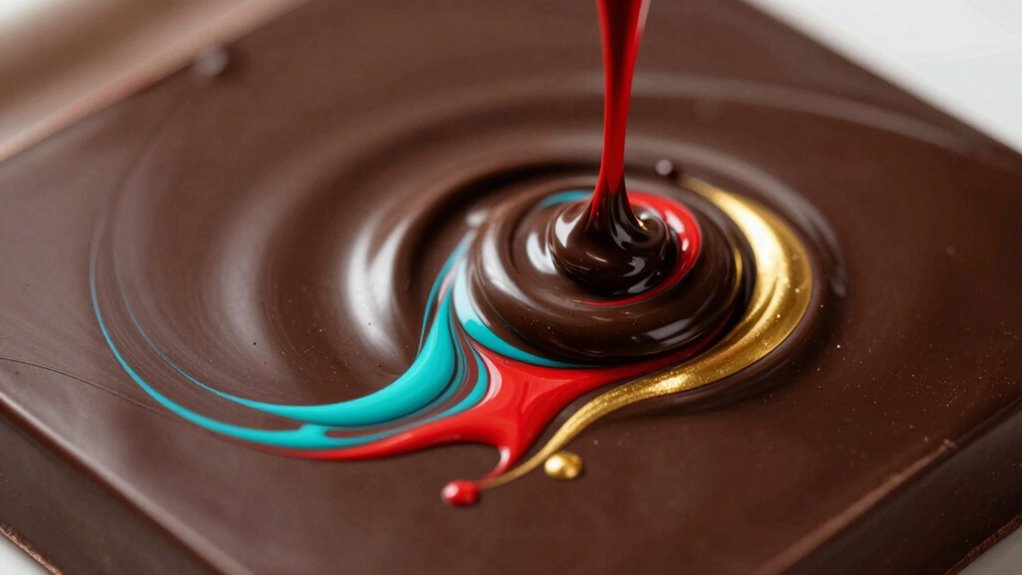
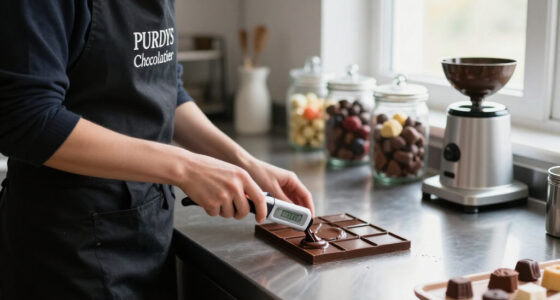
Coloring chocolate can add a fun and creative touch to your confections, but it requires careful technique to achieve vibrant, smooth results. The key lies in understanding how to properly incorporate color into tempered chocolate, ensuring it remains glossy and firm. Chocolate tempering is essential because it stabilizes the cocoa butter crystals, giving your finished product that shiny, professional look. When you introduce food coloring, you need to do so without disrupting this delicate balance.
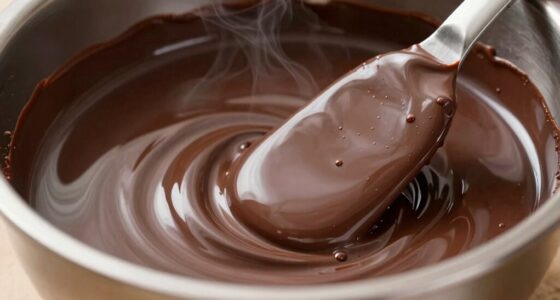
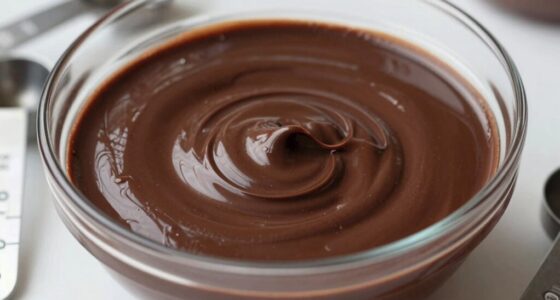
Start by tempering your chocolate thoroughly. Once it’s melted and cooled to the correct temperature, it will have a smooth, glossy appearance. If you add food coloring too early or at the wrong temperature, it can cause the chocolate to seize or lose its sheen. For best results, use oil-based or powders specifically designed for chocolate coloring, as water-based dyes tend to cause clumping or streaking. When you’re ready to add color, take a small amount of your tempered chocolate and mix in the food coloring gradually. Use a toothpick or a small spatula to incorporate the color thoroughly, ensuring there are no streaks or lumps. Additionally, mixing in compatible food coloring helps prevent issues like streaking or uneven coloring.
Temper your chocolate first, then gradually mix in oil-based or powder color for smooth, glossy results.
Food coloring techniques matter because they influence how evenly the color disperses and how vibrant it appears once set. If you want bright, bold shades, start with a tiny amount of coloring and build up gradually. Remember, a little goes a long way. For more muted or pastel shades, mix in even less. Always mix gently to avoid introducing air bubbles, which can mar the smoothness of your chocolate. When adding multiple colors or creating marbled effects, work quickly and carefully to maintain the integrity of your tempering process. Additionally, choosing the right food coloring type is crucial to prevent issues like streaking or uneven coloring. Proper color mixing is also essential to achieve the desired visual effects without compromising the chocolate’s texture.
After mixing, you can pour or pipe your colored chocolate onto molds or surfaces. Keep in mind that if you plan to layer multiple colors, each layer should set slightly before adding the next to prevent bleeding or mixing. Proper food coloring techniques also include working at the right temperature; if the chocolate cools too much, it may seize or become difficult to work with. Conversely, if it’s too warm, the color might not set properly. Understanding how to temper chocolate is crucial for achieving the best results. Mastering color incorporation can also help you achieve more intricate and professional-looking designs.
oil-based chocolate food coloring
As an affiliate, we earn on qualifying purchases.
As an affiliate, we earn on qualifying purchases.
Frequently Asked Questions
Can I Use Regular Food Coloring for Chocolate?
You can use regular food coloring for chocolate, but it’s not the best choice. Regular food coloring may not mix well and can affect the flavor enhancement of your treat. For better results, opt for oil-based or gel food colors as ingredient substitution, which blend smoothly into chocolate without ruining its texture. This guarantees vibrant colors and maintains the delicious taste you want in your finished product.
How Do I Prevent Color Streaks in the Chocolate?
Imagine your chocolate as a canvas, and the brushstrokes as your colors. To prevent streaks, you should add a few drops of food coloring at a time, stirring gently but thoroughly. This technique guarantees even flavor enhancement and smooth texture modification. Keep mixing until the color is uniform, like a seamless painting, avoiding streaks that distract from your masterpiece. Patience here transforms your chocolate into a flawless work of art.
What’s the Best Temperature to Add Coloring?
You should add food coloring to chocolate when it’s around 86-90°F, just below its melting point range of 86-90°F for dark chocolate. This prevents streaks and maintains smoothness. Always make certain food coloring is safe for chocolate and won’t seize it. Stir thoroughly to evenly distribute the color without overheating, which can cause the chocolate to seize or burn. Keeping the temperature controlled ensures vibrant, streak-free coloring.
Can I Reuse Colored Chocolate for Other Decorations?
Yes, you can reuse colored chocolate for other decorations, but use proper chocolate melting techniques to preserve its quality. Make sure to store it in an airtight container to prevent moisture absorption. If the color fades or the texture changes, consider food coloring alternatives like cocoa butter dyes or edible gels, which maintain vibrancy and consistency. Reusing works best if the chocolate remains smooth and well-mixed before reapplication.
How Long Does Colored Chocolate Stay Vibrant?
Colored chocolate usually stays vibrant for about 1 to 2 weeks if stored properly. To prevent color fading, keep it in an airtight container in a cool, dark place, away from direct sunlight and heat. Proper chocolate storage helps maintain its brightness longer. If you notice the color dulls, it’s often due to exposure to light or temperature fluctuations. Using fresh, well-stored chocolate guarantees the best color longevity.
powder food coloring for chocolate
As an affiliate, we earn on qualifying purchases.
As an affiliate, we earn on qualifying purchases.
Conclusion
Now that you’ve mastered coloring chocolate perfectly, nothing can stand in your way! Your creations will dazzle and hypnotize everyone, turning simple treats into art so breathtaking, it could bring tears to eyes. With your newfound skills, you hold the power to transform plain chocolate into vibrant masterpieces that leave a lasting impression. So go ahead—color boldly, dream big, and watch your chocolate creations become legendary. The world’s your canvas—make it unforgettable!
As an affiliate, we earn on qualifying purchases.
small silicone spatula for chocolate
As an affiliate, we earn on qualifying purchases.
As an affiliate, we earn on qualifying purchases.
Halloween Picks
halloween
As an affiliate, we earn on qualifying purchases.