
A crumb coat is your secret weapon for crafting professional-looking cakes. It locks in crumbs and provides a smooth base for frosting, enhancing the cake’s appearance and texture. Make certain your layers are completely cooled, and don’t stress about perfection—this layer captures stray crumbs. Chilling your cake after applying the crumb coat makes for easier final frosting application. Mastering this technique will boost your confidence and guarantee consistent results. There’s so much more to discover about perfecting your cakes!
Key Takeaways
- A crumb coat locks in crumbs, creating a smooth base for final frosting and enhancing the cake’s appearance.
- Ensure cake layers are fully cooled and trimmed for evenness before applying the crumb coat.
- Chill the cake for 30 minutes after crumb coating to firm up the frosting for easier final application.
- The crumb coat seals in moisture, keeping multi-layer cakes moist and protecting them from drying out.
- Mastering the crumb coat technique simplifies decorating and helps achieve consistent, professional-looking results.
When you immerse yourself in cake decorating, the crumb coat is your secret weapon for a flawless finish. This simple layer of frosting helps to lock in crumbs, creating a smooth base for your final coat. As you delve into cake layering techniques, you’ll quickly realize that mastering the crumb coat can elevate your cakes from homemade to professional-looking. It’s a game-changer that not only enhances the cake’s appearance but also improves its overall texture.
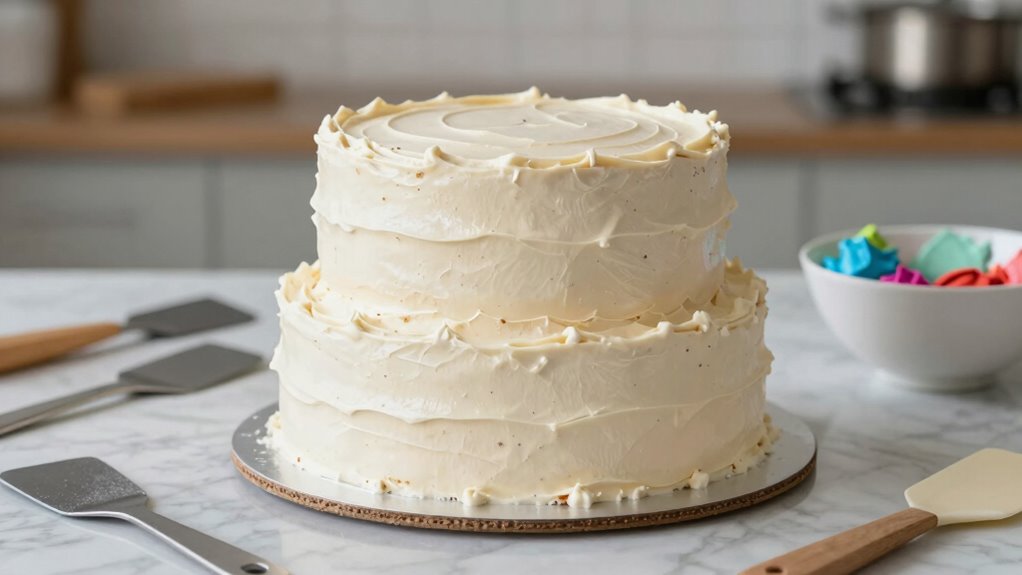
To start, make certain your cake layers are completely cooled. If they’re warm, you risk melting the frosting, which can lead to a messy application. Once you’ve got your layers ready, trim them to guarantee evenness, and stack them with your preferred filling. Now, it’s time for the crumb coat. Using a spatula or an offset knife, spread a thin layer of frosting over the entire cake. Don’t worry about perfection; this layer is meant to catch any stray crumbs. Just focus on covering the surface evenly, as this will help in the final frosting application.
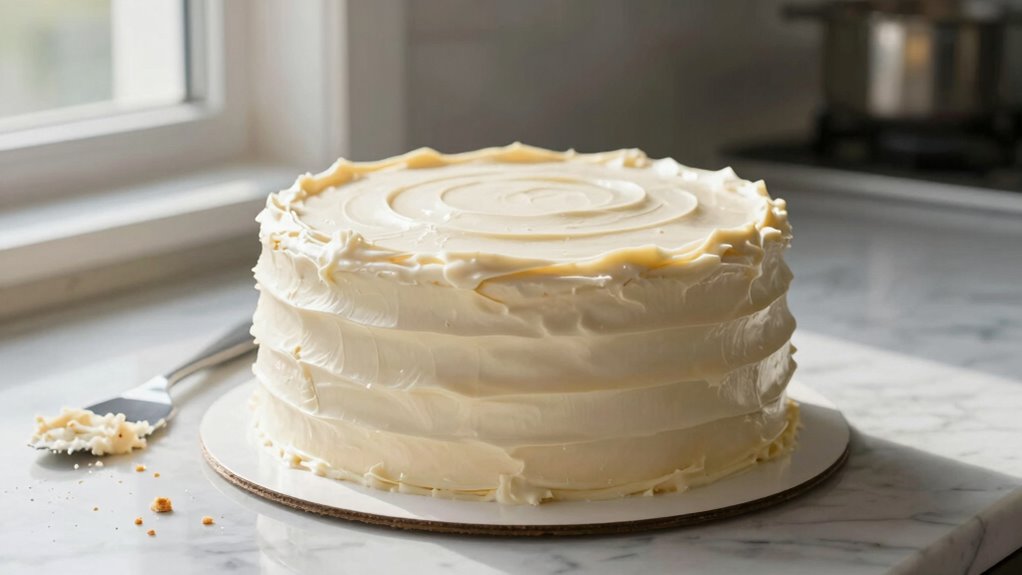
Ensure your cake layers are completely cooled before applying a crumb coat to achieve a smooth, professional finish.
Now, let’s talk about frosting application tips. After you’ve applied the crumb coat, chill the cake for about 30 minutes. This will firm up the frosting, making it easier to apply the final layer. When you pull it out of the fridge, you’ll find that the surface is much smoother and less crumbly. This chilled layer serves as an excellent foundation, allowing you to apply your final frosting smoothly without those pesky crumbs ruining your finish. Additionally, understanding the importance of frosting consistency can significantly impact the ease of application and the final result. Achieving the right consistency can be crucial for a seamless, professional finish. Properly preparing your frosting by adjusting its texture can make all the difference in achieving that smooth, polished look. Knowing how to achieve the ideal frosting texture ensures a more efficient and successful decorating process. Paying attention to frosting temperature can also help prevent melting or tearing during application.
Another significant advantage of the crumb coat is its role in moisture retention strategies. By sealing in the cake with that initial layer of frosting, you help prevent it from drying out. This is especially vital for multi-layer cakes, which can easily become dry if not properly handled. The crumb coat acts like a protective barrier, guaranteeing that each slice remains moist and delicious. Proper sealing techniques, such as crumb coat application, are essential for achieving durable and beautiful cakes. Remember, a well-executed crumb coat can also help hide minor imperfections and create a polished appearance.
As you experiment with different flavors and designs, always remember the crumb coat benefits. It not only simplifies your decorating process but also enhances the durability of your cake. Whether you’re preparing a birthday cake or an elaborate wedding cake, mastering the crumb coat will give you the confidence to create stunning desserts. So, embrace this essential technique; it’s the key to achieving that polished, professional look you’ve been aiming for.

PUCKWAY Angled Icing Spatula, Stainless Steel Offset Spatula, Cake Spatula Set of 2 Black 6, 8 inch Blade
Two Professional Cake Decorating Spatulas: PUCKWAY offset spatula set comes in two different sizes: 6 inch and 8…
As an affiliate, we earn on qualifying purchases.
As an affiliate, we earn on qualifying purchases.
Frequently Asked Questions
Can I Use a Crumb Coat for Any Type of Cake?
Yes, you can use a crumb coat for any type of cake! This technique helps trap crumbs and creates a smooth base for your frosting. Whether you’re working with buttercream, cream cheese, or ganache, a crumb coat enhances the final look. When you layer your frosting over the crumb coat, it results in a cleaner finish. So, go ahead and experiment with different frosting types while mastering your layering techniques!
How Thick Should a Crumb Coat Be?
A crumb coat should be about 1/8 to 1/4 inch thick. Did you know that a well-applied crumb coat can reduce frosting loss by up to 30%? This thin layer locks in crumbs and creates a smooth surface, enhancing your cake texture. For the best results, aim for a frosting consistency that’s spreadable but not too runny. This way, you’ll achieve a neat finish that showcases your cake beautifully!
What Tools Do I Need for a Crumb Coat?
To achieve a perfect crumb coat, you’ll need a few essential tools. Grab a spatula or offset knife for smooth icing application. A bench scraper helps refine edges, while cake decorating tips can create texture if desired. Don’t forget a turntable—it makes spreading icing easier and more even. Finally, a piping bag is handy for getting into those tricky spots. With these tools, you’re set for a flawless finish!
How Long Should I Chill the Crumb-Coated Cake?
Chilling a crumb-coated cake is like giving it a cozy blanket before the big reveal. You should chill it for about 30 minutes to an hour. This chilling time helps the frosting firm up, making it easier to apply your final coat. Keep an eye on the frosting temperature; it shouldn’t be too hard or too soft. When you take it out, you’ll have a beautifully smooth canvas ready for decoration!
Can I Color My Crumb Coat?
Yes, you can definitely color your crumb coat! Just mix in food coloring to achieve the desired hue. You’ve got plenty of color options to choose from, whether you want a pastel or vibrant look. Additionally, consider flavor variations by using colored chocolate or flavored extracts to enhance both the appearance and taste. This way, you’ll create a visually stunning and delicious cake that’ll impress everyone at your celebration!

Kootek 158PCs Cake Decorating Kit, Baking Supplies Tools – Includes Cake Stand Turntable, 64 Icing Piping Tips Set, 2 Frosting Spatulas, 3 Scrapers, 50+2 Pastry Bags, Coupler, Video Tutorial, Booklet
All-in-One Cake Decorating Supplies Kit: Total 158pcs baking accessories, includes everything you need to start decorating your cakes:…
As an affiliate, we earn on qualifying purchases.
As an affiliate, we earn on qualifying purchases.
Conclusion
Crumb coating your cake is like putting on a primer before painting; it sets the stage for a flawless finish. By mastering this simple technique, you’ll achieve that professional look without the fuss. Remember, it’s all about sealing in those crumbs and creating a smooth base for your frosting. So, don’t skip this essential step—embrace the crumb coat, and watch your cakes shine like never before! Happy baking!

YAMHOHO Adjustable Cake LevCake Cutter Slicer Leveler, 9 Different Height Premium Food Grade Stainless Steel Double Wires Cake Cutter/Slicer/Adjustable Cake Leveler for Leveling and Molding (black)
READY, SET, BAKE: This Wilton adjustable cake leveler is the quick and easy way to create even cake…
As an affiliate, we earn on qualifying purchases.
As an affiliate, we earn on qualifying purchases.

Libbey Selene 6-in-1 Domed Cake Stand, Unique Space Saving Glass Cake Stand with Dome, Multi-Purpose Dip Bowl To Serve Snacks and More
6-in-1 Multi Use Glass Server: Entertain guests at your home with our versatile glass cake plate with dome…
As an affiliate, we earn on qualifying purchases.
As an affiliate, we earn on qualifying purchases.