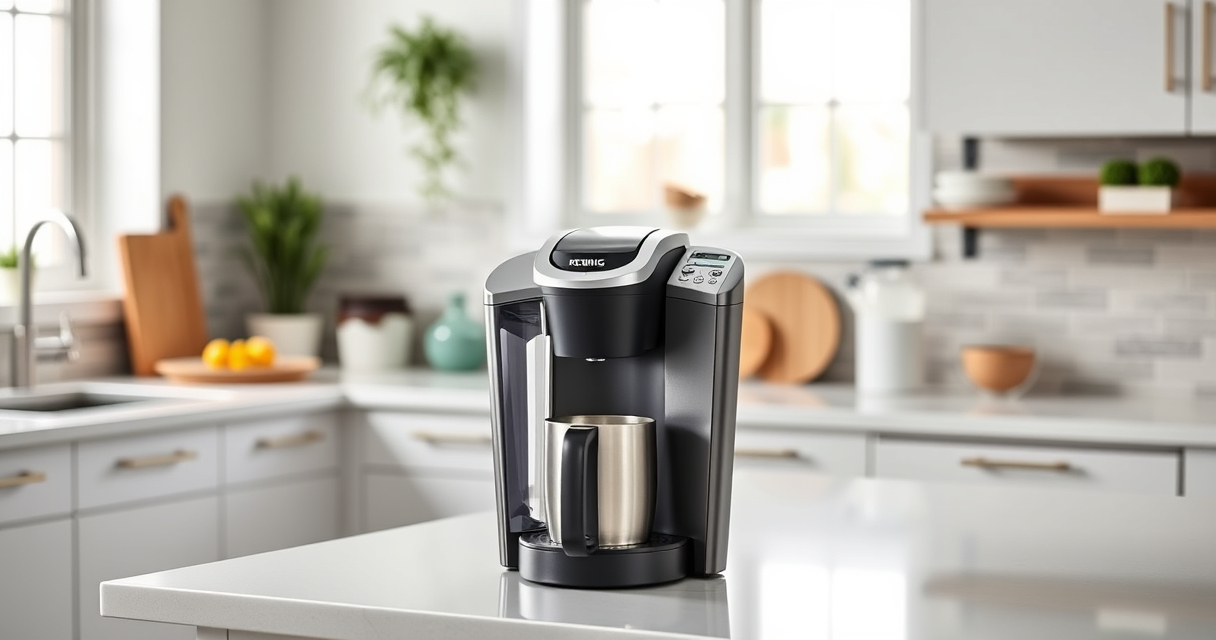

Getting started with your new Keurig K-Mini is simple, but proper setup ensures optimal performance and longevity. This guide walks you through the essential steps for setup, safe operation, and troubleshooting your coffee maker.

Get kitchen gear delivered free with Prime
- Fast, free delivery on millions of items
- Prime Video, Amazon Music and more included
- Member-only deals all year
Follow these clear instructions to enjoy your favorite brew in minutes, whether at home or in a small space.
Key Takeaways
| Compact Design | Fits easily in small spaces, under 5 inches wide. |
| Custom Brew Sizes | Brew between 6-12oz with a simple button press. |
| Easy Water Refills | One-cup reservoir for fresh water each brew. |
| Quick and Fresh | Brew coffee in minutes with minimal mess. |
| Energy Efficient | Auto-off feature saves energy after use. |
Unboxing and Initial Setup
- Remove the Keurig K-Mini from its box and ensure all components are included: the coffee maker, power cord, and user manual.
- Place your K-Mini on a flat, stable surface near an outlet. Ensure the area is dry and free from obstructions.
- Fill the water reservoir: lift the reservoir lid, pour fresh water into the one-cup reservoir, and replace the lid securely.
Powering On and Preparing for First Brew
- Plug the power cord into an outlet, then press the power button on the top of the machine. The power indicator light should turn on.
- Run a water-only brew to rinse the internal components: place a mug on the drip tray, select your desired brew size, and press brew button.
Using Your Keurig K-Mini
- Insert a K-Cup pod into the pod holder, or use the My K-Cup reusable filter if you prefer ground coffee.
- Select the brew size (6-12oz) by pressing the corresponding button.
- Wait for the coffee to brew into your mug. The machine automatically stops once brewing is complete.
Cleaning and Maintenance
- Regularly descale your K-Mini every 3-6 months using a descaling solution or vinegar to prevent mineral buildup.
- Remove and wash the drip tray and water reservoir with warm, soapy water.
- Use the rinse pods included in the maintenance kit to clear flavor carry-over and residue after brewing flavored drinks.
Troubleshooting Common Issues
- If water isn’t flowing, check for clogs or scale buildup and descale if needed.
- If the machine doesn’t turn on, verify the outlet is working and the power cord is properly connected.
- For weak coffee, clean the needle and water reservoir regularly.
The Products in This Guide

Keurig K-Mini Single Serve K-Cup Pod Coffee Maker
- ✔ Size: Less than 5 inches wide
- ✔ Weight: Lightweight for portability
- ✔ Auto Off: Yes, after 90 seconds

My K-Cup® Reusable Coffee Filter
- ✔ Size: Fits standard K-Cup holder
- ✔ Material: BPA-free plastic
- ✔ Cleaning: Dishwasher safe
Keurig K-Mini Single Serve K-Cup Pod Coffee Maker
<p>The Keurig K-Mini is perfect for small spaces, offering quick, fresh coffee with minimal effort. Its compact size doesn’t compromise on performance, making it ideal for apartments, offices, or travel.</p>
Pros:
- Fits in tight spaces
- Brews in minutes
- Easy to clean
- Removable drip tray
Cons:
- Limited water reservoir capacity
- No on/off button
- Requires frequent refills
Best for: Small apartments, offices, travel, dorm rooms
Not ideal for: Large households or those needing multiple cups at once
Bottom line: A compact, efficient coffee maker ideal for small spaces and quick brews.
My K-Cup® Reusable Coffee Filter
<p>The My K-Cup reusable coffee filter allows you to brew with your favorite ground coffee, providing more variety and control over your brew.</p>
Pros:
- Economical
- Eco-friendly
- Customizable strength
- Easy to use
Cons:
- Requires regular cleaning
- Potential for clogging if not maintained
- Not compatible with all models
Best for: Ground coffee lovers, eco-conscious users
Not ideal for: Those who prefer convenience of pre-packaged pods
Bottom line: A practical reusable filter that enhances your coffee customization options.
Frequently Asked Questions
Can I use ground coffee in my Keurig K-Mini?
Yes, with the My K-Cup reusable coffee filter, you can brew your own ground coffee in the Keurig K-Mini.
How often should I descale my Keurig K-Mini?
It is recommended to descale every 3-6 months, or when you notice a decline in brew performance, using a descaling solution or vinegar.
What should I do if my coffee maker isn’t brewing properly?
Check for clogs, ensure the water reservoir is filled properly, and consider descaling if mineral buildup is suspected.
Is the Keurig K-Mini travel-friendly?
Yes, its compact size, removable drip tray, and cord storage make it ideal for travel and small spaces.
Enjoy Your Perfect Brew Every Time
Following this setup and maintenance guide ensures your Keurig K-Mini remains in top condition, delivering fresh coffee whenever you need it. With proper care and troubleshooting, you’ll enjoy reliable performance for years to come.
Affiliate disclosure: As an Amazon Associate we earn from qualifying purchases. Prices and availability are accurate as of the time of publishing.
Fall Picks
fall essentials
As an affiliate, we earn on qualifying purchases.