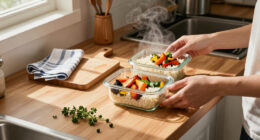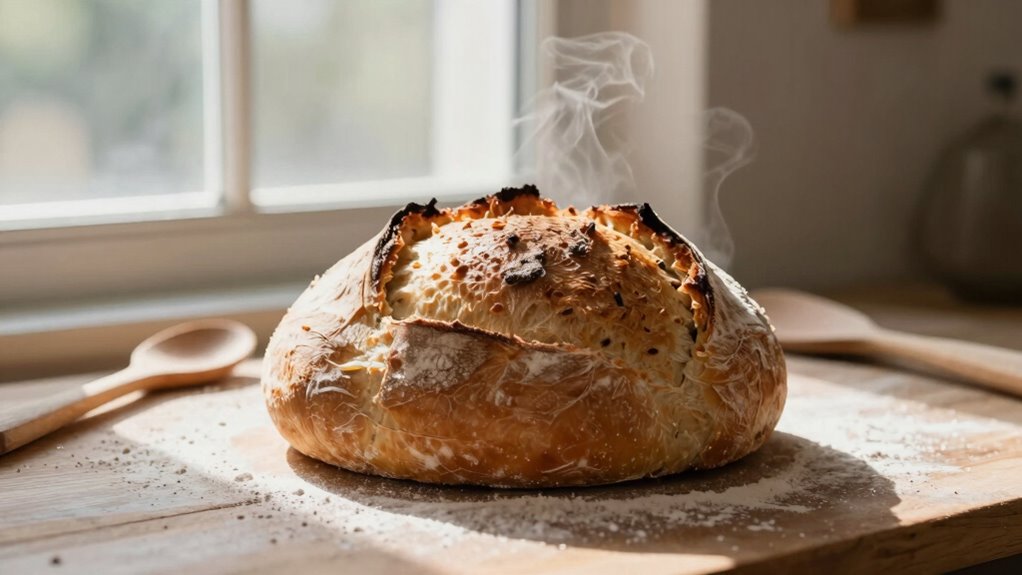
To master food photography for bakers, focus on natural light direction. Position your baked goods near a window, capturing soft, diffused sunlight for the best colors and textures. Aim for golden hour to reduce harsh shadows and create warmth. Remember to avoid direct sunlight, which can wash out details. Experiment with different angles to see how light interacts with your treats. There’s plenty more to discover that can transform your baking photos into mouthwatering visuals!

Get kitchen gear delivered free — and shop member deals
- Fast, free delivery on millions of items
- Access to Prime Big Deal Days deals on October 6–7
- Prime Video, Amazon Music and more included
Key Takeaways
- Position baked goods near windows to capture natural light, enhancing their appearance and highlighting textures.
- Aim for soft, diffused sunlight to avoid harsh shadows and create a warm ambiance.
- Use side lighting to emphasize details and create depth, making baked items more visually appealing.
- Shoot during golden hours for gentle, warm light that enhances colors and provides a cozy atmosphere.
- Experiment with backlighting for a unique glow, particularly effective with transparent or glazed items.
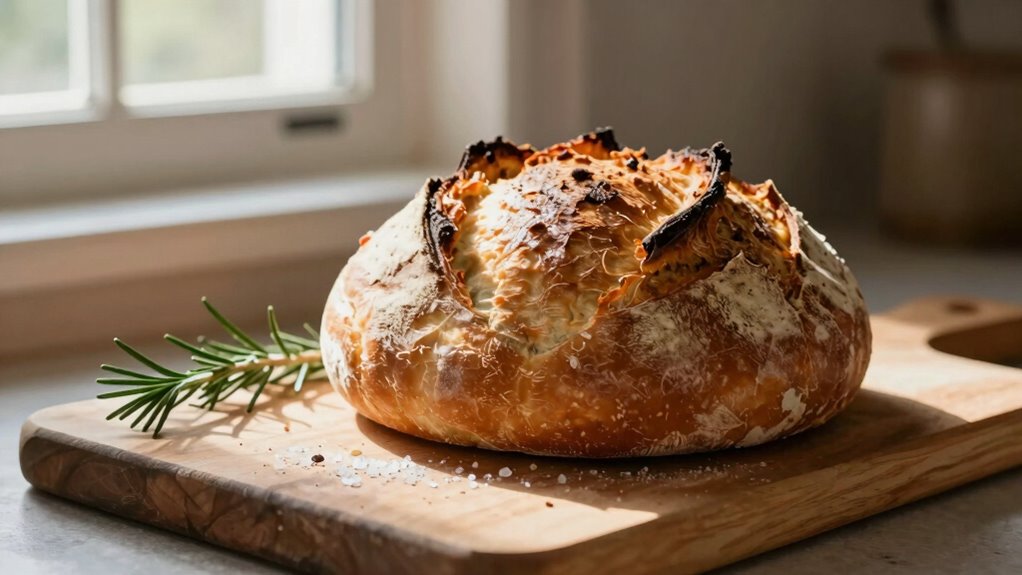
When you capture the beauty of your baked creations, you’re not just showcasing your skills; you’re telling a story that entices your audience. The right light direction can elevate your food photography, making it irresistible. Start by experimenting with natural light. Position your baked goods near a window, allowing soft, diffused sunlight to illuminate your treats. This lighting technique enhances the colors and textures, making your cakes and cookies pop. Avoid harsh shadows by shooting during the golden hours—early morning or late afternoon—when the light’s warmer and gentler.
Capturing your baked creations in natural light transforms them into irresistible stories that delight the senses.
Composition plays an essential role in telling your story. Use the rule of thirds to create balance in your images. Place your main subject off-center, giving your audience a glimpse of the surrounding details, like a spoon or a rustic tablecloth. This adds depth and context. When you’re styling your baked goods, consider vital elements like plates, napkins, and utensils. Props can accentuate the season; think autumn leaves for a pumpkin pie or fresh flowers for a spring cake. Your prop selection should complement your creations without overshadowing them. Incorporating visual storytelling can help you craft more engaging and memorable images. Additionally, understanding lighting angles can significantly improve how your baked goods are showcased in different environments.
Utilizing color theory enhances the visual appeal of your photos. Warm colors, like golden yellows and rich browns, evoke comfort and indulgence, while cooler tones can create a revitalizing vibe. Make sure the colors in your background harmonize with your baked goods. For instance, a pastel background works beautifully for delicate macarons, while a dark wood table can highlight the richness of a chocolate cake. Additionally, understanding kitchen lighting can help you choose the best environment for your photos.
Once you’ve captured your images, pay attention to camera settings. A wide aperture can create a shallow depth of field, focusing on your creation while softly blurring the background. Adjusting your ISO can help you maintain clarity without introducing noise, especially in lower light situations. After shooting, engage in editing basics. Use editing software to fine-tune brightness and contrast, ensuring your images reflect the deliciousness of your baked goods.
Finally, don’t forget about seasonal themes. Tailoring your photography to reflect holidays or seasons can captivate your audience even more. Whether it’s a festive Christmas cookie platter or a fresh berry tart in summer, seasonal elements can enhance your storytelling. With these tips, you’re ready to create stunning food photography that not only showcases your baking skills but also tells a beautiful, delectable story.
natural light food photography diffuser
As an affiliate, we earn on qualifying purchases.
As an affiliate, we earn on qualifying purchases.
Frequently Asked Questions
What Camera Settings Are Best for Food Photography?
For great food photography, use a low shutter speed to capture the details, and adjust your aperture settings to create a shallow depth of field, blurring the background. Keep your ISO adjustments low to reduce noise, especially in natural light. Always consider your lighting tips; soft, diffused light works best. Experiment with these settings to find the perfect balance that highlights your dishes and creates mouthwatering images.
How Do I Choose the Right Props for My Photos?
Choosing the right props for your photos isn’t like picking a sock for a three-legged race! Start with props selection that complements your dish, focusing on color coordination and texture variety. Keep your style consistent and guarantee your theme’s relevant—no beach balls with winter soup! Add seasonal accents to give your photos that extra flair. With thoughtful choices, your food will shine like a star on stage, and not just a background extra.
Can I Use My Smartphone for Food Photography?
Absolutely, you can use your smartphone for food photography! Start by utilizing smartphone tips like adjusting exposure and focus for the best results. Experiment with different lighting techniques, like natural light from a window, to enhance your images. Avoid harsh shadows by shooting during soft daylight hours. With a little practice and creativity, you’ll capture stunning food photos that showcase your delicious creations beautifully!
What Editing Software Do You Recommend for Beginners?
When you’re diving into the vibrant world of food photography, editing software can feel like a treasure trove waiting to be explored. For beginners, I recommend starting with Adobe Lightroom for its user-friendly interface and robust editing basics. Alternatively, Snapseed offers fantastic software options on mobile. Both let you enhance colors and adjust brightness, turning your delicious dishes into stunning visual feasts. So, grab your photos and let those edits shine!
How Can I Improve My Composition Skills in Photography?
To improve your composition skills in photography, start by mastering framing basics. Use the rule of thirds to position your subject dynamically. Experiment with leading lines to draw the viewer’s eye into the scene. Incorporate foreground elements to add depth, and don’t hesitate to change your perspective—shoot from high or low angles. Practice these composition techniques regularly, and you’ll see a noticeable improvement in your photos. Keep shooting and have fun!
baking food photography prop set
As an affiliate, we earn on qualifying purchases.
As an affiliate, we earn on qualifying purchases.
Conclusion
As you step back and admire your beautifully captured baked goods, remember that light is your secret ingredient. The soft glow dancing on a perfectly frosted cupcake or the warm hues illuminating a rustic loaf can elevate your work from ordinary to extraordinary. Embrace the dance of shadows and highlights, letting them tell the story of your passion. With each click, you’re not just capturing a moment; you’re savoring the joy of creation, one delicious frame at a time.
camera lens for food photography
As an affiliate, we earn on qualifying purchases.
As an affiliate, we earn on qualifying purchases.
photo editing software for food images
As an affiliate, we earn on qualifying purchases.
As an affiliate, we earn on qualifying purchases.
Halloween Picks
halloween
As an affiliate, we earn on qualifying purchases.