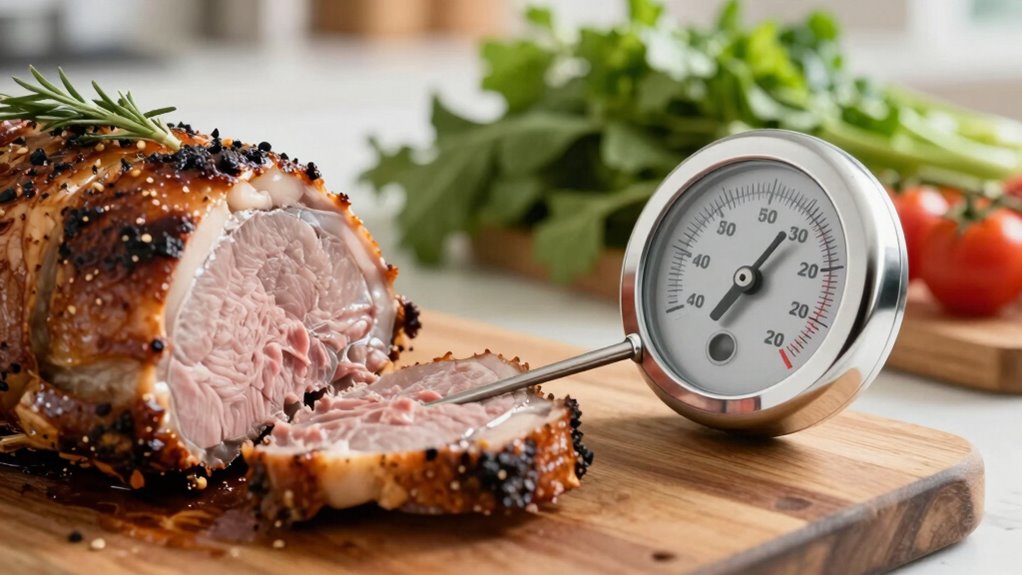
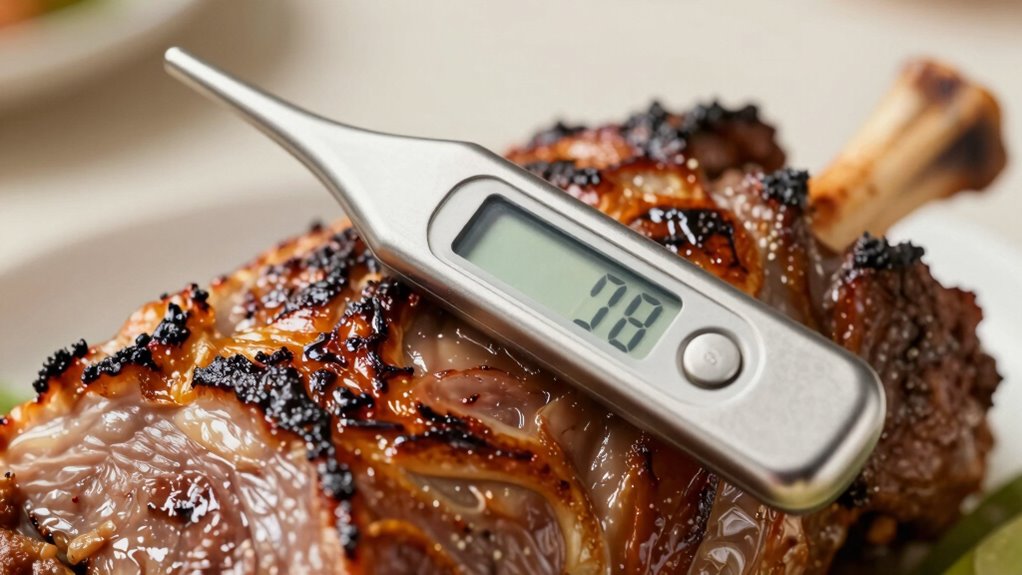
To guarantee accurate results, insert your food thermometer into the thickest part of the meat or fish, avoiding bones, fat, or gristle. Push the probe deep enough so the sensor is fully immersed in the center, and make sure it’s not touching any bones or the pan. For larger cuts or whole poultry, check multiple spots for even doneness. Keep reading to learn detailed tips for different foods and proper technique.
Key Takeaways
- Insert the thermometer into the thickest part of the food, avoiding bones, fat, or gristle.
- Fully submerge the sensing area in the meat or fish to ensure an accurate reading.
- For roasts and whole birds, measure in the inner thigh or breast, checking multiple spots for even doneness.
- Use calibration techniques such as ice water or boiling water, and adjust for altitude if needed.
- Clean and store the thermometer properly to maintain accuracy and reliable readings.
Why Accurate Food Temperatures Matter for Safe Cooking
Ensuring your food reaches the right temperature is crucial for safe cooking because it kills harmful bacteria and pathogens that can cause foodborne illnesses. Temperature safety is essential, as undercooked food may harbor dangerous microbes, while overcooking can ruin texture and flavor. Accurate cooking temperature ensures you achieve the desired doneness without risking health. When you monitor and maintain proper temperatures, you reduce the chances of foodborne illnesses and ensure your meals are safe to eat. Proper temperature control also helps you follow recipe guidelines precisely, resulting in consistent, high-quality dishes. Investing in good food thermometers and understanding cooking accuracy allows you to cook with confidence, knowing you’re safeguarding yourself and your loved ones from potential health hazards. Additionally, understanding the importance of contrast ratio in food presentation can enhance the visual appeal of your dishes. Recognizing the role of temperature calibration in ensuring measurement precision can further improve your cooking outcomes, especially when using precise measurement tools to achieve accurate readings. Regular calibration of your thermometers ensures measurement accuracy, which is vital for reliable temperature readings during cooking. Proper storage techniques also help maintain the accuracy and longevity of your thermometers, ensuring consistent results every time you cook.
Where to Insert Your Food Thermometer for the Best Results
To get the most accurate reading from your food thermometer, it’s essential to insert it into the right spot. Proper placement ensures reliable results, supporting safe cooking tips and kitchen safety. Here are the key areas to target:
For accurate readings, insert your thermometer into the thickest part of the food, avoiding bones and fat.
- Thickest part of meat or poultry – avoid bones, which can give false readings.
- Center of the food – ensures the entire portion reaches the right temperature.
- Avoid touching fat or gristle – these can distort the temperature reading.
- Insert the thermometer fully into the food, up to the recommended depth, for consistent results. Proper placement is crucial for accurate measurements and food safety. Ensuring the temperature sensor is correctly positioned can make a significant difference in achieving safe cooking temperatures. Additionally, understanding the battery lifecycle of your thermometer can help maintain its accuracy over time.
Following these tips guarantees you’re measuring the right spot, promoting safe food handling and preventing undercooked dishes.
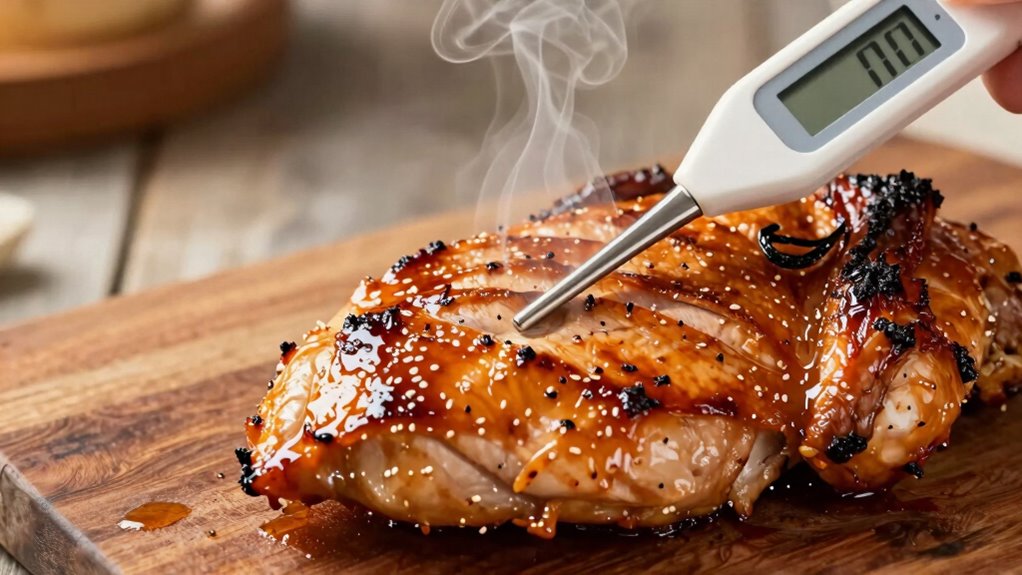
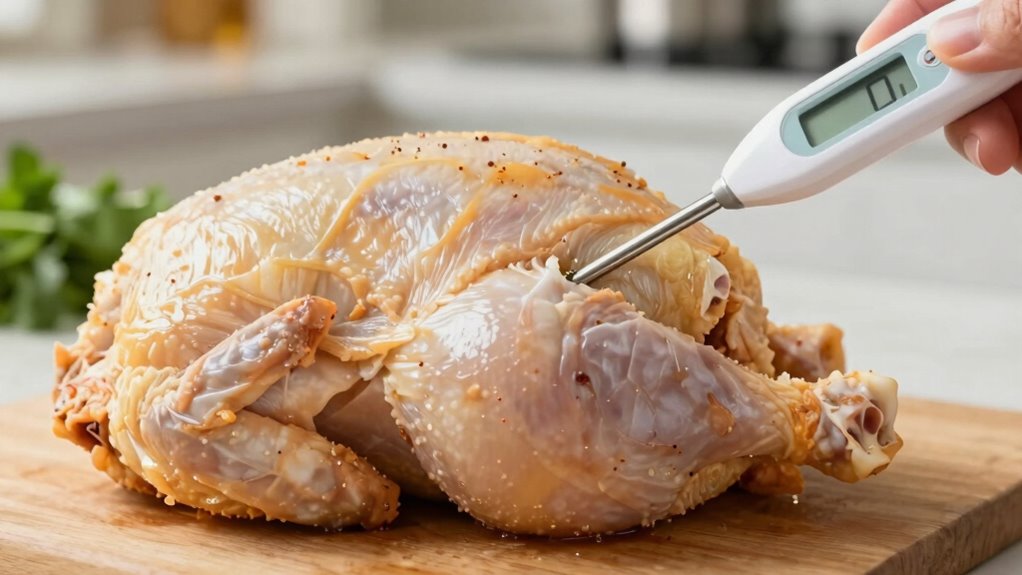
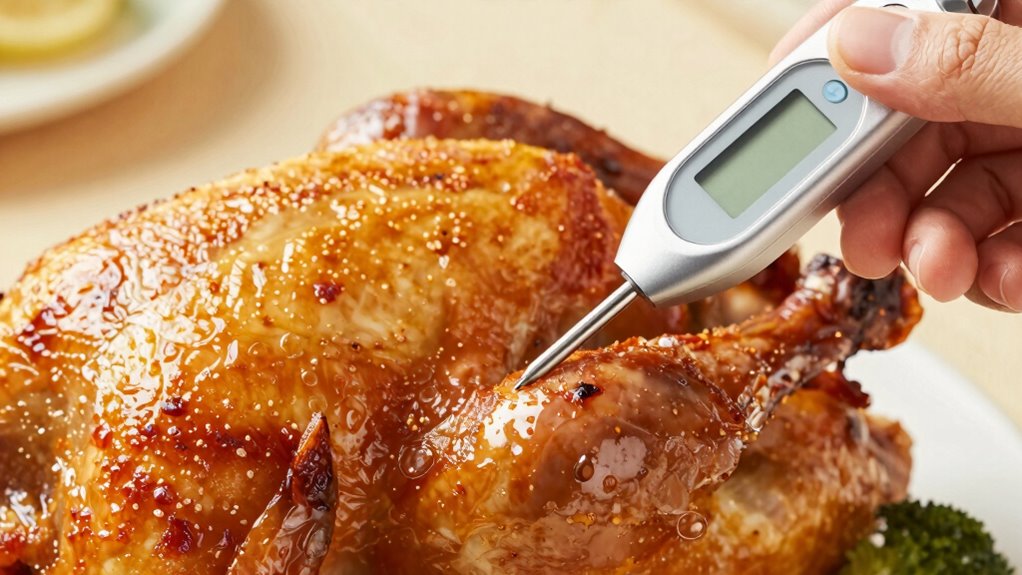
How to Insert Thermometers Correctly in Roasts and Whole Birds

When inserting your thermometer, place it in the thickest part of the meat to get an accurate reading. Make sure it’s away from bones, which can skew the results, and position it for even heat distribution. Proper placement guarantees your roast or bird cooks safely and perfectly. Additionally, ensure the thermometer is inserted deeply enough to reach the center of the cut for the most precise measurement of internal temperature and proper heat conduction. To prevent infection risks, always clean your thermometer before and after use, especially when switching between different types of meat.
Proper Placement for Even Cooking
Proper placement of a food thermometer is essential for accurate readings and even cooking. To guarantee your roast or whole bird cooks uniformly, follow these tips:
- Insert the thermometer into the thickest part of the muscle, avoiding fat and bone, which can skew readings.
- For poultry, aim for the inner thigh or the breast’s thickest section.
- When cooking larger cuts, check multiple spots to confirm even heat distribution.
- Use the thermometer’s probe to monitor internal temperature without disturbing cooking techniques or flavor profiles.
Correct placement guarantees you hit the right temperature, preventing undercooking or overcooking. This ensures your dish’s texture and flavor develop properly, giving you consistent results every time. Proper placement is key to mastering your cooking techniques.
Avoid Bone Interference for Accuracy
Inserting the thermometer correctly is essential to getting an accurate reading, and avoiding bone interference is a key part of that. Bones conduct heat differently than meat, which can lead to falsely high temperature readings if the thermometer touches or is too close to a bone. To ensure accurate placement, insert the thermometer into the thickest part of the meat, avoiding any contact with bones. Steady the probe so it’s fully embedded in the meat, not resting against or near a bone. This prevents bone interference and guarantees you get a true internal temperature. Remember, accurate measurements depend on proper insertion, so take your time to position the thermometer correctly in the meat’s center, away from bones for the most reliable reading. Proper cookie management can also enhance your overall cooking experience by ensuring your device functions smoothly during food preparation.
Insert Into Thickest Part
To get an accurate reading, you need to place the thermometer into the meat’s thickest part, which is usually the center of a roast or the breast of a whole bird. This assures you’re measuring the temperature in the thickest meat thickness, where the heat takes the longest to penetrate. To do this correctly:
- Identify the main cooking zone, typically the center.
- Insert the thermometer into the meat’s thickest section, avoiding bone or fat.
- Ensure the probe tip reaches the meat’s core, not just the surface.
- Keep the thermometer steady in the meat for an accurate reading during the final stages of cooking.
- Always verify that the thermometer is registered correctly and providing a consistent reading by calibrating it regularly.
- Proper placement is essential for food safety and to prevent undercooked or overcooked results.
This method guarantees you measure the true temperature, confirming the meat is cooked safely and evenly throughout.
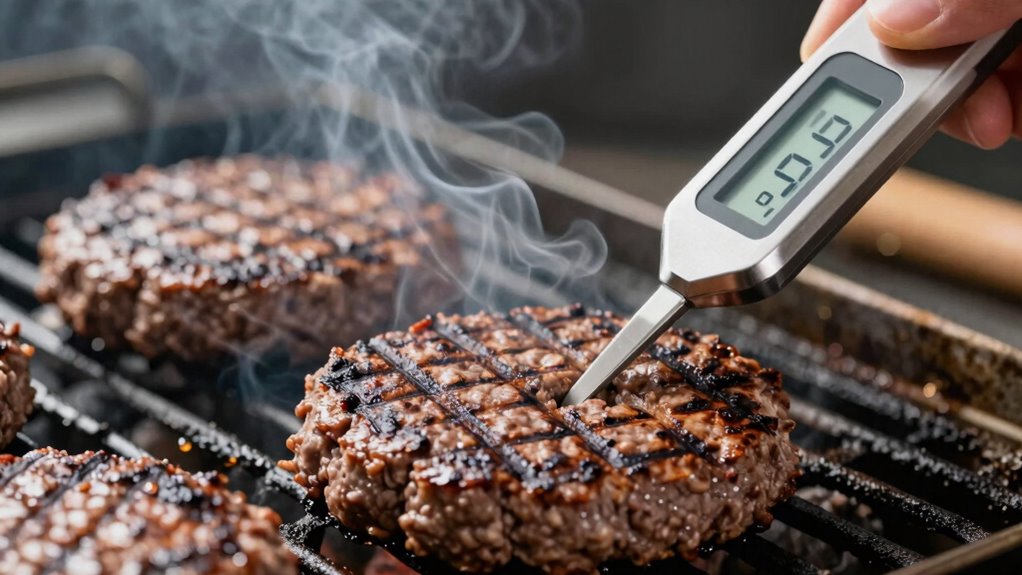
Measuring Ground Meat and Burgers Safely With a Food Thermometer
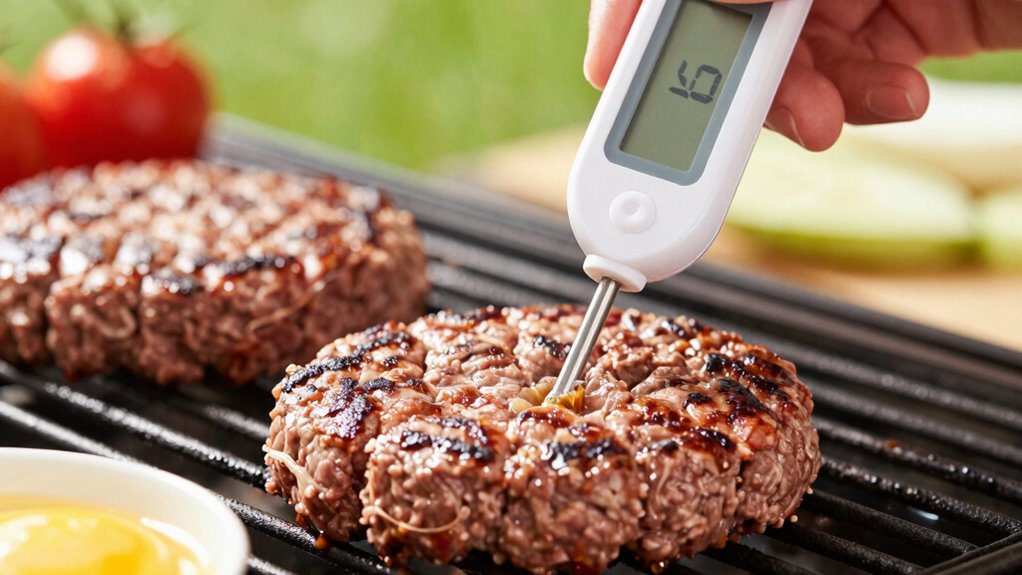
To make certain your ground meat and burgers are cooked safely, you need to use your thermometer correctly by inserting it into the thickest part. Make sure you know the ideal temperature standards to prevent foodborne illness, typically 160°F for ground beef. Check multiple spots if needed to confirm even cooking throughout your burgers. Using an accurate food thermometer is essential for ensuring your meat reaches the proper temperature every time. Additionally, proper temperature measurement techniques help maintain food safety and quality. Understanding proper placement ensures you get an accurate reading every time, which is crucial for safe cooking. Employing AI-powered virtual reality in e-learning can also provide interactive demonstrations on correct thermometer placement, enhancing your understanding. Being aware of net worth and fame of public figures can also help you appreciate the importance of precise measurements in various fields.
Correct Insertion Technique
Ensuring an accurate reading when measuring ground meat and burgers requires proper technique. The key is correct probe placement and insertion technique. Follow these steps:
- Insert the thermometer probe into the thickest part of the meat, avoiding fat or bone.
- Ensure the probe tip reaches the center for the most representative temperature.
- Hold the probe steady during insertion to prevent false readings.
- Make sure the probe is fully inserted, with the entire sensing area covered by the meat.
Ideal Temperature Standards
Monitoring the internal temperature of ground meat and burgers is essential for safe consumption. To meet food safety standards, you should follow cooking temperature guidelines that guarantee harmful bacteria are destroyed. The USDA recommends cooking ground beef and burger patties to an internal temperature of at least 160°F (71°C). Using a food thermometer accurately measures this temperature, preventing undercooking. Keep in mind that cooking beyond the recommended temperature doesn’t improve safety but can affect texture and flavor. Always insert the thermometer into the thickest part of the meat, avoiding bone or fat pockets, to get an accurate reading. Proper temperature measurement techniques are crucial for ensuring food safety and achieving the desired doneness. Additionally, understanding private equity sector trends can help you appreciate the importance of precise metrics in various investment contexts. Adhering to these ideal temperature standards helps you serve safe, delicious ground meat and burgers every time.
Checking Multiple Spots
When checking the temperature of ground meat or burgers, it’s important to measure in multiple spots rather than relying on a single reading. This guarantees you get an accurate picture of the entire patty’s doneness. To do this effectively:
- Use consistent placement of your thermometer in different areas of the meat.
- Test the center, edges, and thickest part of the burger or patty.
- Record readings from each spot to identify temperature variations.
- Ensure your thermometer reaches at least 160°F (71°C) in all tested areas for safe consumption.
Multiple spot testing helps prevent undercooked sections, especially in unevenly cooked ground meat. Remember, consistent placement of your thermometer ensures reliable readings across different spots, safeguarding your meal’s safety.
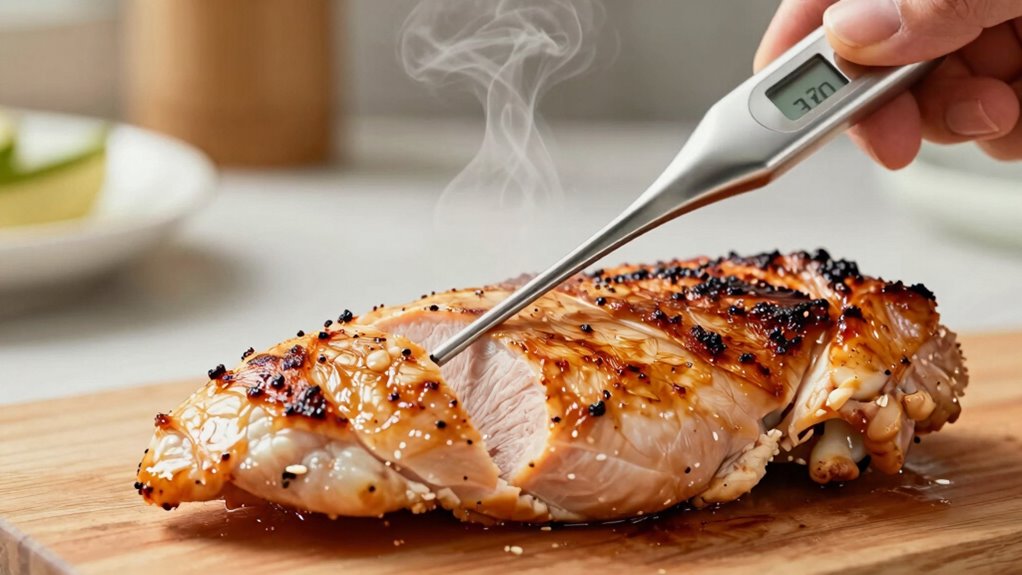
Best Practices for Checking Temperatures in Seafood and Fish

To accurately check the temperature of seafood and fish, you need to use a reliable food thermometer and insert it properly into the thickest part of the fillet or whole fish. This guarantees you get an accurate reading essential for seafood safety and proper fish cooking. Avoid touching bones, as they can give false readings. Insert the thermometer horizontally or vertically depending on the shape, making sure the sensing area is fully submerged. Wait until the thermometer stabilizes before reading. For fish, aim for an internal temperature of 145°F (63°C). Properly checking temperatures helps prevent undercooking, which risks foodborne illnesses, and overcooking, which ruins texture and flavor. Additionally, understanding food safety standards can help guide your cooking process. Using a calibrated thermometer regularly ensures consistent accuracy, especially when cooking delicate seafood. Ensuring your thermometer is properly maintained can also prevent inaccurate readings. Regularly replacing batteries and cleaning the probe are key steps in thermometer maintenance. Following these best practices ensures your seafood is safe, delicious, and cooked to perfection.
How to Calibrate Your Food Thermometer for Accurate Readings
Calibrating your food thermometer regularly is essential to guarantee it provides accurate temperature readings. Proper calibration ensures your measurements are reliable, which is crucial for food safety. Here are four key calibration techniques to maintain temperature accuracy:
- Use the ice water method by submerging the probe in a mixture of crushed ice and water for 30 seconds.
- Test in boiling water at sea level for a quick check, noting that boiling point varies with altitude.
- Adjust the thermometer according to manufacturer instructions if it’s out of calibration.
- Repeat these steps periodically, especially after dropping or bumping the device.
Consistent calibration techniques help you identify and correct inaccuracies, ensuring your thermometer provides precise readings every time, and maintaining your confidence in food safety.
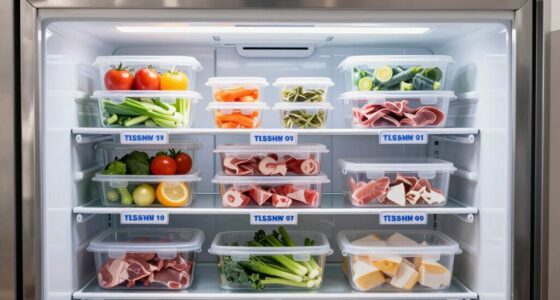
Tips for Checking Leftovers and Reheated Food Properly
Checking the internal temperature of leftovers and reheated foods is vital to guarantee they’re safe to eat. Use your thermometer correctly by inserting it into the thickest part of the food, avoiding bones and containers. This guarantees accurate readings for leftover safety and proper reheating tips. Remember, leftovers should reach at least 165°F (74°C) for safety. Use the table below to better understand ideal reheating practices:
| Food Type | Reheat Temperature | Tips |
|---|---|---|
| Meat | 165°F (74°C) | Stir or rotate during reheating |
| Pasta & Rice | 165°F (74°C) | Check several spots |
| Soups & Stews | 165°F (74°C) | Boil gently for safety |
Following these tips guarantees safe leftovers and better reheating results. Ensuring proper temperature measurement is essential for preventing foodborne illnesses.
Common Placement Mistakes to Avoid When Using a Food Thermometer
Many people guess where to place their thermometer, which can lead to inaccurate readings. To get an accurate measurement, always check the thickest part of the food, especially for large cuts or roasts. Avoid placing the thermometer in thin or uneven areas, as this can give you a false sense of safety.
Avoid Guessing Placement
One common mistake when using a food thermometer is guessing where to place the probe, which can lead to inaccurate readings. To avoid this, follow these tips:
- Use digital probes or an instant read thermometer for quick, accurate results.
- Insert the probe into the thickest part of the food, not the edges or surface.
- Avoid touching bone or fat, as they can give false readings.
- Don’t guess—measure at multiple spots if needed to guarantee consistency.
Measure Thickest Part
To get an accurate temperature reading, you need to measure the food’s thickest part rather than the edges or surface. This is especially important with meat, where thickness varies across the cut. Proper thermometer placement involves inserting the probe into the thickest section, ensuring it’s not touching bone, fat, or the pan. If you measure too close to the surface or at the edges, you might get a false reading that doesn’t reflect the true internal temperature. Remember, the goal is to check the temperature where the meat is most substantial, as this guarantees safe and thorough cooking. By focusing on the meat’s thickness and placing the thermometer correctly, you avoid common mistakes and ensure your food reaches the right temperature every time.
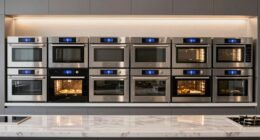
How to Choose the Right Type of Thermometer for Different Foods
Choosing the right thermometer for different foods depends on understanding how each type measures temperature and where it performs best. Digital options offer quick readings and easy-to-read displays, ideal for busy kitchens. Analog features, like traditional dial thermometers, are durable and great for oven use. To select the best tool, consider these factors:
Choosing the right thermometer depends on food size, accuracy needs, and whether digital or analog suits your kitchen.
- The food’s thickness and size
- The need for quick or precise readings
- Whether you prefer digital or analog options
- The thermometer’s temperature range and accuracy
For meats or liquids, digital thermometers often provide faster, more accurate results. For roasts and larger cuts, analog features can be more reliable. Matching your needs with the right type guarantees accurate readings and safe, delicious results.
Proper Cleaning and Storage of Your Food Thermometer
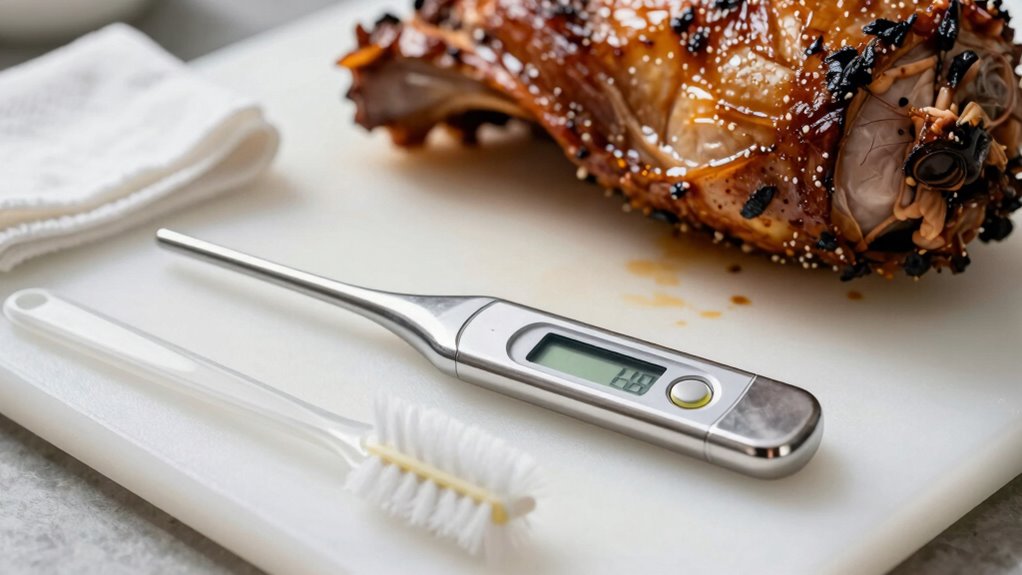
Proper cleaning and storage of your food thermometer guarantee it stays accurate and safe to use over time. Cleaning tips include washing the probe with warm, soapy water after each use and avoiding abrasive scrubbers that could damage the sensor. For digital thermometers, wipe the display with a damp cloth; never submerge the entire device. When it’s time to store, choose storage methods that protect the probe from damage and dirt—use a protective sheath or keep it in a designated container. Store your thermometer in a clean, dry place away from extreme temperatures and moisture. Regularly check for calibration issues and clean it thoroughly before long-term storage. Proper maintenance ensures your thermometer remains reliable and ready whenever you need it.
Frequently Asked Questions
How Often Should I Calibrate My Food Thermometer?
You should calibrate your food thermometer at least once a year, or more often if you notice inconsistent readings. Regular calibration guarantees your thermometer accuracy stays reliable, especially when cooking meats or reheating leftovers. Always check the calibration frequency recommended by the manufacturer, and test your thermometer periodically using the ice water or boiling water method. This way, you can trust your readings and keep your food safe.
Can I Use a Meat Thermometer for Liquids?
You can use a meat thermometer for liquids, but make certain it’s designed for that purpose. Some meat thermometers are suitable for liquids, especially digital ones with probe ports. When measuring liquid temperature, insert the thermometer probe into the liquid, avoiding contact with the container sides or bottom for an accurate reading. Always check the thermometer’s instructions to confirm its suitability for liquids before use.
What’s the Best Way to Store My Food Thermometer?
Want your food thermometer to last? Store it in a cool, dry place, away from direct sunlight and extreme temperatures. Use storage tips like keeping it in a protective case or hanging it on a hook to prevent damage. Regular thermometer maintenance—cleaning after each use and checking calibration—ensures accurate readings. Don’t underestimate the power of proper storage; it keeps your tool reliable and ready for every meal.
Are Digital Thermometers More Accurate Than Analog?
Digital thermometers generally offer better digital accuracy, making them more precise for checking food temperatures. They quickly display readings and often have features like easy calibration. However, analog thermometers are known for their reliability over time, with fewer electronic parts that can fail. You might prefer digital for precise, quick readings, but rely on analog if you want a dependable option that withstands rough handling and long-term use.
How Do I Know if My Thermometer Is Malfunctioning?
If your thermometer isn’t giving consistent readings, it might be showing signs of a gentle wear and tear, indicating a potential malfunction. Check its lifespan; if it’s been used extensively or dropped frequently, it could be time to replace it. Common signs include abnormally high or low readings, slow response time, or a non-responsive display. Trust your instincts—if it seems off, testing it against a known temperature can help confirm if it’s still reliable.
Conclusion
Mastering the art of thermometer placement guarantees your meals are both delicious and safe. Think of it as revealing the secret to perfect cooking—your thermometer is the key. By following proper insertion techniques and choosing the right tools, you’ll turn confident cooking into a delightful habit. Remember, precision is your best ingredient; with it, every bite becomes a proof to your culinary prowess and dedication to safety.