To achieve shiny chocolate without stress, focus on precise temperature control during tempering. Melt the chocolate carefully, then cool it to encourage stable crystal formation, followed by rewarming to keep it fluid and glossy. Keep an eye on your thermometer throughout each phase, especially in humid environments, to prevent blooming and dullness. Maintaining consistent conditions and proper storage helps preserve that perfect shine. If you continue, you’ll discover the detailed temperature steps that make this process foolproof.
Key Takeaways
- Maintain precise temperature control during melting, cooling, and rewarming to form stable, glossy cocoa butter crystals.
- Use a reliable thermometer to monitor temperature at each phase of tempering.
- Cool chocolate gradually to promote the formation of stable crystals responsible for shine.
- Rewarm to the correct temperature to keep chocolate fluid and prevent dullness or blooming.
- Control ambient humidity and temperature to prevent moisture-related dullness and ensure a smooth, shiny finish.

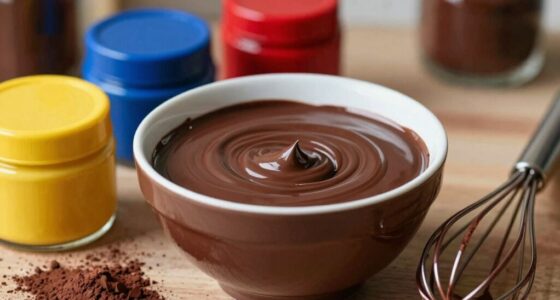
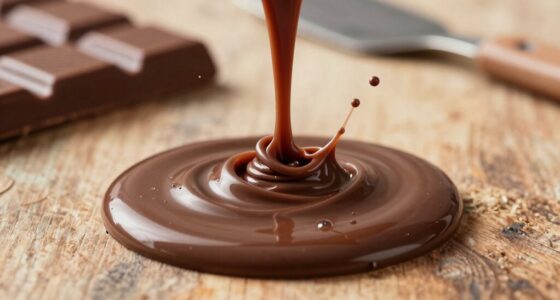
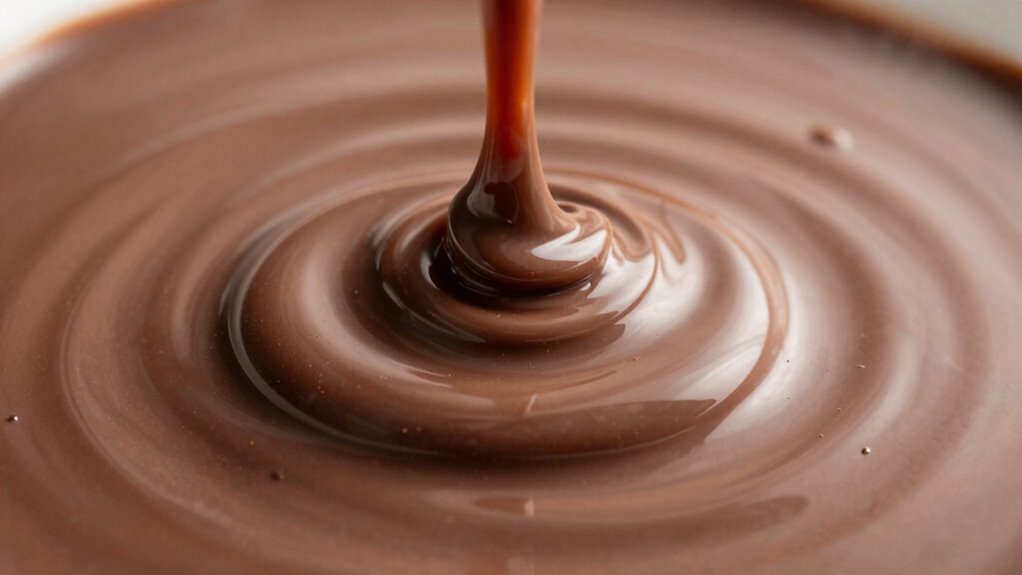
Achieving perfectly shiny chocolate doesn’t have to be a stressful process. When you understand the right temperature logic, you can create glossy, professional-looking chocolates effortlessly. The key lies in mastering simple tempering techniques that involve carefully controlled heating and cooling, guaranteeing the cocoa butter forms a stable crystal structure. This process gives your chocolate that sleek, mirror-like finish while also enhancing its snap and flavor. Instead of rushing through, take your time with each step, monitoring the temperature closely with a reliable thermometer. Tempering involves three main phases: melting, cooling, and rewarming. During melting, you heat the chocolate to a specific temperature to melt all the fat crystals. Then, as you cool it down, you encourage the formation of stable crystals by stirring consistently. Properly monitoring temperature is essential during this process to achieve the desired sheen. Understanding crystal formation is crucial for achieving professional results. Properly managing the cooling process helps ensure the formation of the right crystal structure for that perfect shine. Additionally, paying attention to ambient humidity can greatly influence the final appearance of your chocolates, making temperature control even more critical. Finally, a slight rewarming to a precise temperature assures the chocolate remains fluid enough to work with while maintaining that glossy finish. If you follow these tempering techniques diligently, your chocolate will set with a beautiful sheen every time. Understanding tempering is crucial for achieving professional results.
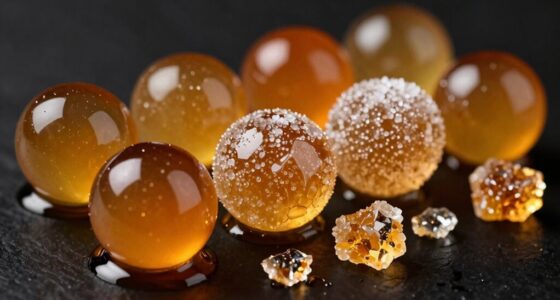
Once you’ve perfected the tempering process, proper storage tips become just as vital to preserving that shiny appearance. Keep your chocolate in a cool, dry place, ideally between 65-70°F (18-21°C). Avoid refrigeration, as humidity and temperature fluctuations can cause blooming—those unattractive white spots—ruining your glossy look. If you need to store your chocolates for more than a few days, place them in an airtight container lined with parchment paper to prevent moisture exposure. Keep the container in a stable environment, away from direct sunlight or heat sources. When you’re ready to use the chocolates, gently bring them to room temperature before working with them, avoiding sudden temperature changes that could compromise their finish. Proper storage tips are indispensable because even the best tempering techniques can be undone if the chocolates are mishandled afterward.
digital chocolate thermometer
As an affiliate, we earn on qualifying purchases.
As an affiliate, we earn on qualifying purchases.
Frequently Asked Questions
Can I Use a Microwave Instead of a Double Boiler?
You can use a microwave instead of a double boiler, but you need to be cautious with chocolate storage and melting. Microwave melting is quick and convenient, but it risks overheating and burning the chocolate. To avoid this, melt in short bursts, stirring frequently. Alternative techniques like a double boiler help control temperature better, ensuring shiny, smooth chocolate. Always monitor your chocolate closely to prevent seizing or dullness.
What Types of Chocolate Work Best for Shiny Finishing?
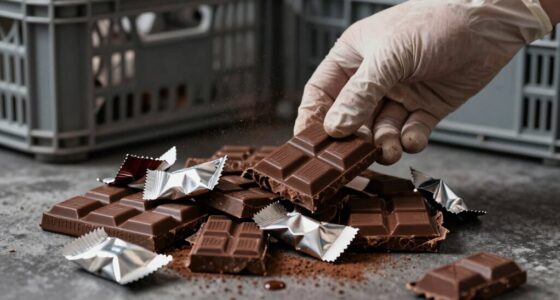
Opt for high-quality, couverture chocolate for the best shiny finish. Dark, milk, or white chocolate all work well, but couverture offers superior chocolate flavor and texture enhancement. Its high cocoa butter content ensures a glossy, smooth surface and a rich taste. You want a chocolate that melts evenly, glazes beautifully, and provides a professional-looking shine. Choose couverture to attain that perfect, shiny finish that elevates your confections effortlessly.
How Does Humidity Affect Chocolate Tempering?
Humidity impact is significant during chocolate tempering because excess moisture can cause the chocolate to seize, making it difficult to work with. You need to focus on moisture control, ensuring your workspace stays dry. High humidity levels introduce moisture that can alter the tempering process, leading to dull or streaky finishes. To prevent this, work in a cool, low-humidity environment and keep your utensils and containers dry.
Is It Necessary to Use a Thermometer?
Yes, using a thermometer is essential for proper tempering techniques. It helps you precisely control the temperature, ensuring your chocolate melts and cools at the right points for a shiny, smooth finish. When storing chocolate, keep it at consistent temperatures to maintain quality. Without a thermometer, you risk uneven tempering, which can lead to dull, streaky chocolate. Investing in one makes the process easier and guarantees professional-looking results.
Can I Temper Chocolate in a Slow Cooker?
You can temper chocolate in a slow cooker, but it’s tricky and not ideal for perfect results. Think of it as “biting off more than you can chew.” For best chocolate storage and flavor enhancement, use a thermometer and follow precise temperature steps. Slow cookers can cause uneven heating, risking dull, streaky chocolate rather than glossy. For a smooth finish, stick with traditional tempering methods or a double boiler.
chocolate tempering machine
As an affiliate, we earn on qualifying purchases.
As an affiliate, we earn on qualifying purchases.
Conclusion
Now that you understand the temperature magic behind shiny chocolate, you can master this art without breaking a sweat—no need for a wizard’s wand or an ancient spellbook. Just keep your thermometer handy, stay patient, and follow the logic. Before you know it, you’ll be creating glossy chocolates that even Marie Antoinette would envy. So, go ahead, embrace the science, and turn your kitchen into a modern-day chocolate atelier—no stress, just sweet success!
professional chocolate mold with temperature control
As an affiliate, we earn on qualifying purchases.
As an affiliate, we earn on qualifying purchases.
reliable kitchen thermometer for tempering
As an affiliate, we earn on qualifying purchases.
As an affiliate, we earn on qualifying purchases.